As usual things are slightly behind schedule on this project, but today I was able to run off at my lunch break and watch the action at the foundry. What an education! It was really cool watching the guys in the foundry put together the sand molds for the manifolds and cast them. I only had about a half hour to watch, but they did one for me from start to finish so I could take a bunch of pictures. Unfortunately, the battery in my camera got weak after a few shots and I had to discontinue using the flash. The foundry is kind of dark inside, not the ideal environment for photos, and so after the flash went out the exposure times got long, and some of the following shots are blurry, with kind of a greenish cast to them. Figures that the camera picked today to run out of juice; oh well. You guys will get the idea from the photos below.
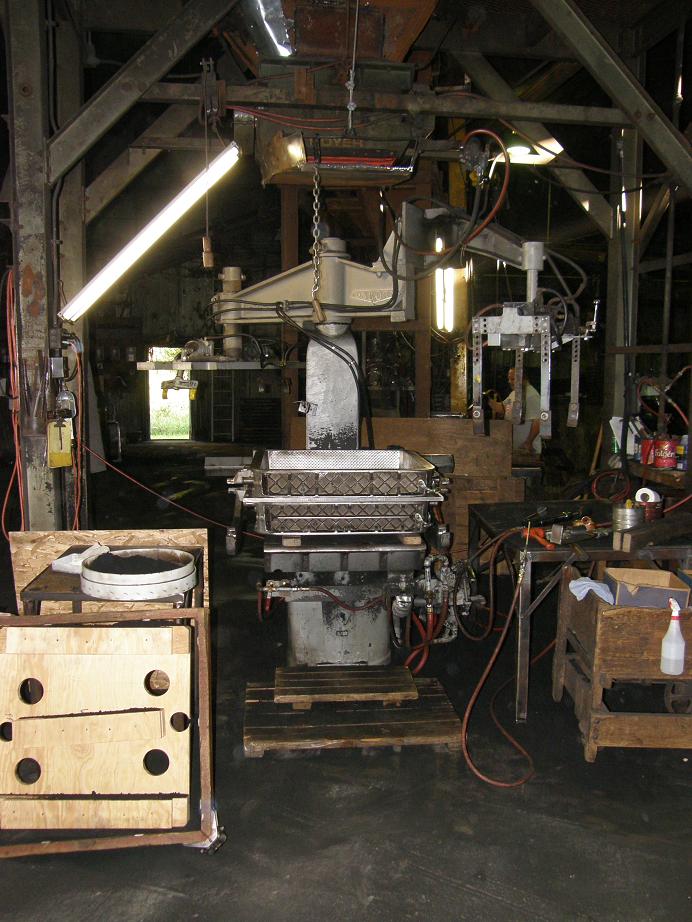
The machine in the photo below is the one they are using to make the sand molds for the intake manifold. I think it is called a Roto-Lift machine.
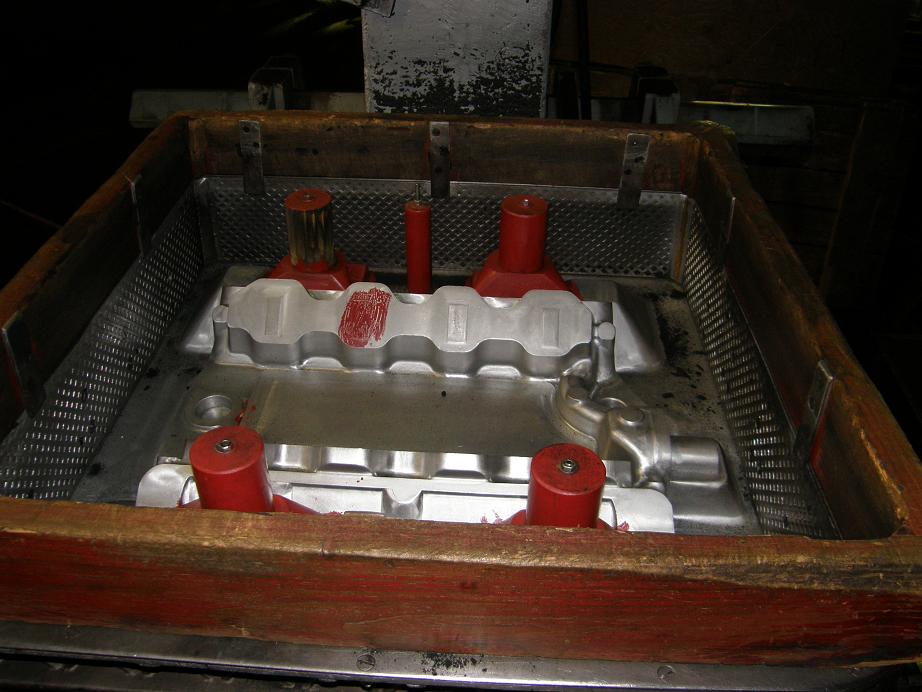
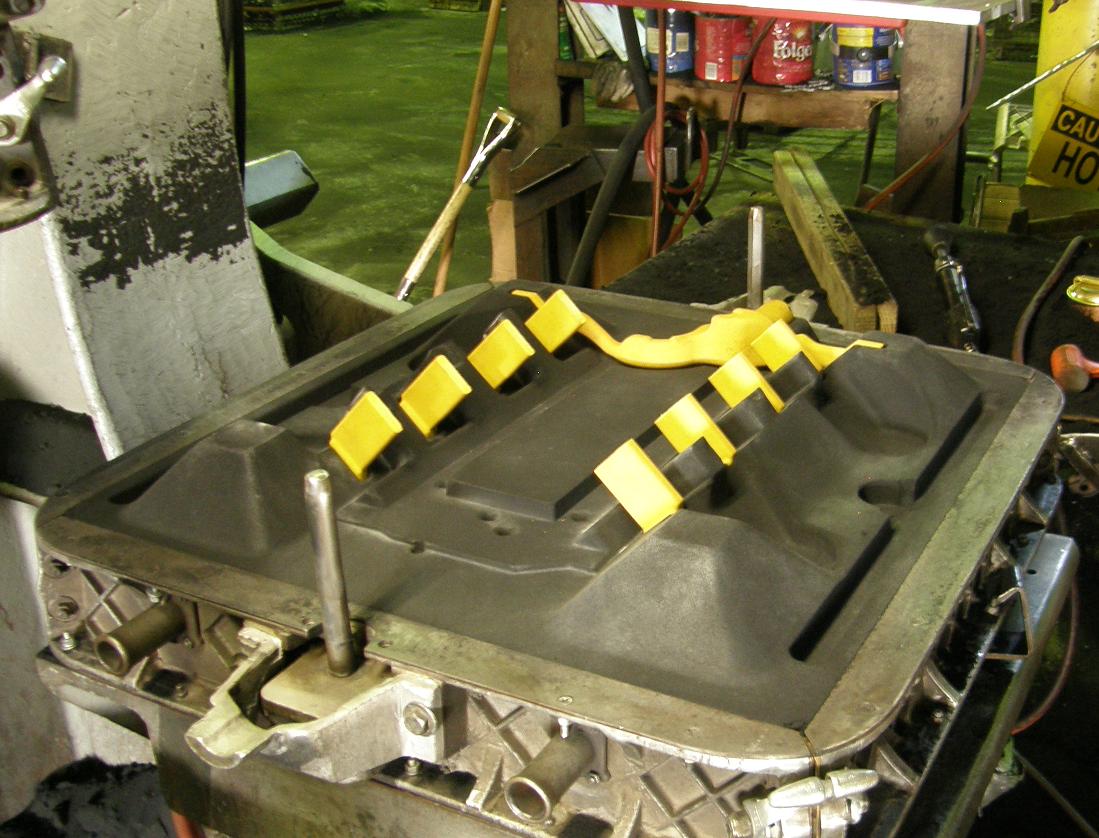
Here is a photo of the match plate, installed between two boxes to contain the sand. I think the boxes are referred to as flasks, or maybe as a cope and a drag, in foundry parlance. This assembly is positioned on the Roto-Lift machine so that the sand can be poured into the boxes and rammed in place.
The bottom of the intake manifold is done first. The Roto-Lift machine allows the match plate and flasks to be rotated together, so they are rotated upside down, with the bottom of the match plate facing up. Then an overhead trap door opens and sand is poured down into the top of the flask. You can see the sand pouring down into the flask in the photo below.
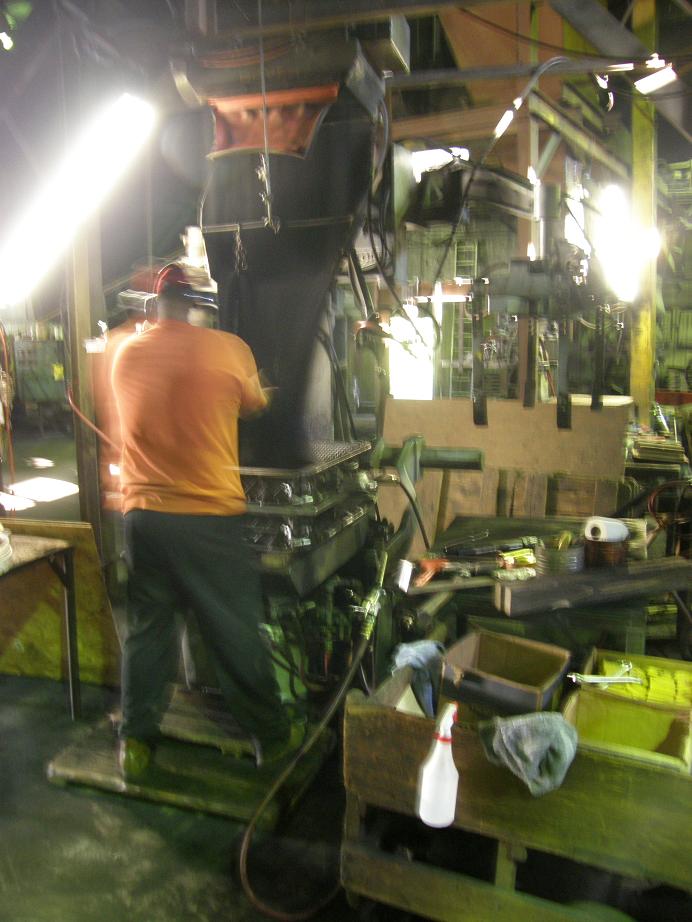
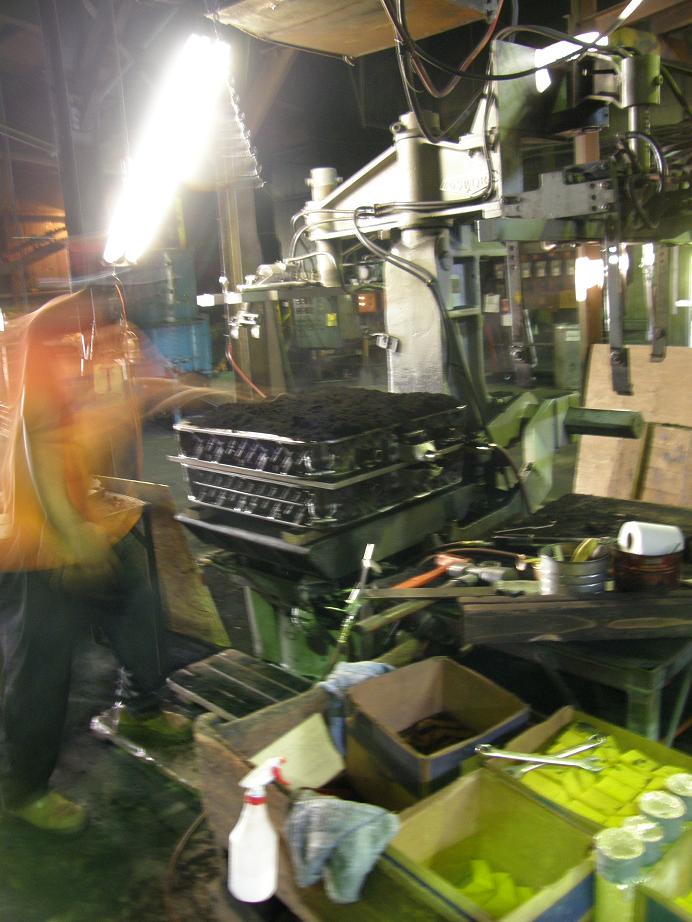
The operator doing this work was a guy named Mario. He explained what he was doing as he went along to help me understand the process. As the sand was filling in the box Mario was working with it, spreading it around and ramming some of it down by hand. Finally after a few dumps of sand he had the box completely filled up as shown in the photo below:
Next Mario put a wood cover over the box in preparation for ramming the sand with the Roto-Lift machine. This process applies what I assume to be a very large downward pressure on the sand; this locks the sharp edges of the grains of sand together so that they will stay in place when the match plate is removed from the assembly. Picture below.
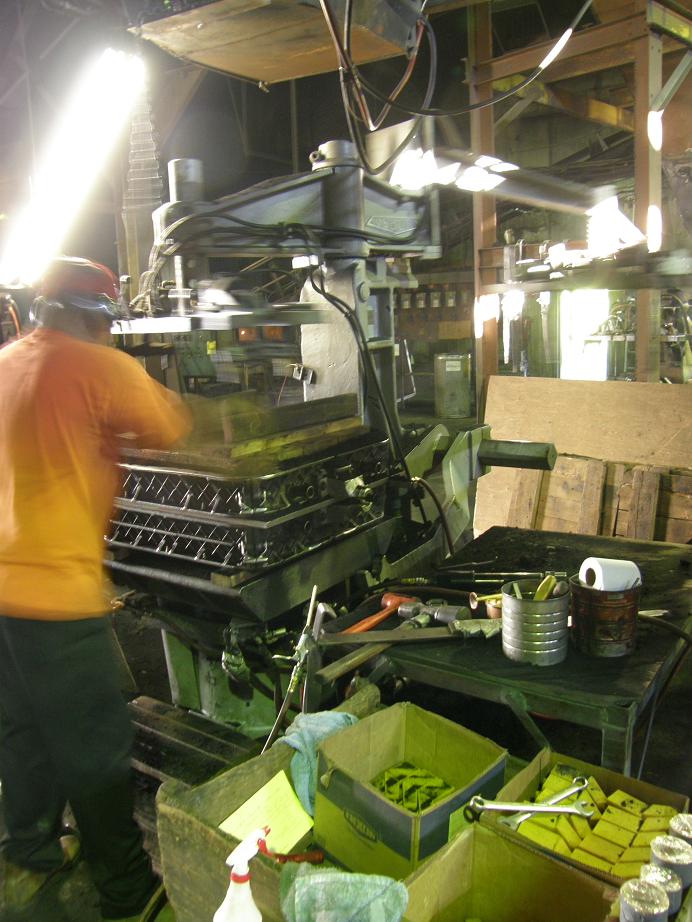
After the ramming process is finished the match plate and flask assembly is rotated 180 degrees on the Roto-Lift machine, so that now the top side of the match plate is facing up. The picture below is one of those long exposure pictures, but you can see the blur of the assembly as Mario rotates it 180 degrees, and then with the top side of the match plate facing up:
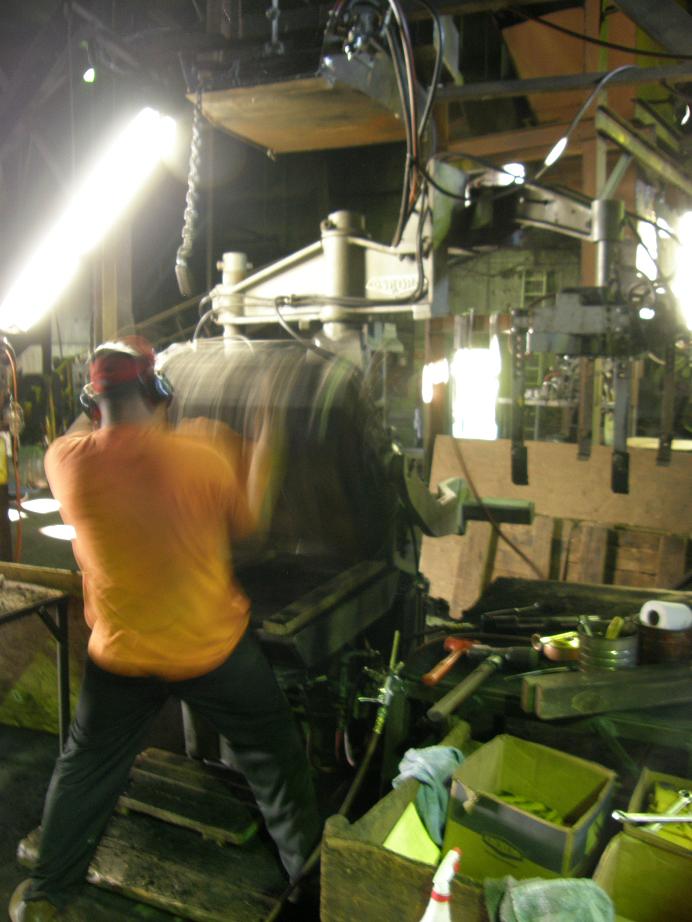
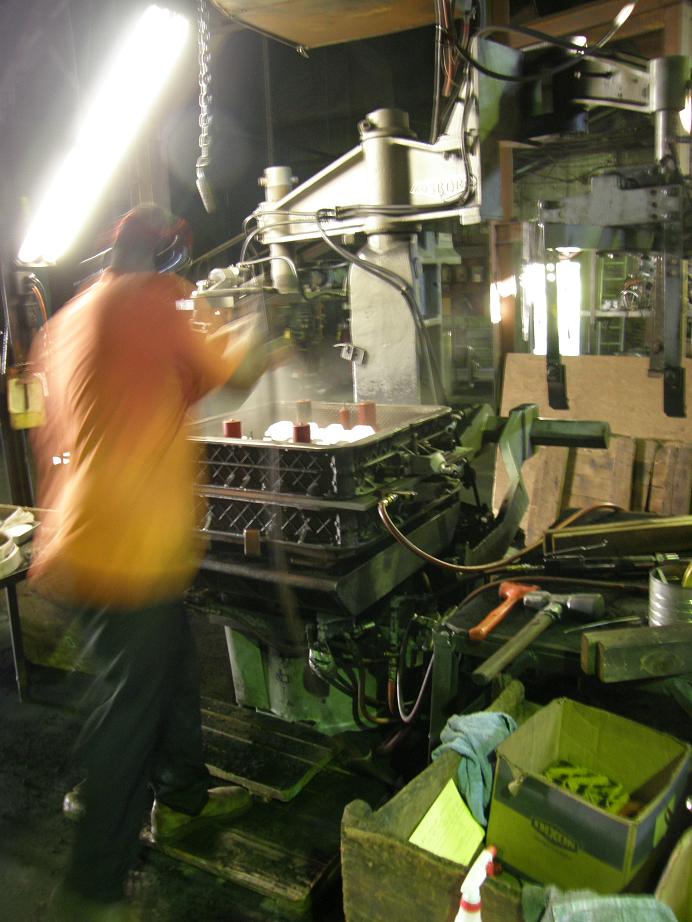
Next the same process is repeated on the top side of the sand mold. The picture below shows the top side of the assembly being rammed by the Roto-Lift machine:
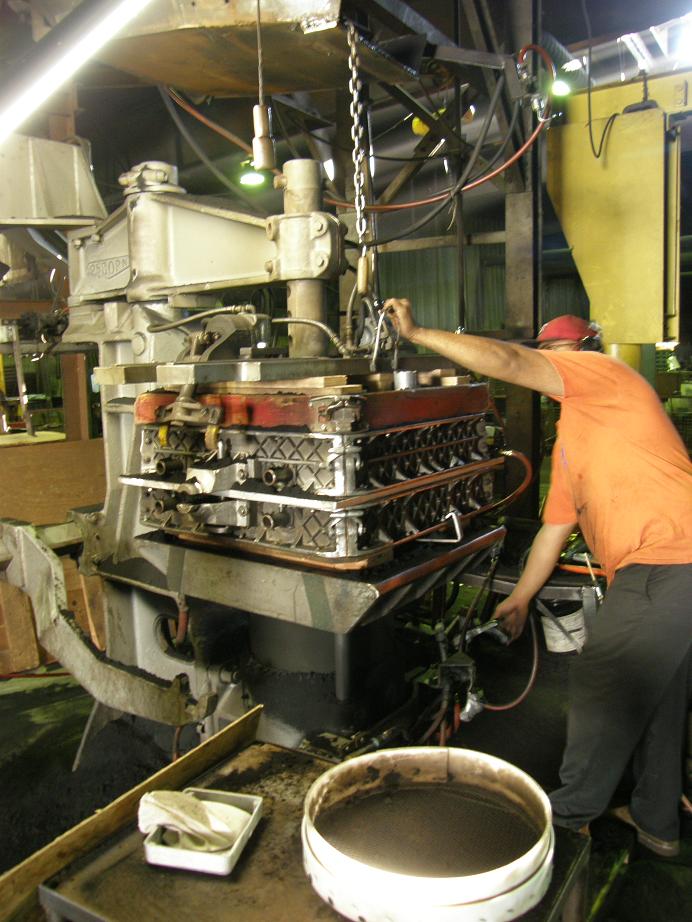
Next it is time to separate the match plate from the sand mold. The match plate is vibrated by the Roto-Lift machine to free any sticking sand, and then the top side of the mold is pulled straight up by the machine to separate the sand mold from the match plate. After separation the top half of the sand mold is rotated off to the left; see the photos below:
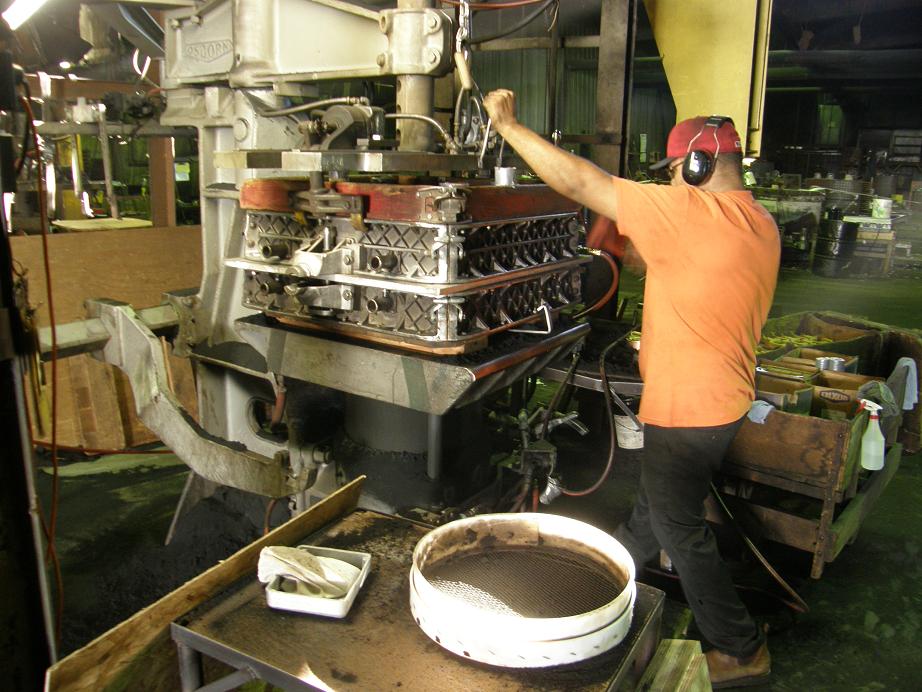
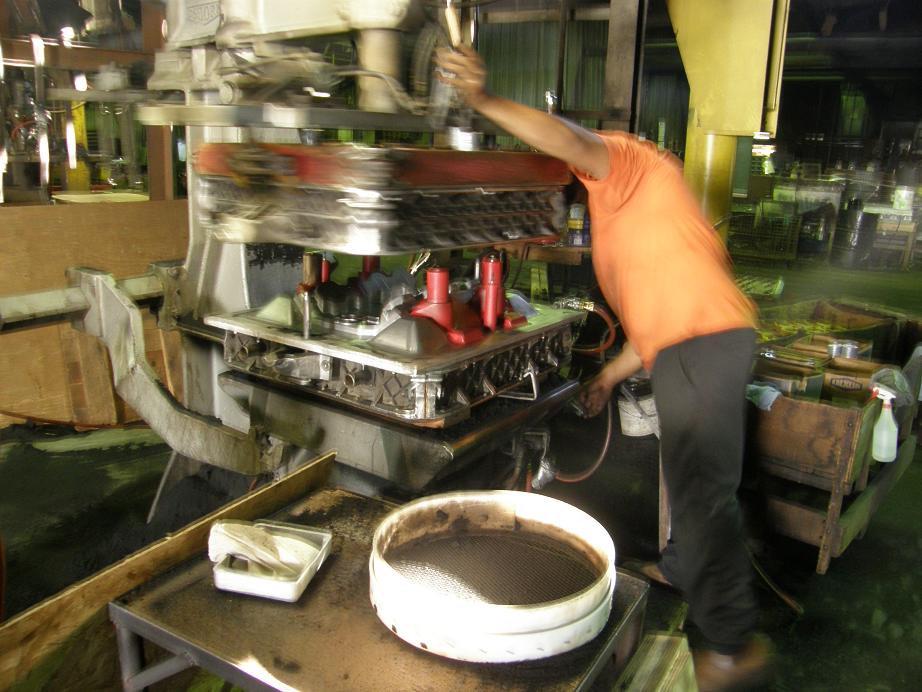
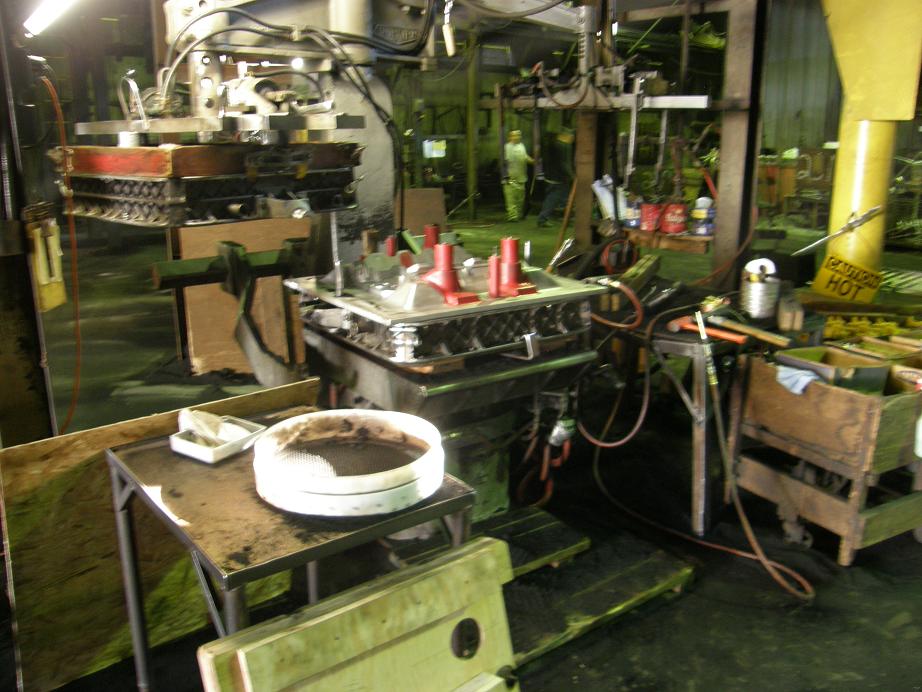
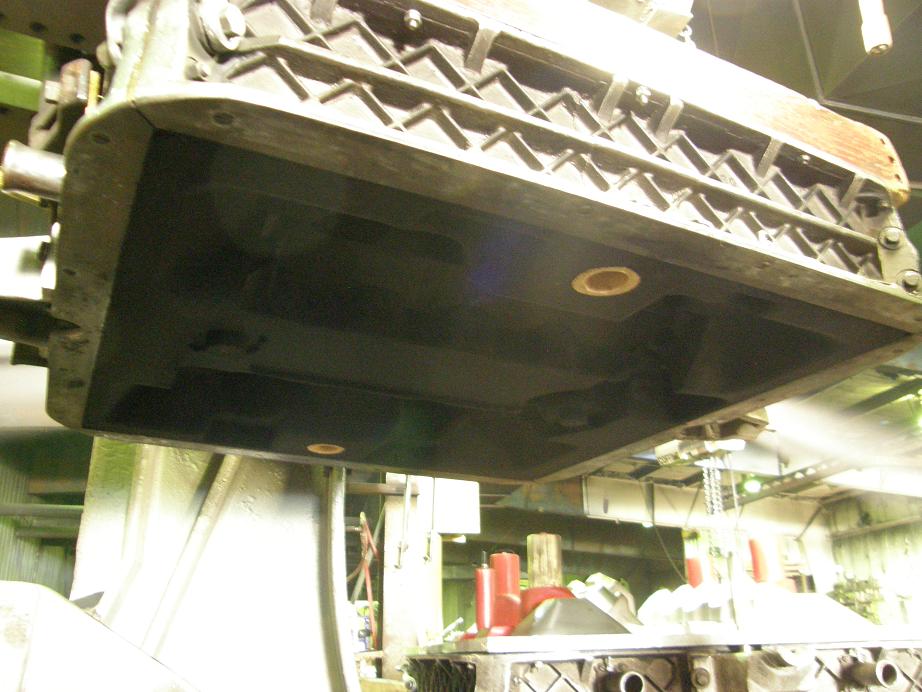
Here's a photo I took looking up underneath the top half of the sand mold. You can see the impression in the sand from the match plate. I believe they told me that there is about 500 pounds of sand used for each of these molds, so that is 250 pounds of sand hanging up there in the air, maintaining the shape of the match plate. Unbelievable...
Next Mario repeats the same process where the match plate is vibrated to free it up from the sand, and then he uses the Roto-Lift machine to lift the match plate off the bottom sand mold. The second photo shows the match plate on the right and the bottom sand mold on the left:
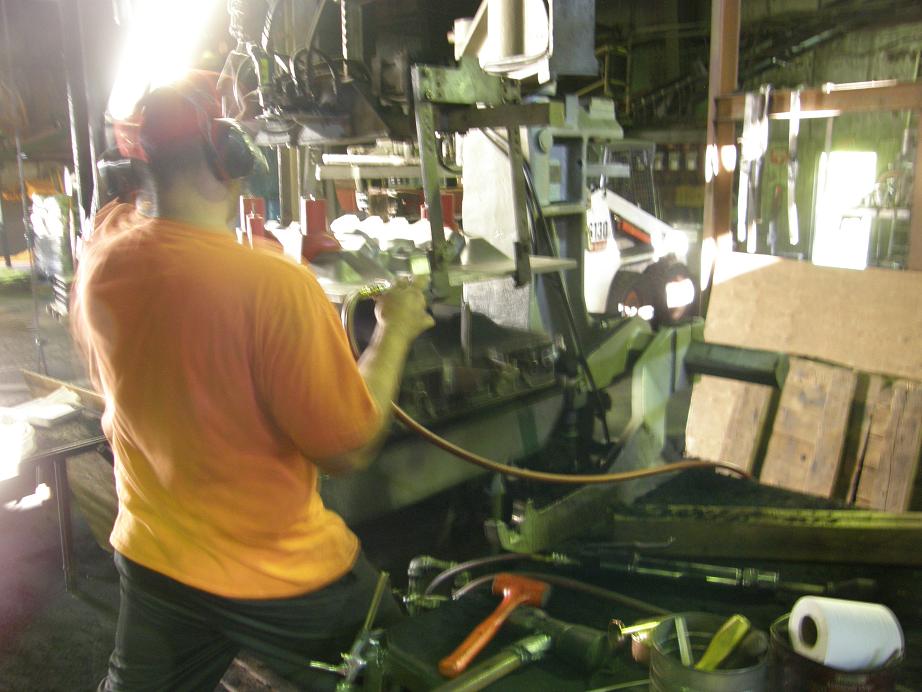
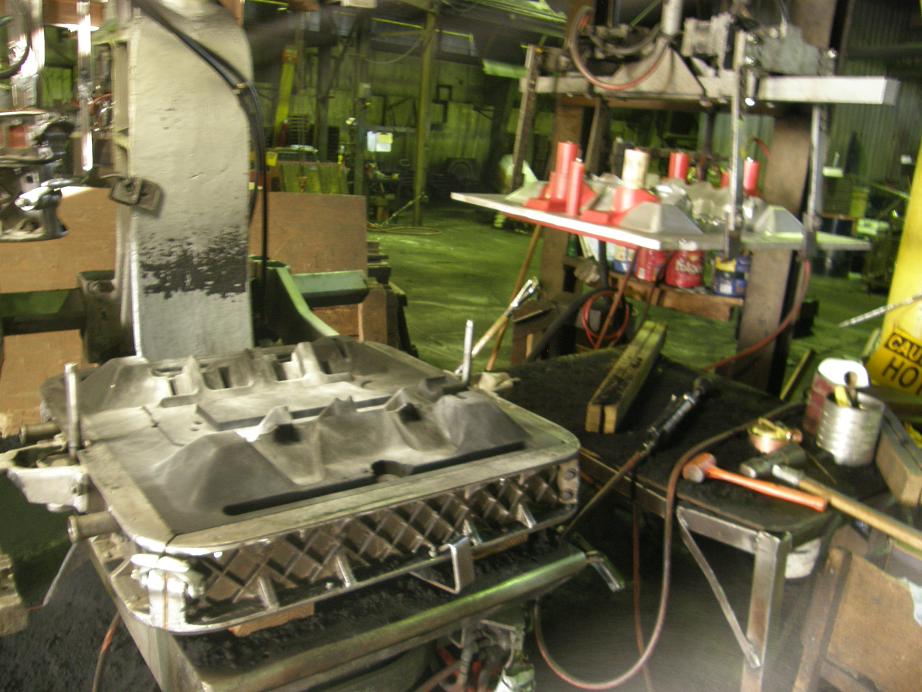
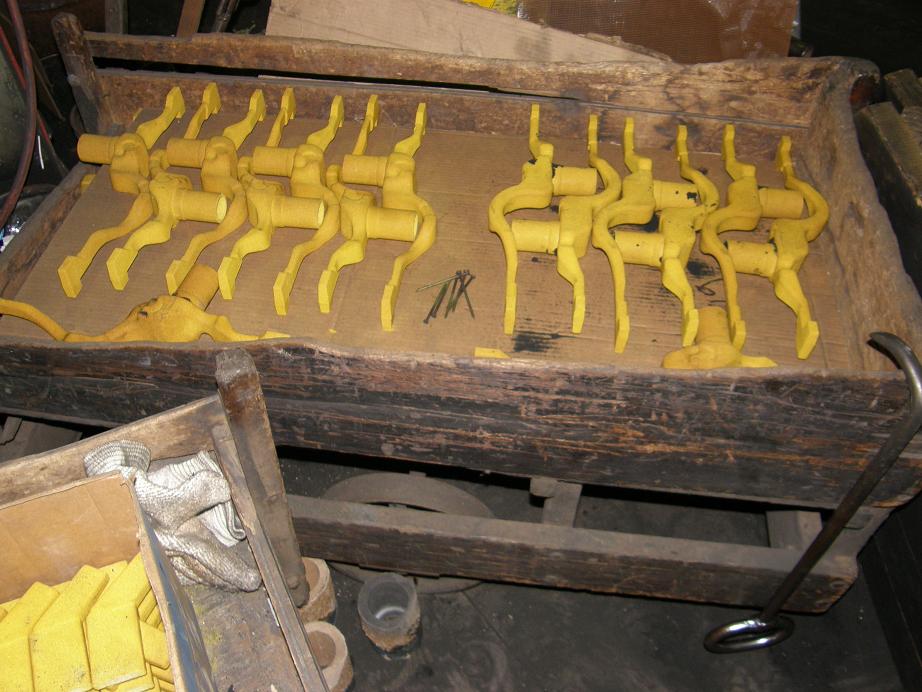
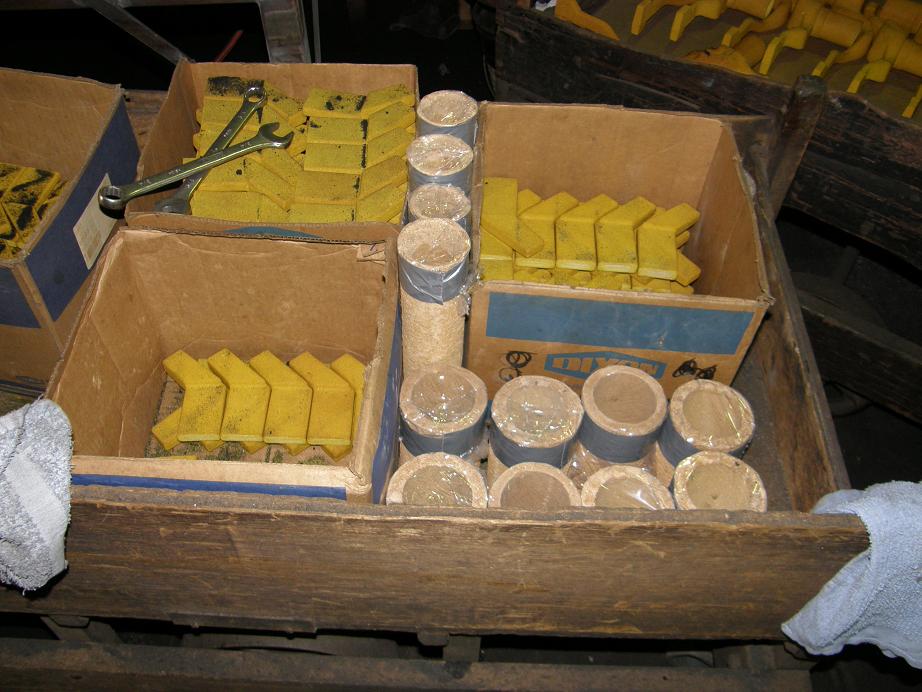
Next the cores have to be put into the mold. The cores are made with a different process, and using a different kind of sand called no-bake or airset sand. This sand is bound together with some kind of a chemical binder. The sand used in the rest of the mold is called green sand. The green sand is re-usable; the airset sand is not. Further, the chemical used as a binder in the airset sand has to be properly disposed of for environmental reasons, and this gets pretty expensive with a 500 pound mold, so I elected to go with the green sand for the main part of the mold. The downside to green sand is that tooling for green sand is more expensive. Mario carefully placed the 8 port cores and the water jacket core into the bottom sand mold. Here are some pictures of the cores, which were pre-made by the foundry, and a photo showing all the cores in place in the mold:
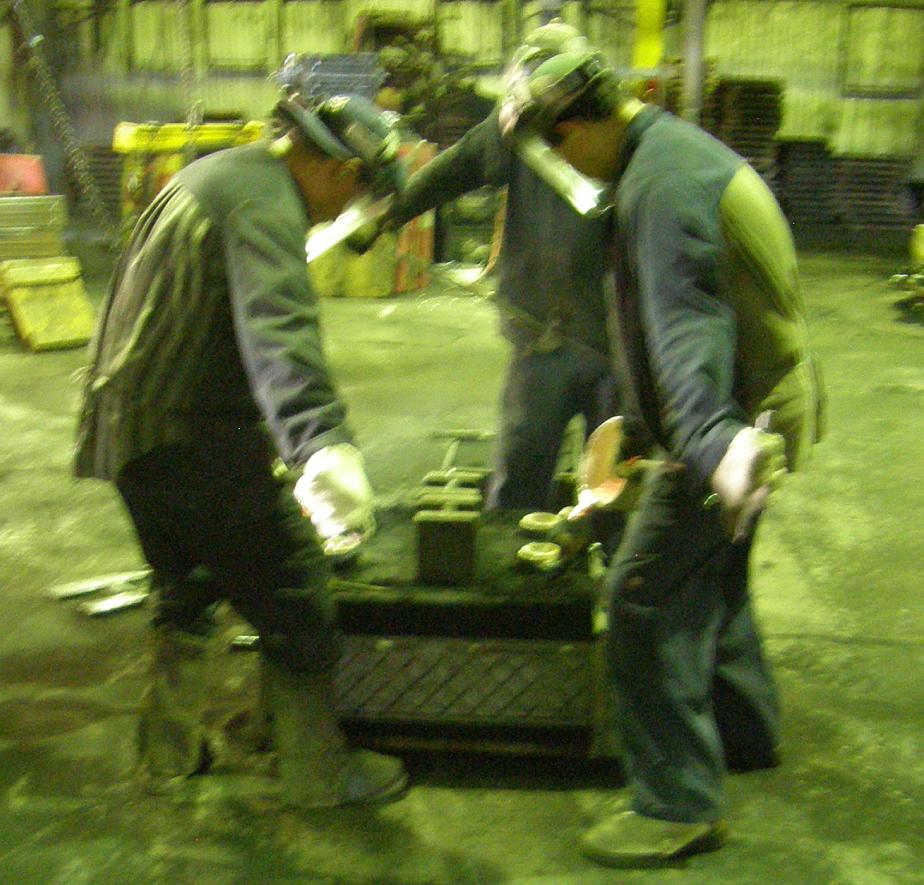
Next the two halves of the mold are put back together on the Roto-Lift machine, and then Mario uses a rotating crane with an electric lift to pick the whole mold assembly up and move it to the pouring area. They use three operators pouring at once to fill the mold; I apologize for the very poor quality of this picture, but I'm sure you get the idea:
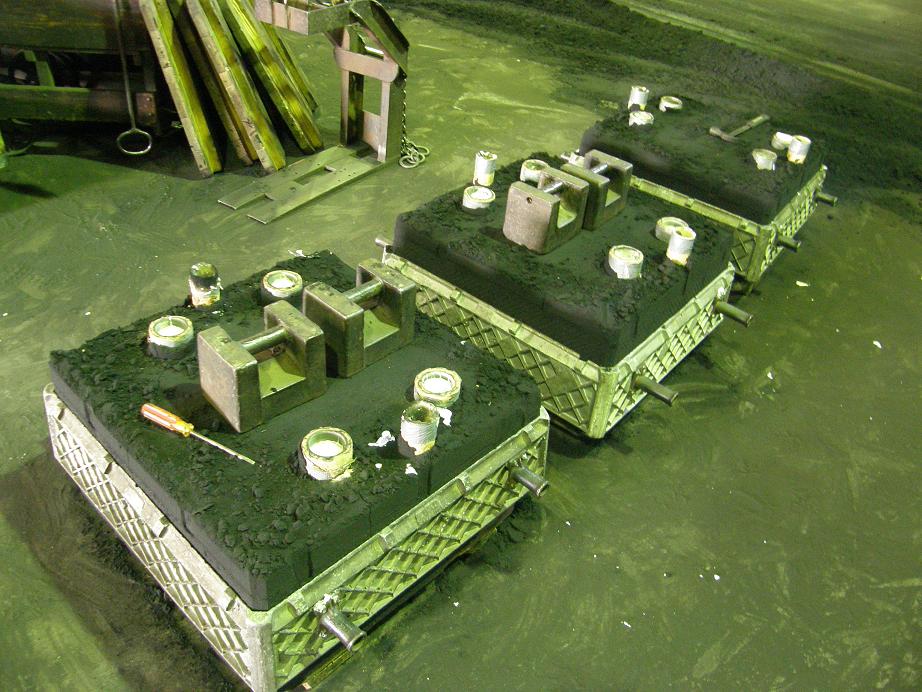
After pouring the casting is allowed to cool in the mold for a while; here's three of them lined up cooling, waiting to be broken out of the mold:
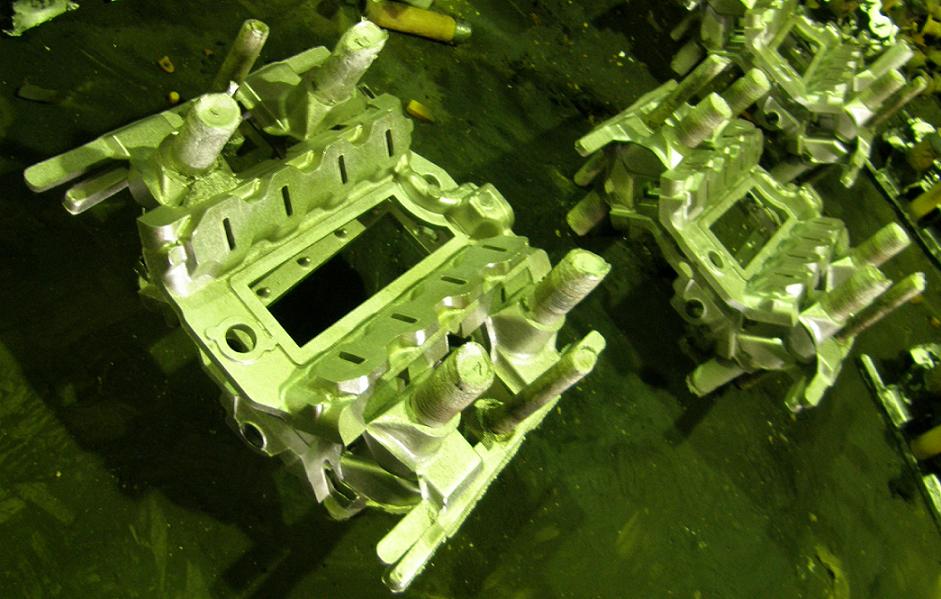
And here's a photo of a few of the castings that have been broken out of the mold, and still have the risers attached:
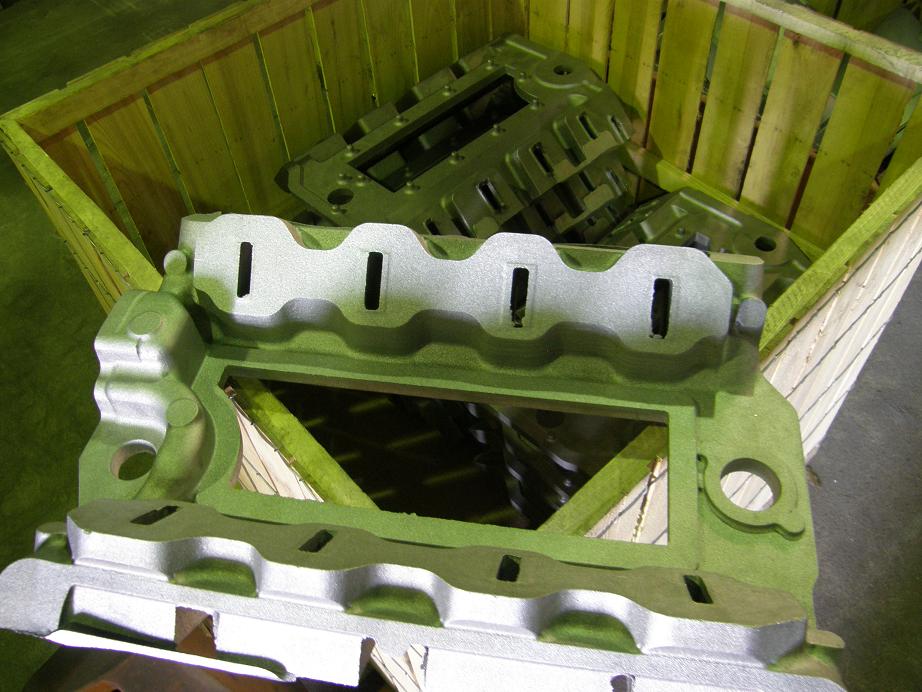
After they cool completely the castings are trimmed to remove the excess aluminum, and put in a box to get ready for shipment to the heat treat plant. Here's a box of the castings, with one on top so that you can get a better idea of what they look like at this stage:
It sure was fun to see that whole process today. I believe that the first 50 castings are going out to heat treat next week, so once I get them back I can start machining them here. I'll post more photos when I get the castings back at my shop - Jay