Author Topic: Garden block test mule  (Read 53095 times)

0 Members and 1 Guest are viewing this topic.

FishCakes428

  • Newbie
  • *
  • Posts: 6
    • View Profile
Re: Garden block test mule
« Reply #90 on: August 17, 2016, 07:13:17 PM »
Also got my vacuum pump and alternator pulleys installed along with my crank trigger wheel and sensor and bracket assembly..
Baby steps...


Hey Keith, tell me more about the crank trigger arrangement. Chebby stuff? Maybe a brief description? What it took or take to make it work? I have a project in the wind and a crank trigger will be an ignition option. Suffice it to say, there won't be any room for a distributor.
Really nice fab work so far. Kudo's

fekbmax

  • Hero Member
  • *****
  • Posts: 1458
    • View Profile
Re: Garden block test mule
« Reply #91 on: August 17, 2016, 08:21:31 PM »
It's actually a MSD setup that was designed for the ford FE. It hasn't been cataloged for the past several years though so I'm not sure if they make it any longer. Most are using the Chevy setup though and just modifying the sensor bracket.

« Last Edit: March 04, 2018, 08:21:35 PM by fekbmax »
Keith.  KB MAX Racing.

Pentroof

  • Full Member
  • ***
  • Posts: 214
    • View Profile
Re: Garden block test mule
« Reply #92 on: August 20, 2016, 10:17:07 AM »
Just getting up to speed on this thread. Nice build.

Did I notice a smear of sealant between the girdle and the block? I'll assume there is none between the girdle and the caps?
Jim

fekbmax

  • Hero Member
  • *****
  • Posts: 1458
    • View Profile
Re: Garden block test mule
« Reply #93 on: August 28, 2016, 08:36:19 PM »
#2 around pan rail only. High and dry on caps.
Keith.  KB MAX Racing.

fekbmax

  • Hero Member
  • *****
  • Posts: 1458
    • View Profile
Re: Garden block test mule
« Reply #94 on: September 04, 2016, 02:05:15 PM »
"Its in the hole"
let the fun begin, alternator and vacuum pump mount fabrication and installation, top end of engine, hoses, wiring, linkages, sensors, exhaust headers, flywheel, clutch, transmission, on and on and on.. all fun stuff though.


« Last Edit: March 04, 2018, 08:22:49 PM by fekbmax »
Keith.  KB MAX Racing.

fekbmax

  • Hero Member
  • *****
  • Posts: 1458
    • View Profile
Re: Garden block test mule
« Reply #95 on: September 12, 2016, 08:33:27 AM »
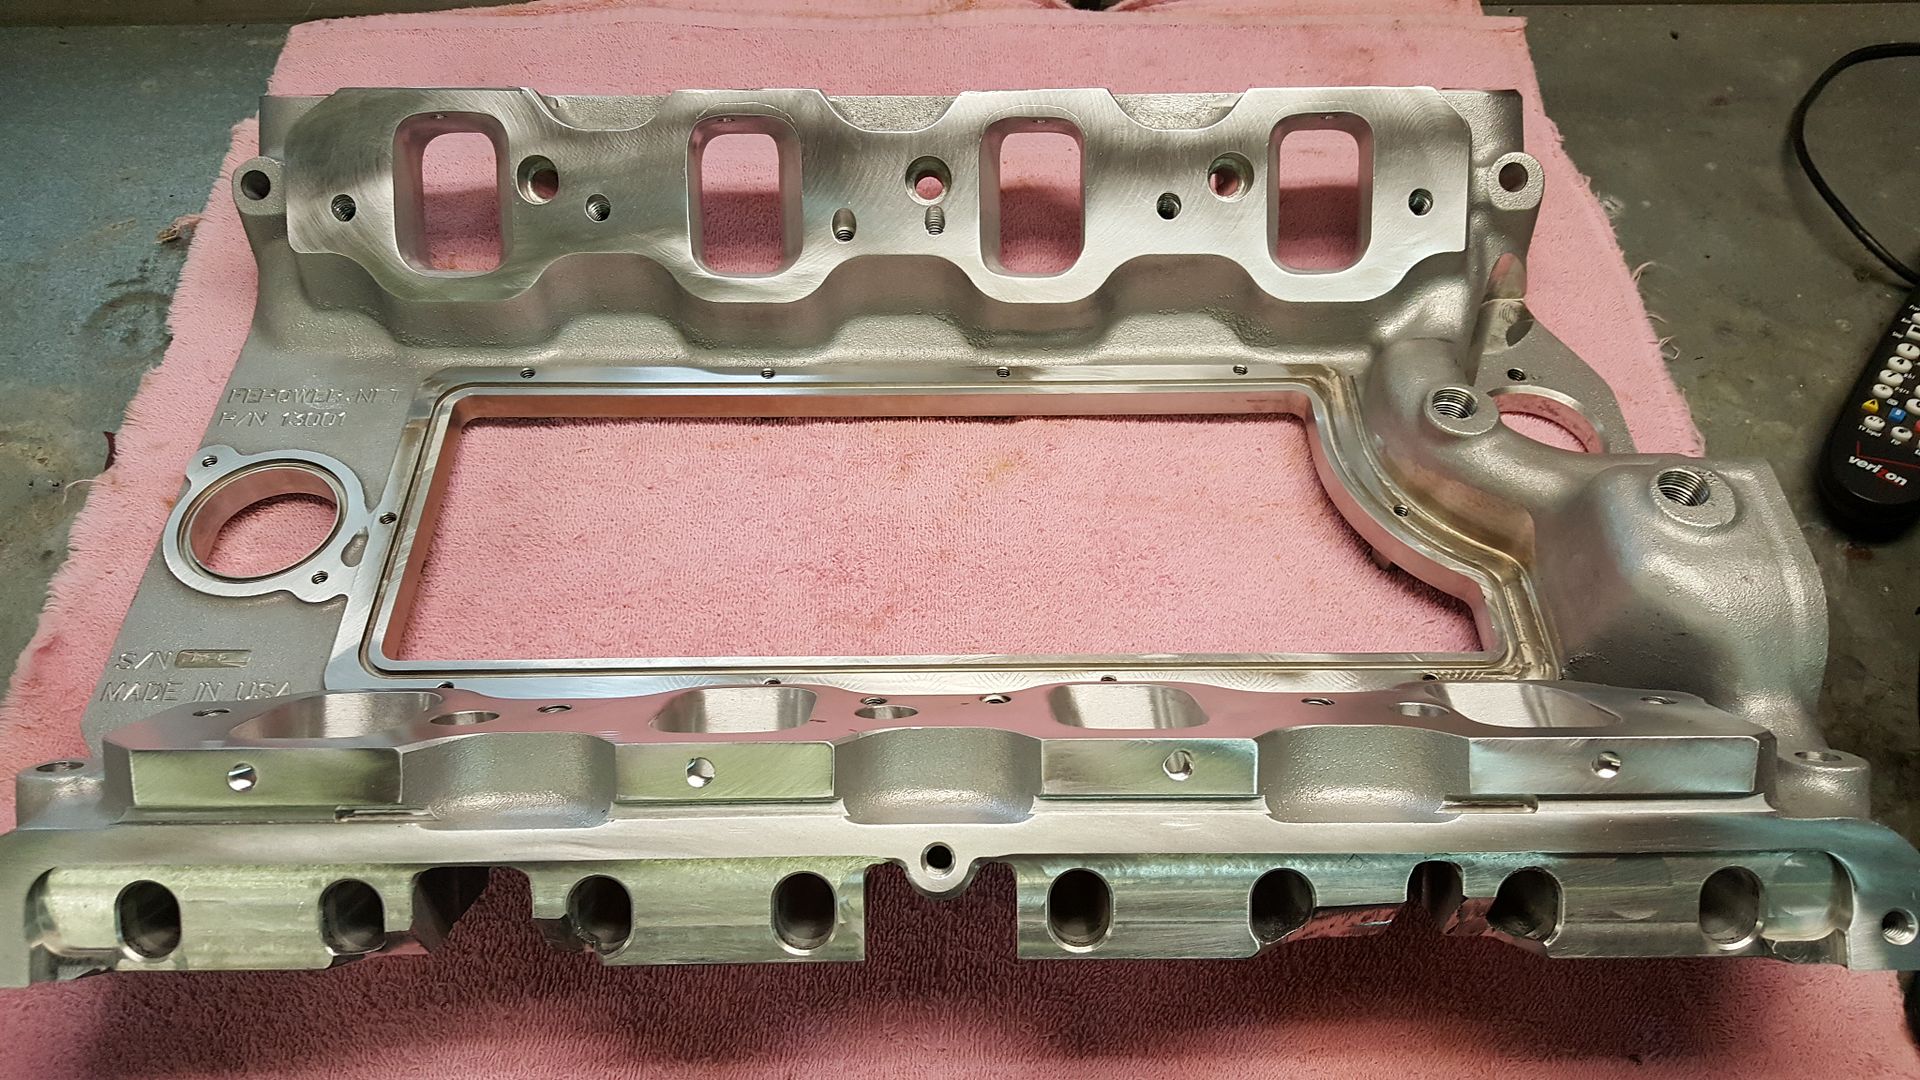
The  back of the intake adapter was interfering with my rear engine plate so I used one of my favorite and most trusted tools and zipped the back off with my angle grinder. 


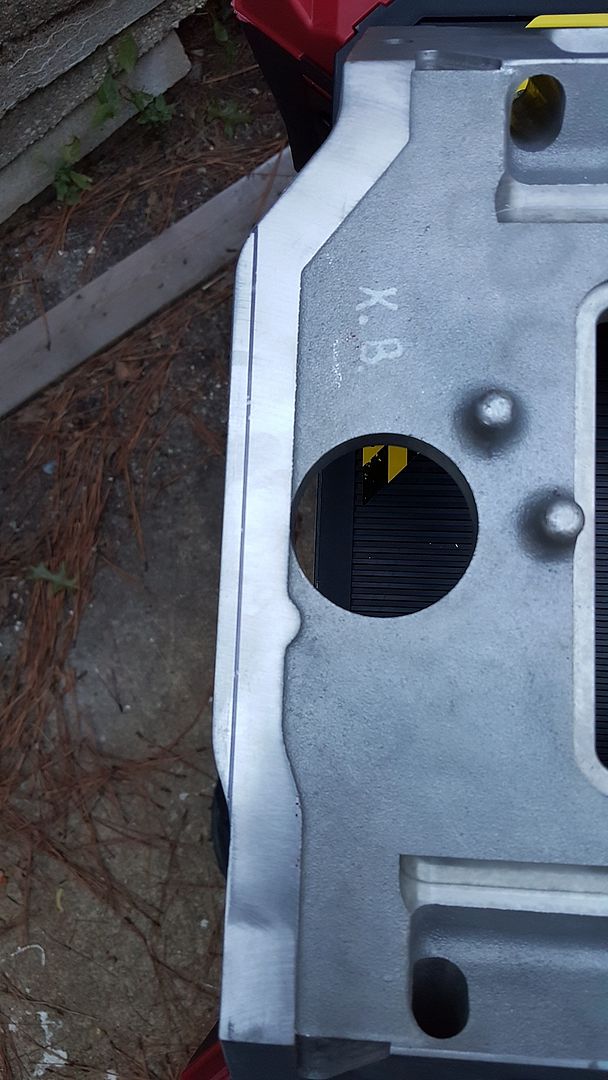
Next I used same such tool and trimmed the ears off the top of the ports on the adapter.


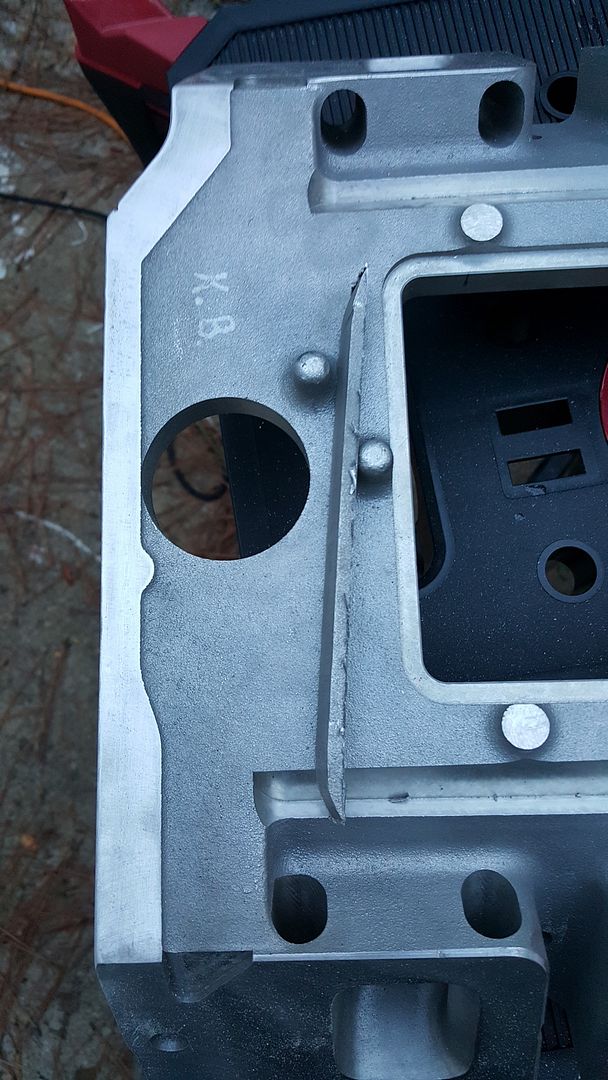
After some clean up and leveling I then marked the top of the ports for the 1/16" plugs. They were positioned so that they are close to being in the center of the port on the head side so in the future  to have decent spray pattern into the intake port behind the valve.  Drilling, tapping,  and more clean up followed. 


Turned out decently once it was all done for useing some basic tools.


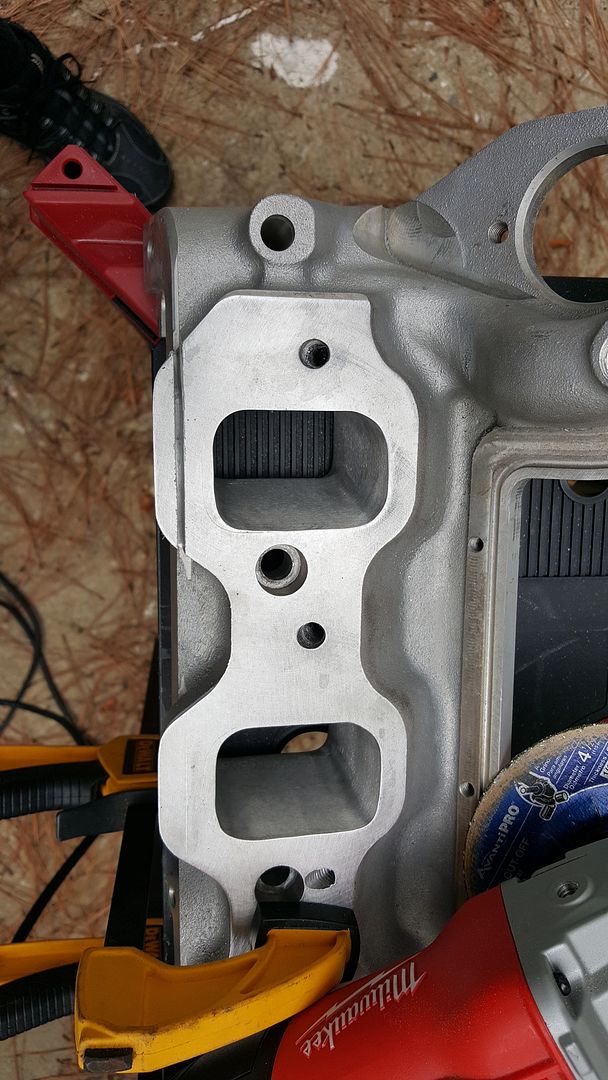
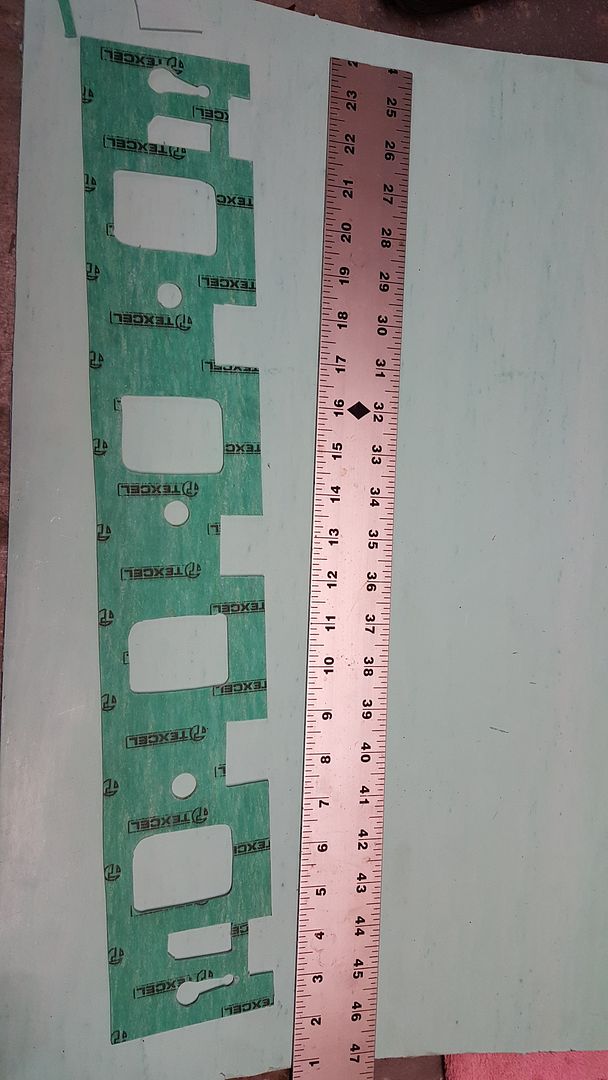
Next it was time to make up the intake to cylinder head gaskets. I use some .080 thick TexCel,  I like this stuff for intake gaskets and have used it a while. Made many of intake gaskets and adapter gaskets in the past with it for the old PSE adapter I had.


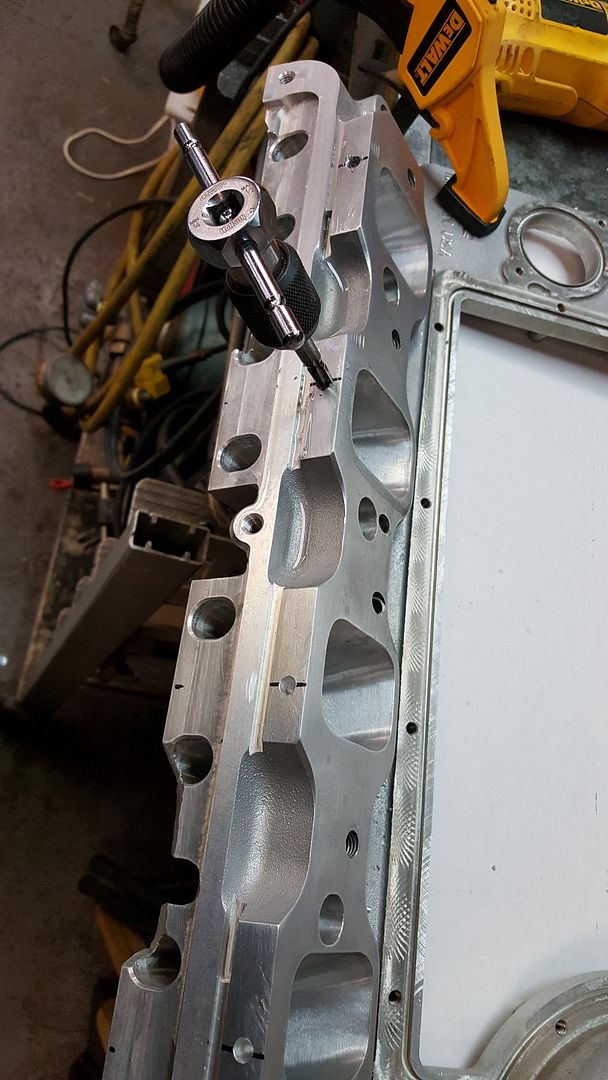
Was able to test fit my 9 point rocker shaft mounting system before the day was over.


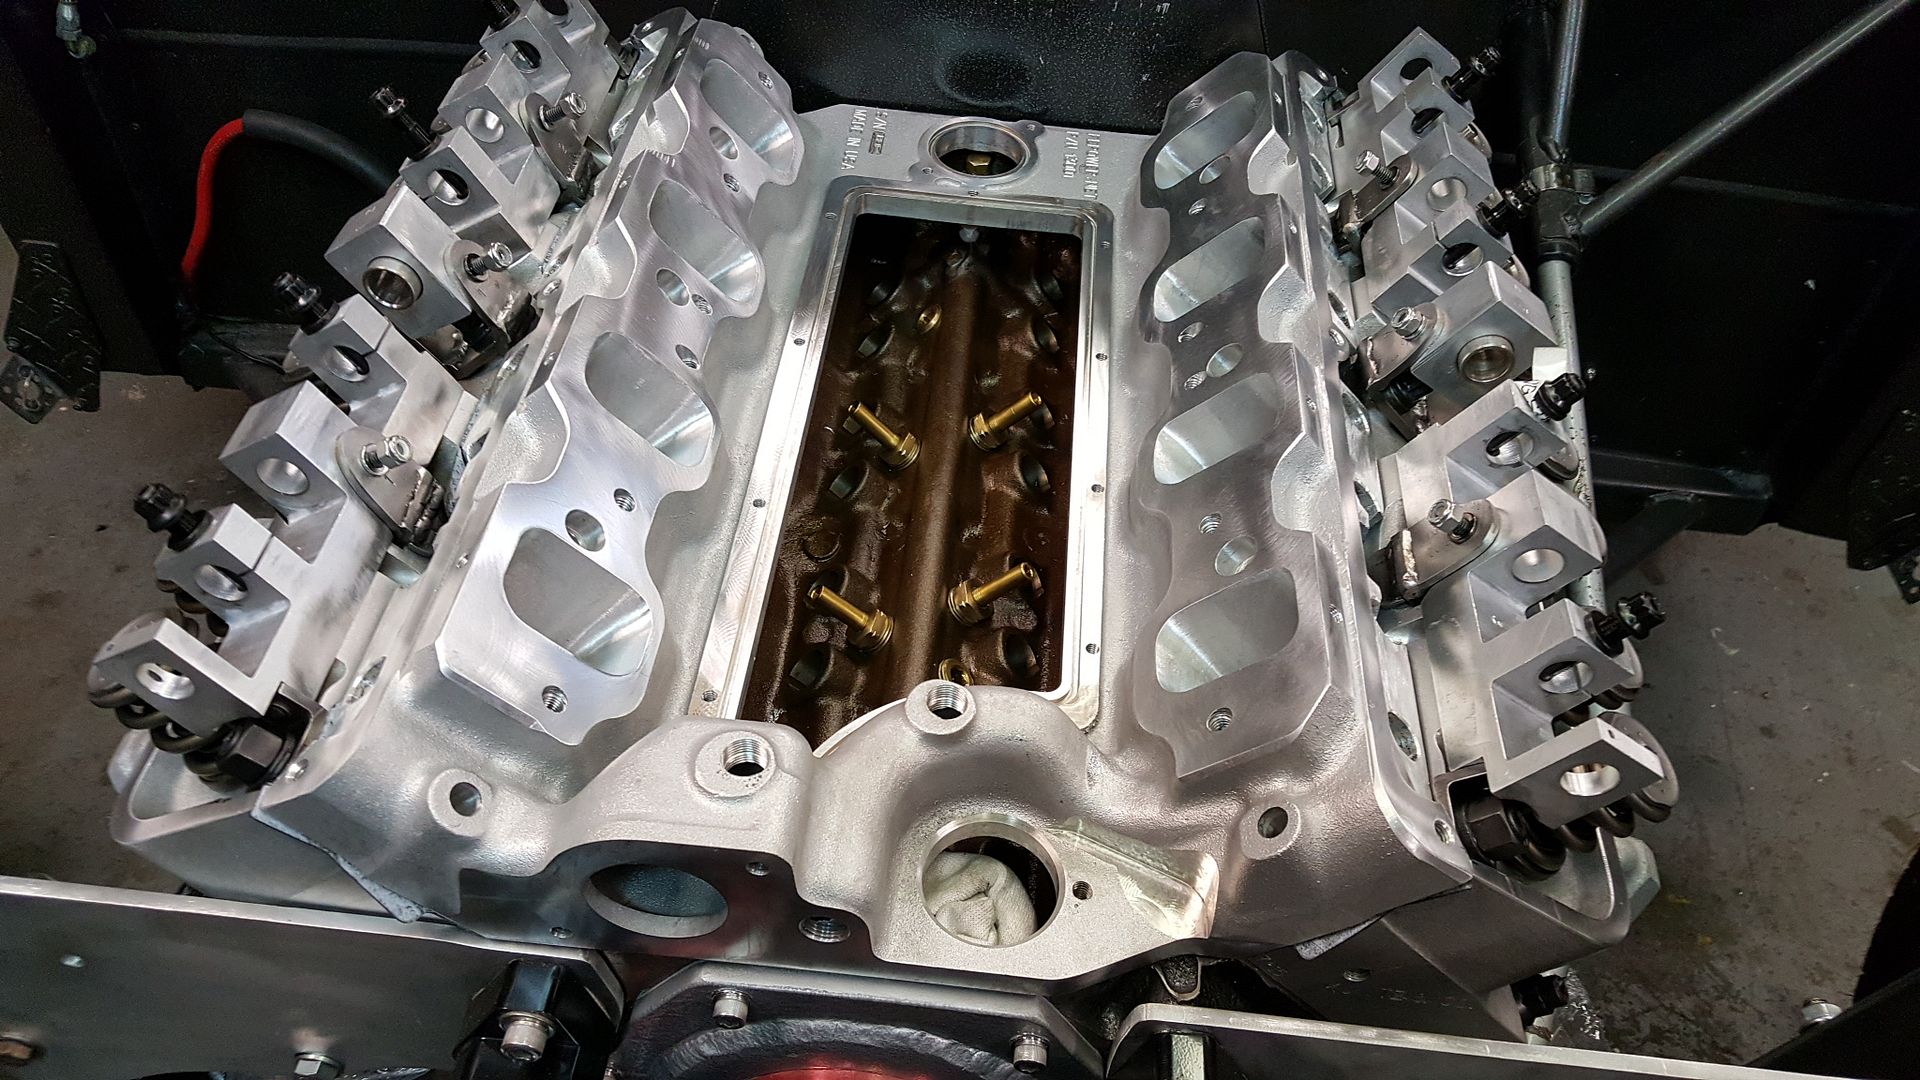
Everything seemed to be fitting well so far, a little massaging here and there but that's always exspected. I really like the fact that by removing (or before installing) the 4 stock location shaft assembly studs, the shafts will slip out and in nicely  while still mounted on the head. This will be great for initial setup and shiming of the rockers to get them lined up in the best position for the pushrods and valve tips. I know it looks a bit crude but I'm liking it..  ;D
 Had hoped to get a little farther but only had Sunday to work on it. Hoping that maybe this comming weekend I will be able to install the adapter and valve train assembly. 
Always hoping..


« Last Edit: March 04, 2018, 08:24:40 PM by fekbmax »
Keith.  KB MAX Racing.

Bolted to Floor

  • Hero Member
  • *****
  • Posts: 596
    • View Profile
Re: Garden block test mule
« Reply #96 on: September 12, 2016, 04:50:51 PM »
When are you going to post the crud pics? Everything I've seen is quality work.
John D -- 67 Mustang 390 5 speed

fekbmax

  • Hero Member
  • *****
  • Posts: 1458
    • View Profile
Re: Garden block test mule
« Reply #97 on: September 12, 2016, 08:14:08 PM »
LOL, Thanks, I appreciate it.  I catch alot of flack sometimes because I use a angle grinder for almost anything.  Just me and my old school ways.
Keith.  KB MAX Racing.

fekbmax

  • Hero Member
  • *****
  • Posts: 1458
    • View Profile
Re: Garden block test mule
« Reply #98 on: October 08, 2016, 09:48:11 PM »
Intake adapter gaskets cut out and in place for intake adapter. And yes i did trim out for oil drain back although I'll admit I came very close to forgetting lol.  I really like this TexCel stuff and try to keep a few sheetseconds in different thickness.  It holds up to oil and gas exceptionally well and even holds up to heat pretty well. I used some in a pinch for header flange gaskets once with no issues. Of course I wouldn't recommend it long term but it seemed to hold up just as well as the old asbestos type gaskets do. Farther down the line though it works really good for collector gaskets.  And yes, I did cut out oil drain backs.
Good stuff.

« Last Edit: March 04, 2018, 08:48:33 PM by fekbmax »
Keith.  KB MAX Racing.

fekbmax

  • Hero Member
  • *****
  • Posts: 1458
    • View Profile
Re: Garden block test mule
« Reply #99 on: October 08, 2016, 09:54:31 PM »
Another advantage of the 9 Point mounting system,  it's easy to leave the 4 main stand studs out yet have the stands mounted and have everything in place firmly so as to be able to properly shim the rocker arms getting the roller tips and push rod adjusters lined up in a happy place.

« Last Edit: March 04, 2018, 08:26:04 PM by fekbmax »
Keith.  KB MAX Racing.

jayb

  • Administrator
  • Hero Member
  • *****
  • Posts: 7406
    • View Profile
    • FE Power
Re: Garden block test mule
« Reply #100 on: October 09, 2016, 08:31:45 AM »
Looks really good, Keith.  Can you post some more pics of the rocker shaft mounting arrangement?  I'm having trouble visualizing it from the pictures have posted already.  I'm kind of curious about your approach there...
Jay Brown
- 1969 Mach 1, Drag Week 2005 Winner NA/BB, 511" FE (10.60s @ 129); Drag Week 2007 Runner-Up PA/BB, 490" Supercharged FE (9.35 @ 151)
- 1964 Ford Galaxie, Drag Week 2009 Winner Modified NA (9.50s @ 143), 585" SOHC
- 1969 Shelby Clone, Drag Week 2015 Winner Modified NA (Average 8.98 @ 149), 585" SOHC


fekbmax

  • Hero Member
  • *****
  • Posts: 1458
    • View Profile
Re: Garden block test mule
« Reply #101 on: October 09, 2016, 10:59:32 AM »
sure thing,
 its kinda crude and for sure back yard garage built stuff, a working prototype you might say, i know i could do a much better job as far as how they look but im confident that they will work just fine and at this point i just wanna get my junk back together and up and running.

i machined a nice flat and level pad on the heads at the head stud nut mounting surface. these brackets fit down over the studs then the washer and nut torqued down holds them in place. the shaft stands slip down in them, a good tight fit and a through bolt slips through the brackets and the stands holding them in place. there are tangs on the brackets that hold them square and in-place so they don't move or twist when torquing the head.


the one draw back with this design is you have to use a crow foot adapter to torque the outboard head studs because of clearance.


i feel like its a decent set up, like i said, with some time, better tooling, (made these with hack saw, drill and grinder lol) they could be made to look a bit more professional but im happy with it, how it works and the added benefits of being able to install or remove the shafts/rockers while still fixed to the head by just taking out the 4 standard mounting studs.


« Last Edit: March 04, 2018, 08:27:48 PM by fekbmax »
Keith.  KB MAX Racing.

jayb

  • Administrator
  • Hero Member
  • *****
  • Posts: 7406
    • View Profile
    • FE Power
Re: Garden block test mule
« Reply #102 on: October 09, 2016, 11:27:05 AM »
Thanks for the pics, that does look like a very strong setup.
Jay Brown
- 1969 Mach 1, Drag Week 2005 Winner NA/BB, 511" FE (10.60s @ 129); Drag Week 2007 Runner-Up PA/BB, 490" Supercharged FE (9.35 @ 151)
- 1964 Ford Galaxie, Drag Week 2009 Winner Modified NA (9.50s @ 143), 585" SOHC
- 1969 Shelby Clone, Drag Week 2015 Winner Modified NA (Average 8.98 @ 149), 585" SOHC


fekbmax

  • Hero Member
  • *****
  • Posts: 1458
    • View Profile
Re: Garden block test mule
« Reply #103 on: October 09, 2016, 11:32:56 AM »
i dont think i have hurt anything and if it helps at all then it was worth a weekend in the shop messing around with some scrap.  ;D ;D
Keith.  KB MAX Racing.

cjshaker

  • Hero Member
  • *****
  • Posts: 4461
    • View Profile
Re: Garden block test mule
« Reply #104 on: October 09, 2016, 08:24:49 PM »
Keith, I always like your work and ingenuity.
Is it just me, or do those retainers look too small for the valve springs? I don't recall ever seeing springs hanging that far out of the retainers.
Doug Smith


'69 R-code Mach 1, 427 MR, 2x4, Jerico, 4.30 Locker
'70 F-350 390
'55 Ford Customline 2dr
'37 Ford Coupe