Thanks Jason, I'm wondering why I don't have that spacer, which should have come in the "complete" kit that I got from American Powertrain

I'm going to have to call those guys on Tuesday, and get ready to wait on hold for at least 20 minutes (I've never gotten through to anyone but the secretary in less than 20 minutes, and often it is 40). The missing spacer and the lack of instructions with this kit, with the sole exception being the instructions for the hydraulic clutch, is just icing on the cake of poor service from this company
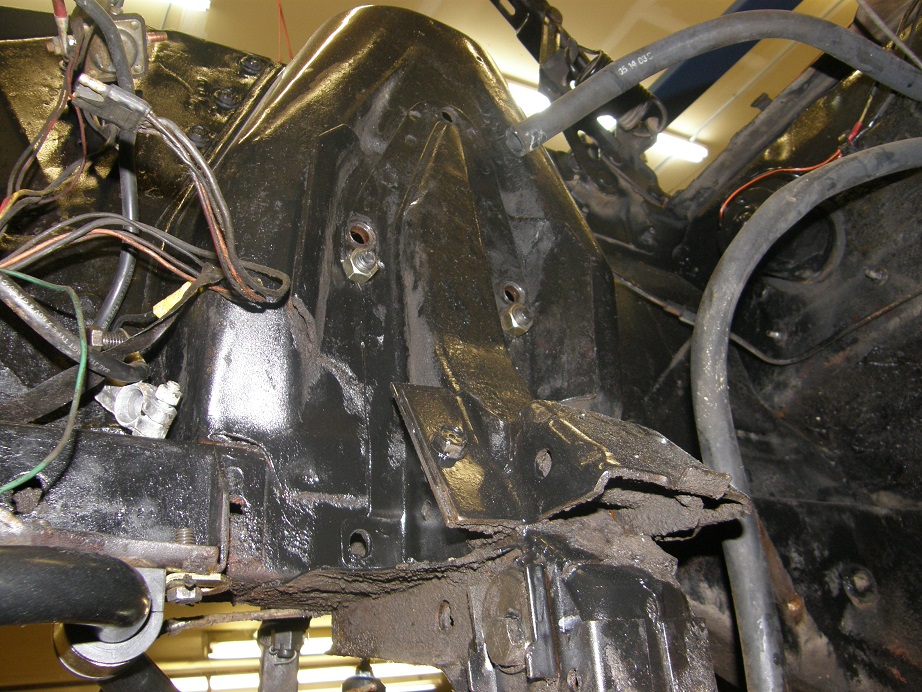
OK, rant off. Despite the transmission setback there was a lot of progress today, and I have a plan to proceed with the transmission anyway. My pal Steve was over helping out today, and after getting stalled on the engine/trans combination, Steve focused on the front suspension parts and I worked on getting the engine and trans ready to put together tomorrow. Since we weren't going to put the engine/trans in today, we didn't need to be able to roll the car around the shop, so there was no reason to limit the front suspension work to parts that could be quickly put back together to allow the car to roll. Steve tore apart the whole front suspension as a result, and replaced the upper control arms, lower control arms, and inner and outer tie rod ends. When he got the upper control arms off I marked and drilled new control arm mounting points, lowered by 1" like the early Shelbys. Here's a picture of the new upper control arm mounting points from under the engine compartment:
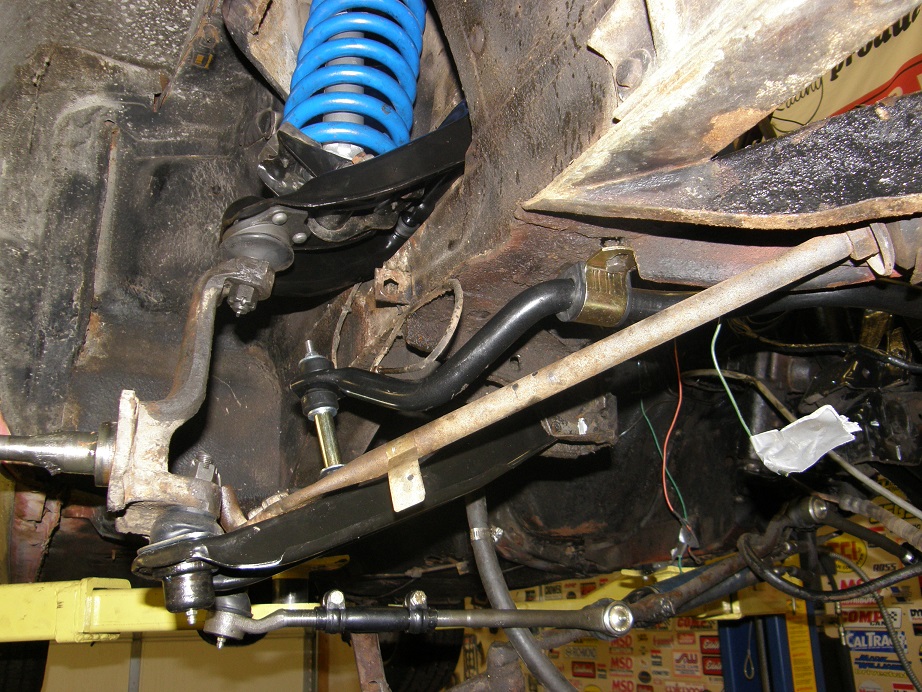
Steve and I also installed new front shocks, and a 1" front swaybar. Finally, Steve removed the front drum brakes in preparation for the front disc brake installation. Here's a picture of one side of the front suspension as it sits now:
Back to the engine and trans, which I spent most of time on today. Here's a picture of the new pilot bearing with the roller bearing installed, with the old one, which was too small in diameter, on the right:
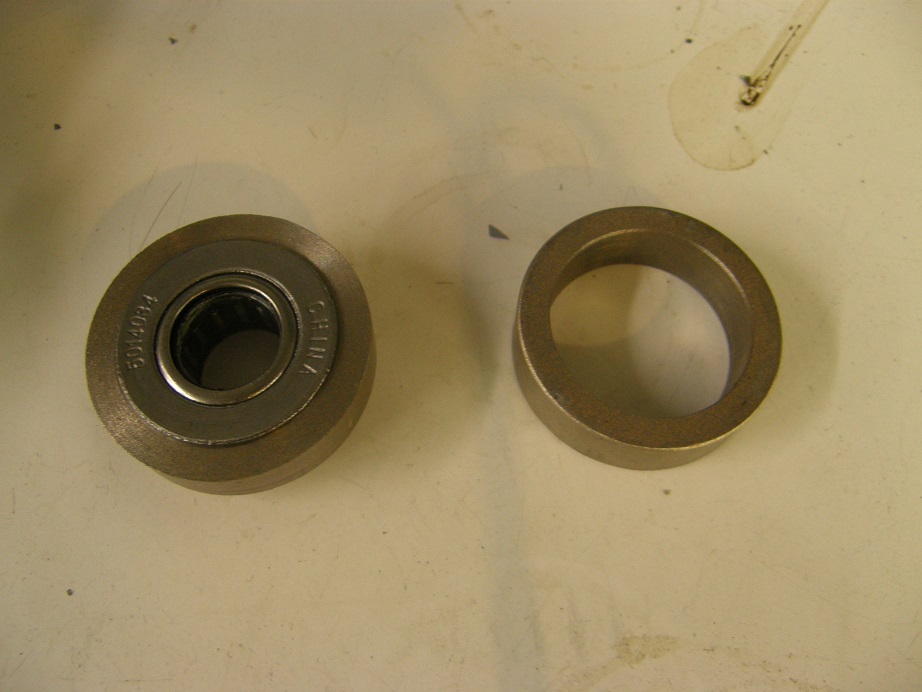
Made in China. Great

After discovering the problem with the spacing of the trans to the engine, Steve and I talked about this for a while, and concluded that I could get the engine and trans dummied into place if I just made up some 1/2" thick donut spacers from 3/4" aluminum round stock that I have on hand, to bolt between the trans and the bellhousing. This way I could at least confirm the fit of the transmission in the car, and get a driveshaft measurement too (once the new rear end is installed). In fact, when I get the actual spacer I need I could actually cut it in half, and install it one half at a time, by pulling the small spacers on one side of the transmission and bolting in the first spacer half, and then repeating on the other side. So, I might even be able to keep the transmission installed in the car in that case, if there is room to put the full spacer in place once the transmission is installed.
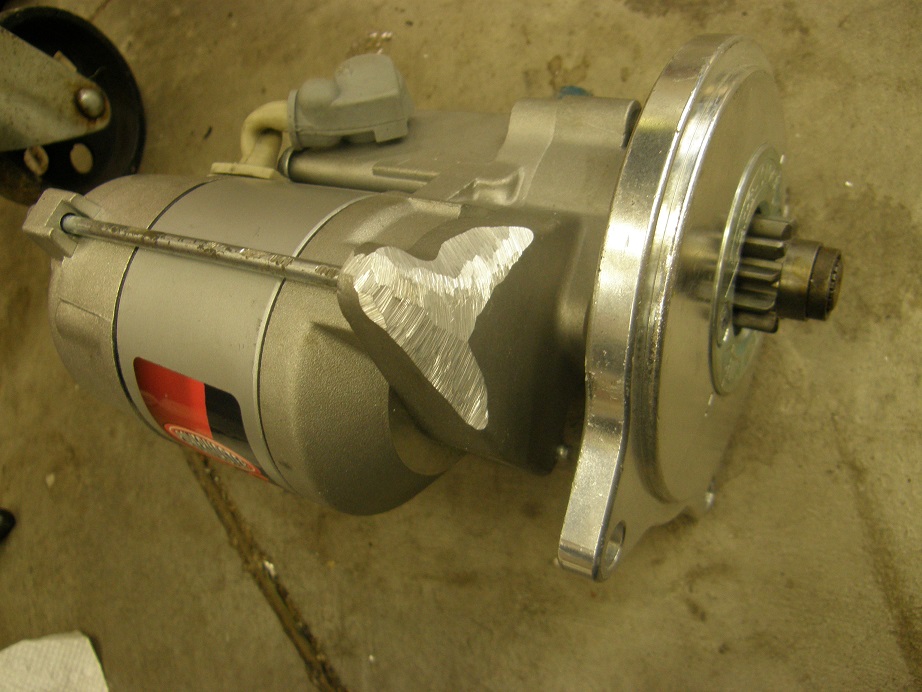
With that plan in mind, I continued working on the engine and transmission to make sure it was completely ready to install once I made up the spacers. Of course, there were issues that came up, for example the starter. The picture below shows the Powermaster starter I'm using for this engine. It is one of their clockable starters, but despite the fact that it can be rotated with respect to the mounting points 360 degrees, I needed to make a slight "modification" in order to get it to fit on the engine and also clear the headers:
Despite a series of small problems like this, by dinner time I had the engine pretty much ready to go, with the clutch and bellhousing installed, and all the engine accessories. Here's a picture of the engine as it sits now, hanging from the engine hoist:
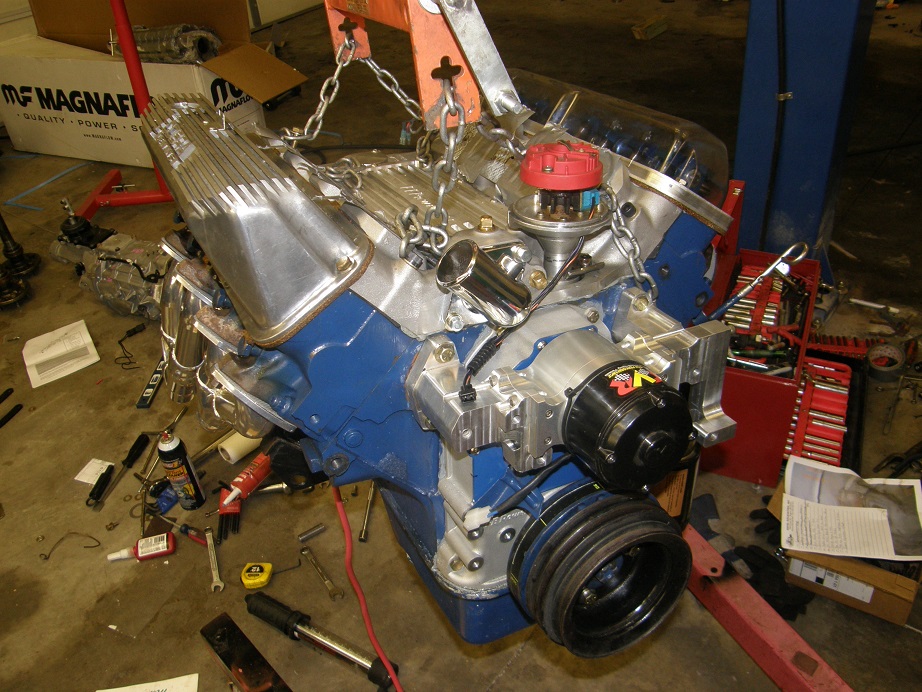
One thing I haven't installed yet is the clear valve covers; I think I will wait on those until the engine is finally installed in the car. One big reason I'm trying to get this car done now is so that I can drive it in the heat of the summer months, in traffic, and make sure that the clear polycarbonate valve covers don't melt LOL! Assuming they pass the summer drive test intact, I may start building those this fall.
As mentioned earlier I did get some instruction sheets for the hydraulic clutch cylinder and throwout bearing. Here's a picture of the throwout bearing installed on the transmission:
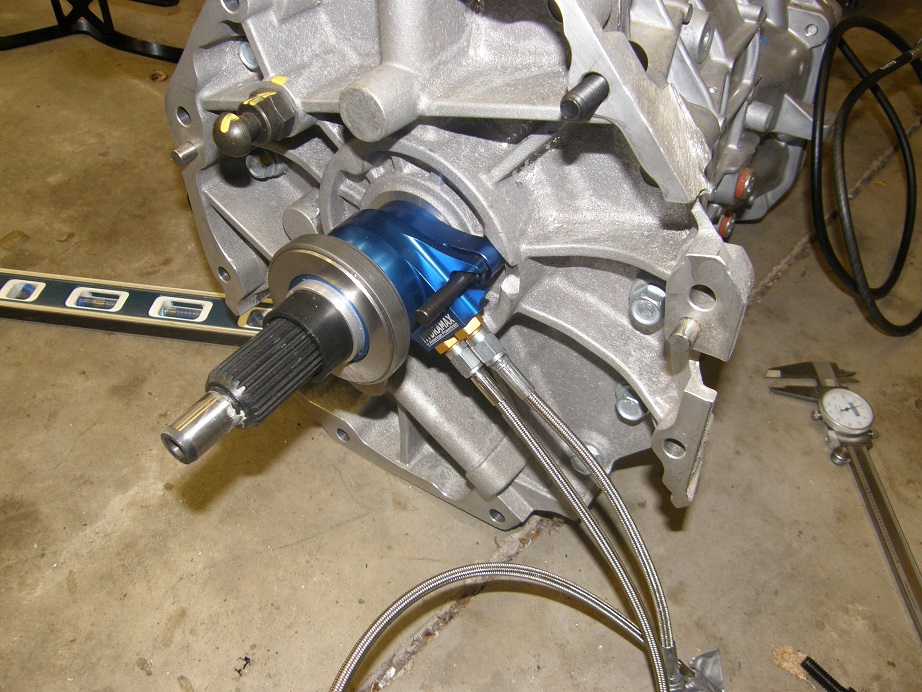
The instructions had me take some fairly precise measurements to set the distance from the throwout bearing face to the clutch fingers. They gave you a bunch of shims to shim the throwout bearing to get it closer, in order to achieve a gap of 0.150" to 0.200" between the face of the throwout bearing and the clutch fingers. Well, with a 1/2" spacer between the bellhousing and the transmission, I ended up with 0.110" of clearance, with no spacers. It says in the instructions that anything over 0.100" is OK, so I'm going to stick with what I've got, but I guess if the spacer ends up being more like 0.550", it would put me right on the suggested range.
In preparation for tomorrow, tonight I started looking at the transmission mount. These are the pieces that I think are involved (again, no instructions on this):
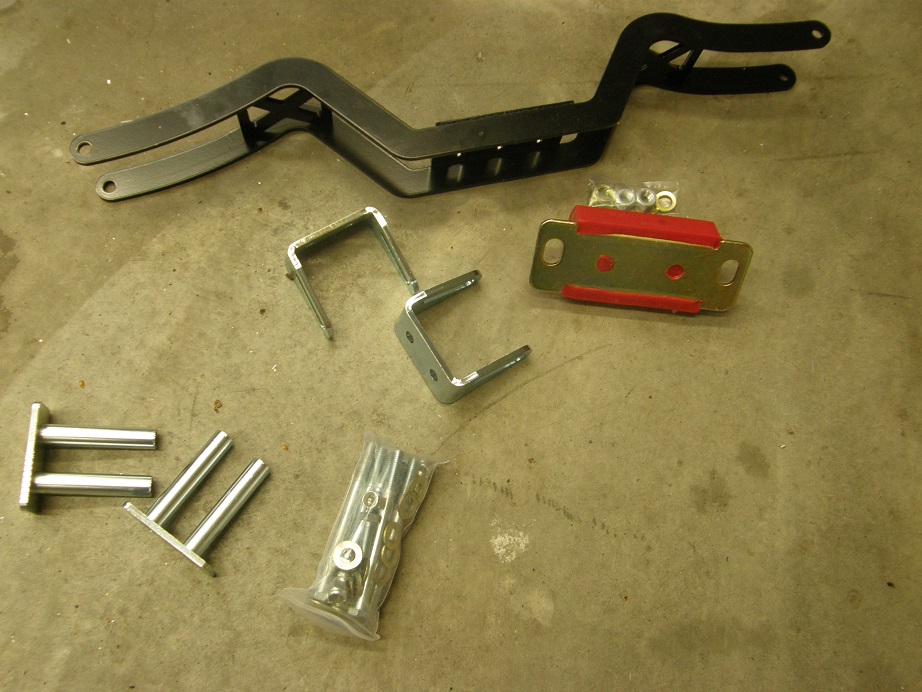
It is not obvious to me how this mounting arrangement fits into my car. Anybody have any suggestions on this?
Tomorrow, I will install the front brakes first, so that the front tires can go back on the car and it can be moved around off the hoist, and then I'm going to whip up the 1/2" spacers on my lathe, and get the engine and trans test installed in the car. Should be a fun day. I'll post another update tomorrow - Jay


