The passenger side coil spring and shock went in Sunday evening without much issue once I got it clocked right on coil spring compressor. And man that’s an eerie feeling with that much stored energy.
The driver side went in on Monday evening, but it didn’t go willingly!!
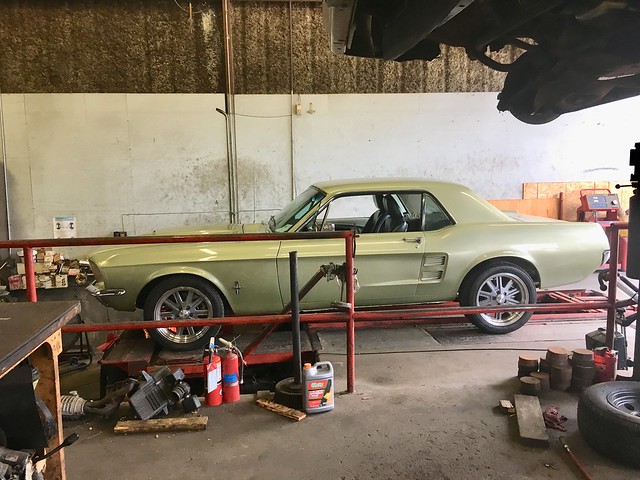
Tuesday morning was an appointment with B and B Tire for a front end alignment. The drive over was sketchy, but I got there without issue. There was a night and day difference with the test drive afterwards. Here’s the car on the rack.
 Untitled
 Left the shop and less than a mile later, I was in a parking lot out of gas!!! Guess the gas gauge was more accurate than I thought. Glad I’m a AAA gold member, 8 tows a year up to 100 miles for me and the better half. It's money well spent!!
While I'm trying to figure out that I'm out of gas, yea, should be obvious, right? There was an extreme amount of vacuum on the tank, to the point it looks to have collapsed the tank some. It’s no longer flat across the bottom. Once home, I drained the gas tank, about 2 gallons, and tweaked the sending unit. Got enough gas in it to make it back to the station for more fuel. It’s a 20 gallon and tank and spitting back like its full at about 15 gallons.
Tuesday evening was a new set of spark plugs in preparation of carb work on Wednesday. Currently, it cranks cold and goes to an idle without a choke. Then the fumes will burn your eyes once its warmed up.
Wednesday, A buddy from work came over to help with the carb. We drove it around to get it warm, then made the turn onto the feeder of the toll road and hit it from a roll in first gear, all of second, and into third. Evan’s comment was "it should have been better". Told him I had to look at the linkage, I don't think it's opening all the way.
Back at the house, I worked on the linkage, it was getting about 1/2 half way open. Details, details. Evan played with the carb. He dropped the jets sizes on the primary & secondary plates and played with the idle screws. Now it’s more cold natured when it first cranks but doesn’t burn your eyes when it gets warm. Took the same route back to the feeder. Did the same run through the gears and was amazed how fast I exceeded the speed limit!! Evan was more impressed.
Took Sheryl out later that evening for drive to show the progress. She was excited, scared, laughing, and telling me to slow the hell down. Thankfully, she was too busy hanging on to hit me. We did manage to drive it about 25 miles. The speedometer is within 2 MPH of the speed in my Waze app.
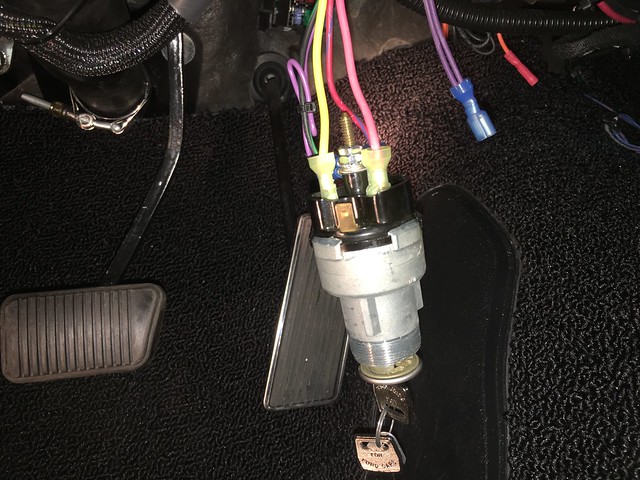
Thursday evening was spent on the A/C controls. Programming the controls was not difficult, but it took me 45 minutes of trouble shooting to figure out I never hooked up the keyed hot!! Can’t tell ya why I didn’t finish it, but I bet I had a good reason at the time. Also found a tab on the starter switch that’s hot when the key is off and in accessory while I’m trying to re-install it in the form a sparking sound. Got the battery disconnected and the switch back out, figured out the tab in the picture was hot, and slipped a insulated flat blade connector over it. Now its all back together.
 Untitled
 Friday night, we drove it to dinner with a friend that retired last year. It was a little un-nerving to leave it in the parking lot by itself. I did take the coil wire with me though. Bruce that did the body and paint work told me to never worry about someone stealing it, his words were “its green and it’s a coupe, no one wants it”. We drove it around some more. Stopped for gas and later for custard.
 Untitled
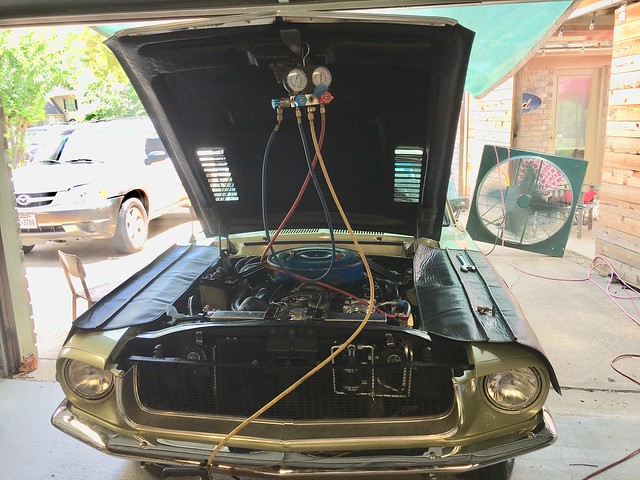
 Saturday was charging the air conditioner and watching the temperature. Its blowing cold air with my 4 foot shop fan blowing at the radiator. I don’t have a gauge that shows the actual degrees, so I use a infrared gun on the intake side of the thermostat. Its running in the 190 to 195 range with a 195 degree thermostat and one hole drilled in it. Don’t remember what size the hole is now. Moved the fan out of the way and stuck a thermometer in the radiator, it went to 205 / 210 idling in the driveway. Ambient temp was 95, the car was in the shade, no air movement except for the fan blade. Going down the road, the temp gauge rides where it has without the air conditioner.
 Untitled
 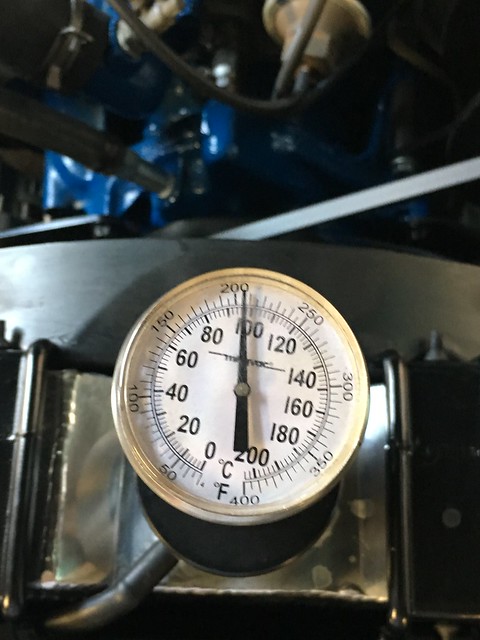 Untitled
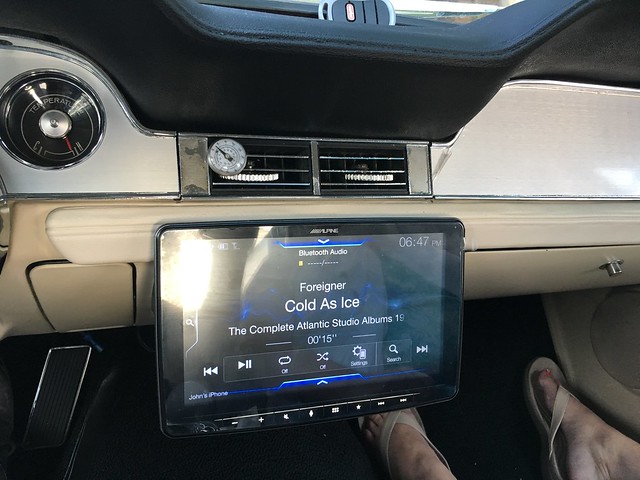
 The first test drive with the windows up and this song comes on the radio.
 Untitled
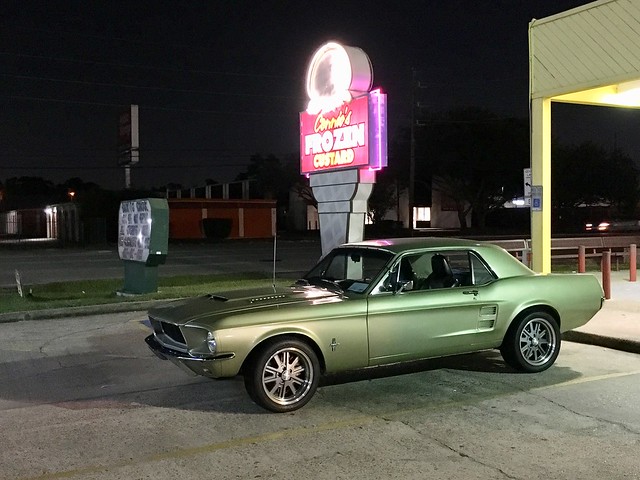
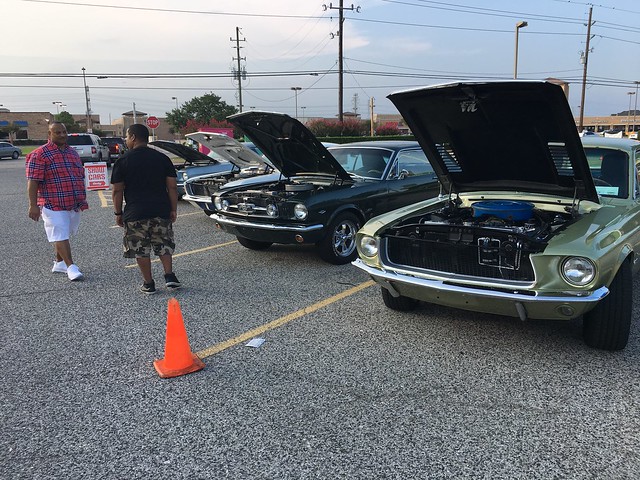
 Sunday was spent washing and cleaning. We drove it to dinner, had to stop for gas again, it’s beginning to become a reoccurring theme. And I left the coil wire on it this time, but we were sitting outside and I could watch it. Later, I took it to the local car gathering at the nearby Freddie’s Frozen custard. It was a small turnout with about 8 cars, mostly Mustangs.
 Untitled
 I’ve drove it about 175 miles so far. The new list of things that need attention:
Check charge on AC, the air isn’t as cold as it should be when going down the road. It also seems like it satisfies the thermostat too soon and cuts out.
There are rattles in the door, other area seem OK
The Flow masters have to go. No telling what the noise from them is hiding.
Install trunk latch so I don’t have to use a screw driver
Need a better air cleaner
Valve covers are leaking oil.
Tires rub on big bumps
Gas Tank
Was out of town for work for part of the week and didn’t get a chance to do anything with the car till today. Managed to get the steering wheel aligned so its straight when the car is going straight. Took a rubber mallet to the front fenders to roll the lips in for tire clearance. The left rear fender lip was massaged too. Took a test drive the fender roll and empty the tank more so there’s less gas to drain. A couple of bumps later and it looks like I have clearance for now. Decided to extend the drive to the hardware store for small machine bolts to mount the back-up camera. Fired the car up to leave and the clutch goes to the floor!! I now have a puddle of fluid under the car. Time for another wrecker ride to the house.


