Mario had asked me about the step by step in how the chassis was built. At this point I can only take credit for having the idea to build the car, finding the shop and stripping the car down and getting it to them. I made some design decisions along the way but the heavy lifting was done by the guys at the Roadster Shop. Well I am picking out all the parts and will be doing al the plumbing, wiring and final assembly work.
But building a chassis like this way over my head.

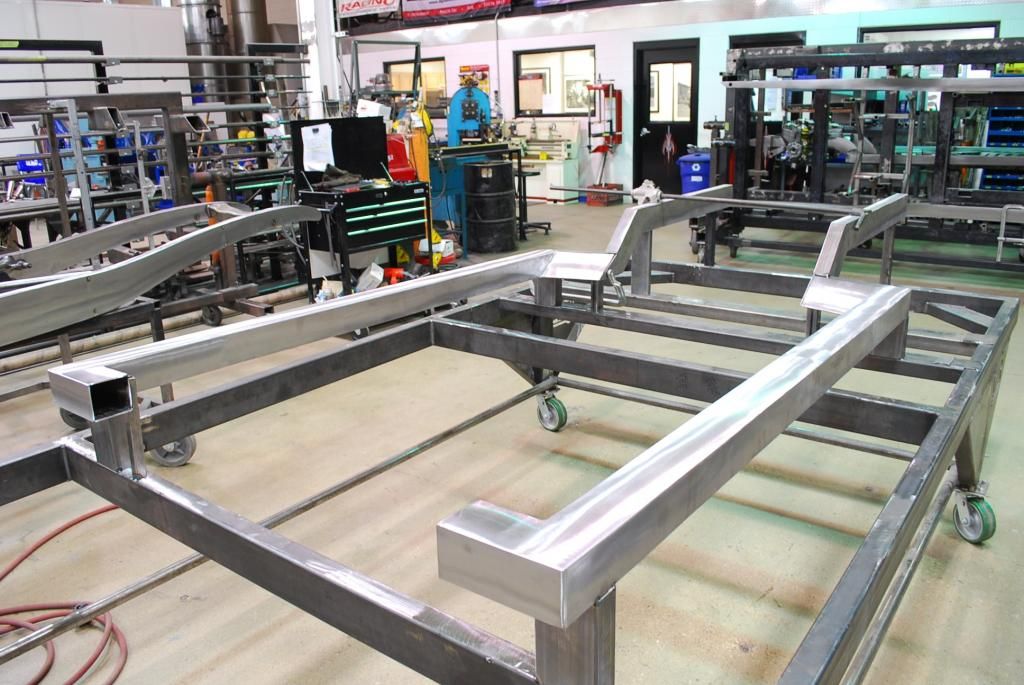
Cut out the old frame rails front and rear.

Measure and make a template to cut some frame rail sides out of 10ga on your high dollar living room sized cnc cutting table.
Then take those sides and put them in a jig and mig weld the seams in 4" increments so they don't warp. They do it numbering 1-4 weld all the 1 sections then onto the 2 and so on. This gives you frame rail parts.

Then it starts looking like a frame on the table.

Then you test fit repeatedly

Build a set of rear rails and add them into the equation. Oh and keep measuring.


Easy right?
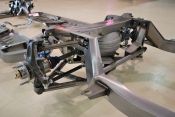
The front crossmember is a modular design that they make in two widths. All the pickup points for the control arms, steering mounting points are fixed on the crossmember. This allows them to have all the suspension geometry sorted out and then plug it into any frame rails they build. For the rear they have an IRS with a 9" based third member $$$$$ but super trick and then they will build you a 4 link, 3 link or truck arm if you want for your solid axle. The 4 link on mine is a compromise for packaging ease and cost but they have run their 4 link geometry in plenty of events and it works well. I have a budget so I had to back away from my original plan of a custom 3 link or my day dreaming of their rear IRS.