Well I uploaded some to flickr, it sucks but we'll see what happens.
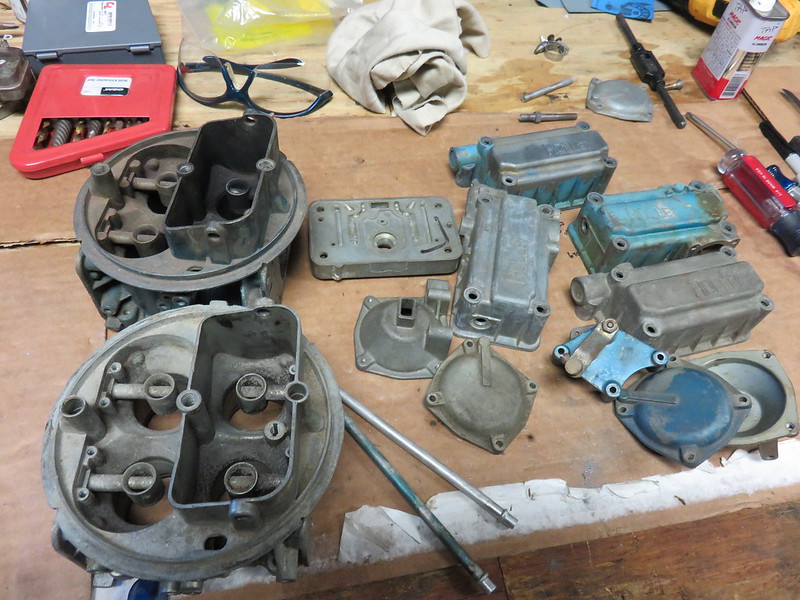
I liked this project..... I was wanting to turn early 600cfm carbs which I can get fairly cheaply into reliable, good running 2x4 carbs.
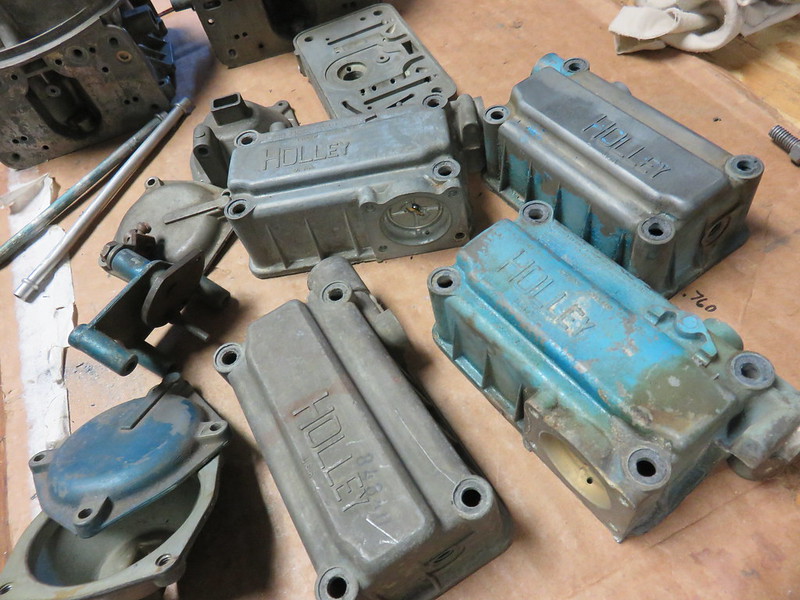
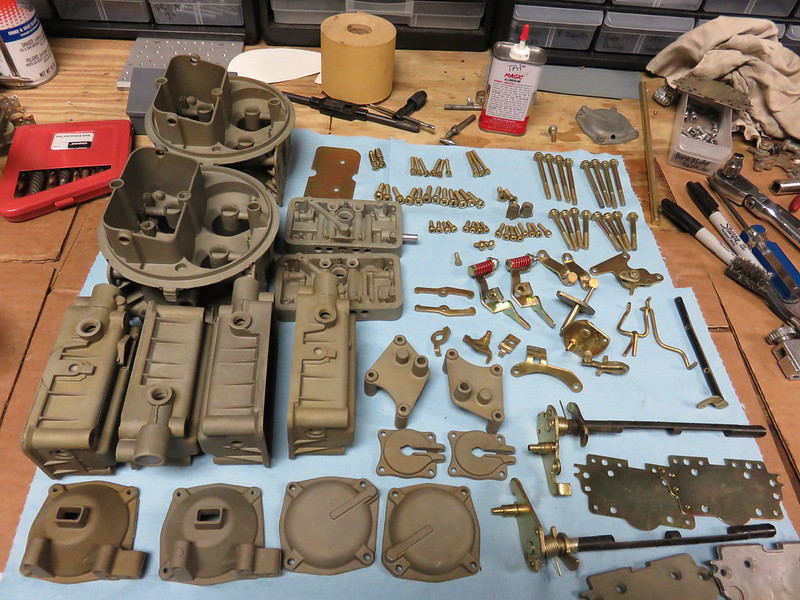
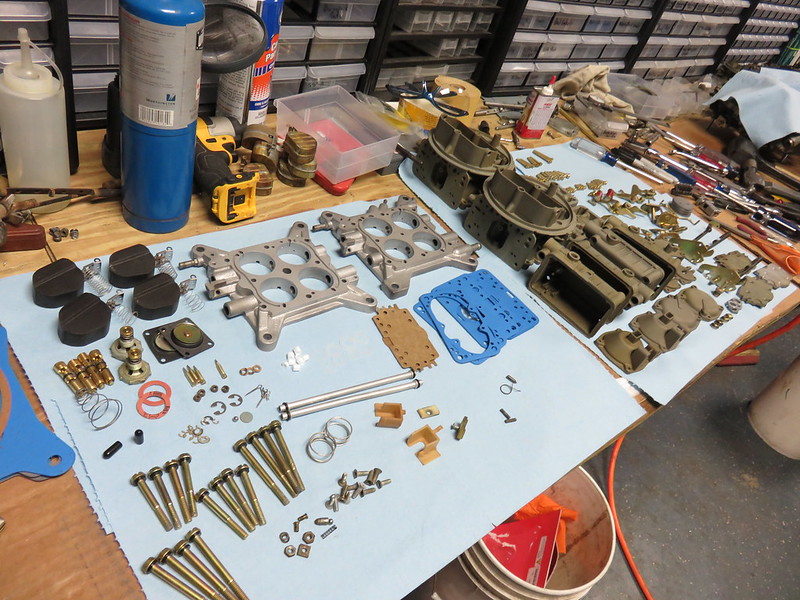
So I start with junk 600's
 IMG_0054
 by
Drew Pojedinec, on Flickr
 IMG_0055
 by
Drew Pojedinec, on Flickr
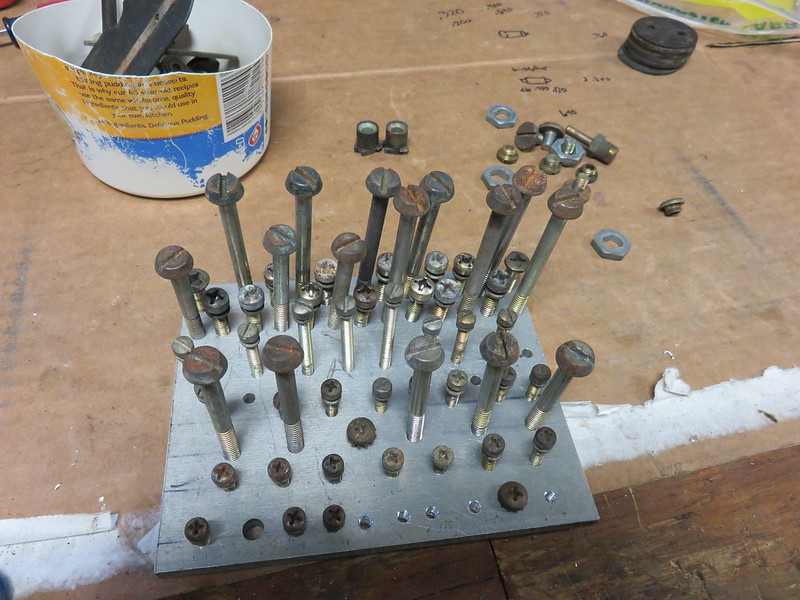
I realized a lil while ago that it is super hard to hold screws and bolts in the blasting cabinet. A few folks suggested tumblers, and all sortsa other stuff, I figured I'd stay simple, I drilled/tap'd an aluminum plate to hold all the hardware needed for two carbs.
 IMG_0058
 by
Drew Pojedinec, on Flickr
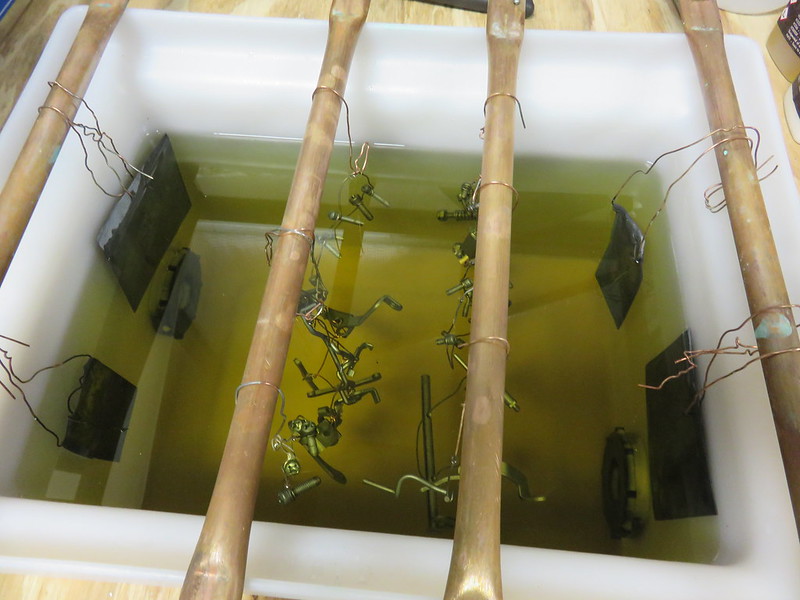
Plating
 IMG_0065
 by
Drew Pojedinec, on Flickr
Plated
 IMG_0073
 by
Drew Pojedinec, on Flickr
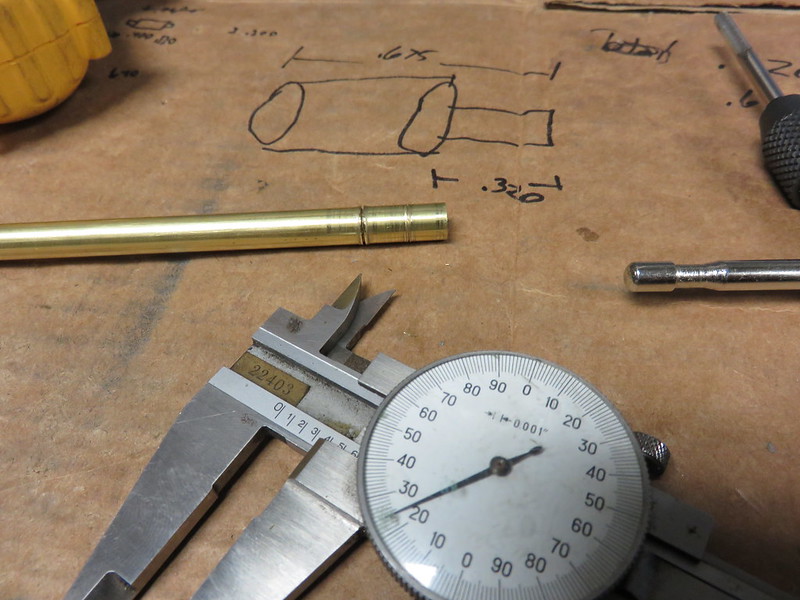
So the next mission... the proper throttle shaft setup for factory progressive usage. Ok so Carl's has the shafts for $60 each. Well that is $120 added to a low buck operation, nope. So I have some early Ford throttle shafts, I needed to find some throttle trunnions that'd work with the progressive linkage. Well shoot, those are $20 each just for a lil bitty piece of metal, no good.... My neighbor's shop was locked so I didn't have access to his lathe. I decided to make the parts needed with a drill chucked in the vice and a hand file. I measured the trunnion size and made two. Later when I had access to the lathe I made like 25 more.
 IMG_0084
 by
Drew Pojedinec, on Flickr
So it looked like this
 IMG_0087
 by
Drew Pojedinec, on Flickr
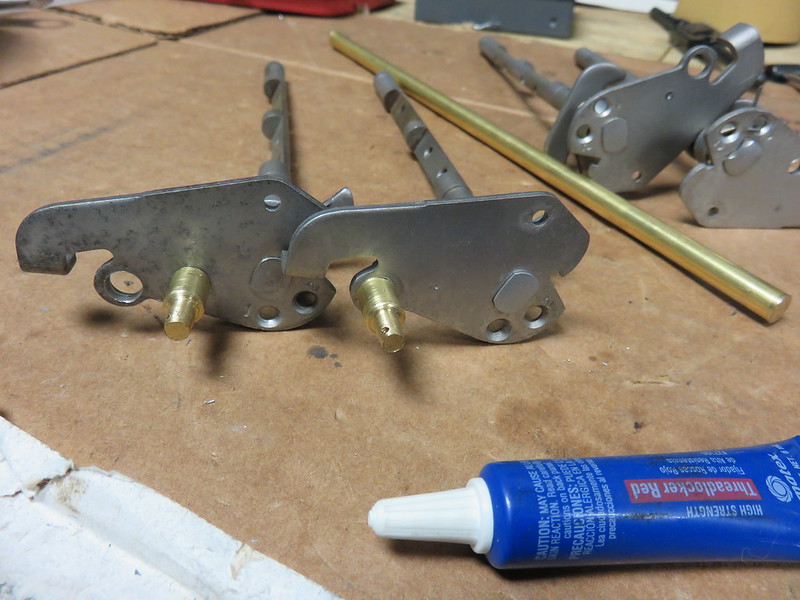
When plated you can't tell the steel from the brass. The trunnion is held on by an 8-32 screw into the backside.... drill press needed for that. I used a low profile screw head, on the secondary carb check for clearance with the screw head hitting the accelerator pump lever, some grinding may be needed.
 IMG_0092
 by
Drew Pojedinec, on Flickr
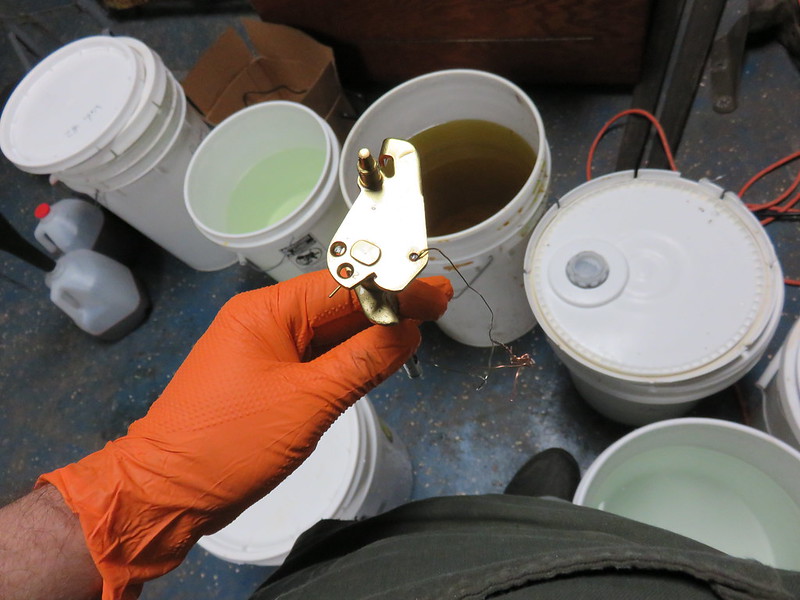
I've been taking to double dipping plated throttle shafts.... hit the yellow for 15 seconds and the black for 45seconds.
 IMG_0098
 by
Drew Pojedinec, on Flickr
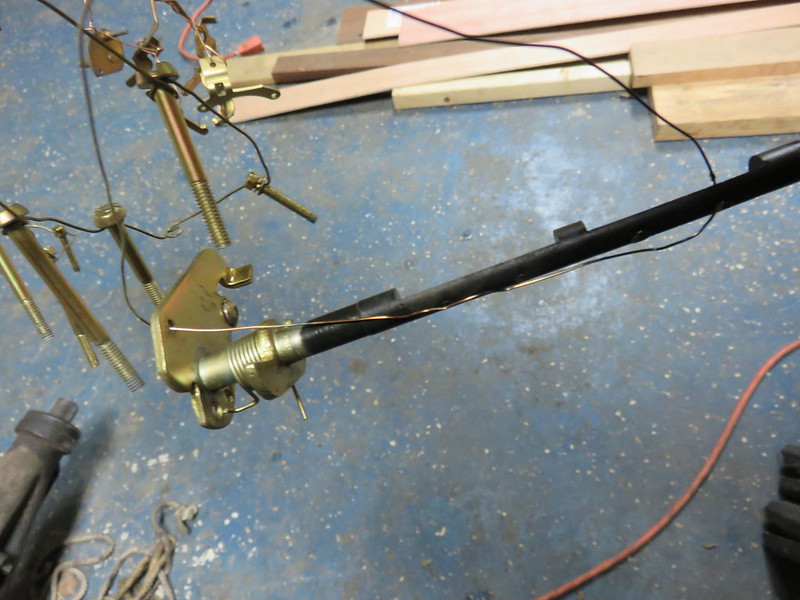
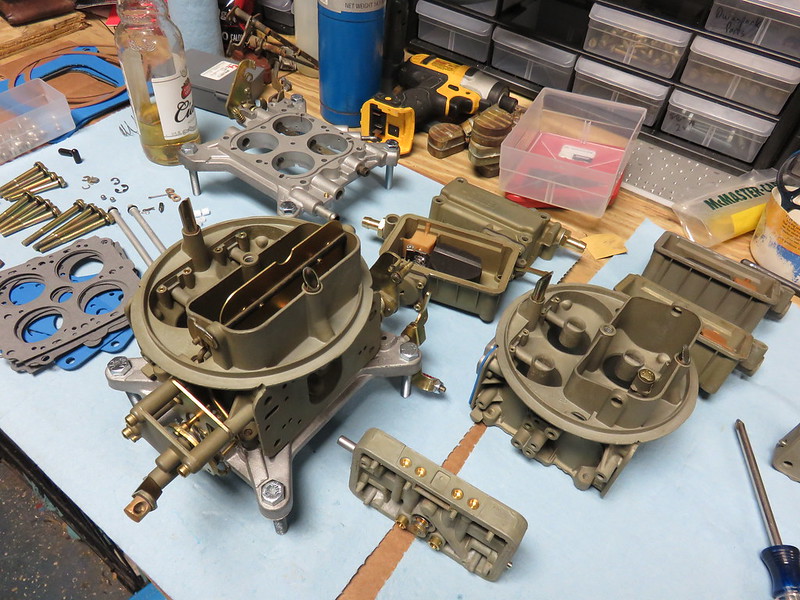
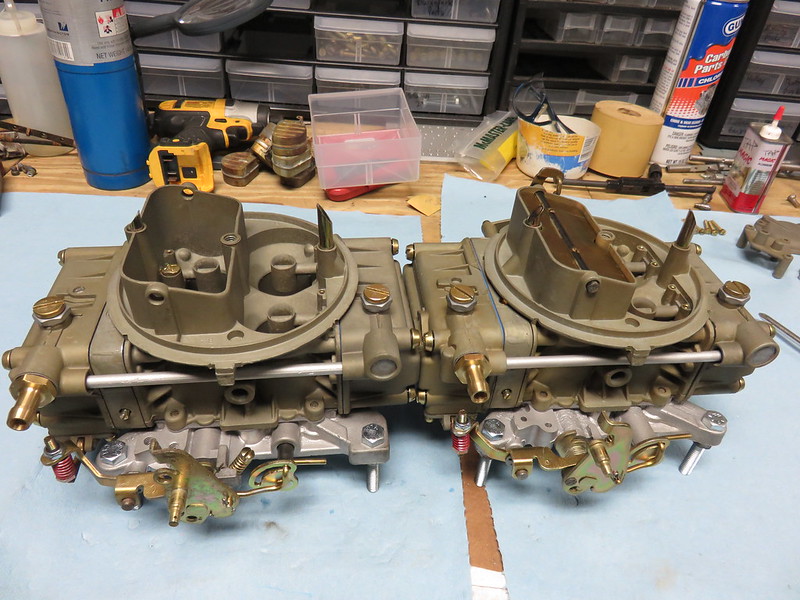
Coming together
 IMG_0100
 by
Drew Pojedinec, on Flickr
I used two different bases.... one is from an 1850-1 and one is from an 1850-3. This way you have one pcv hookup and one full time manifold vacuum for automatic transmission usage.
 IMG_0107
 by
Drew Pojedinec, on Flickr
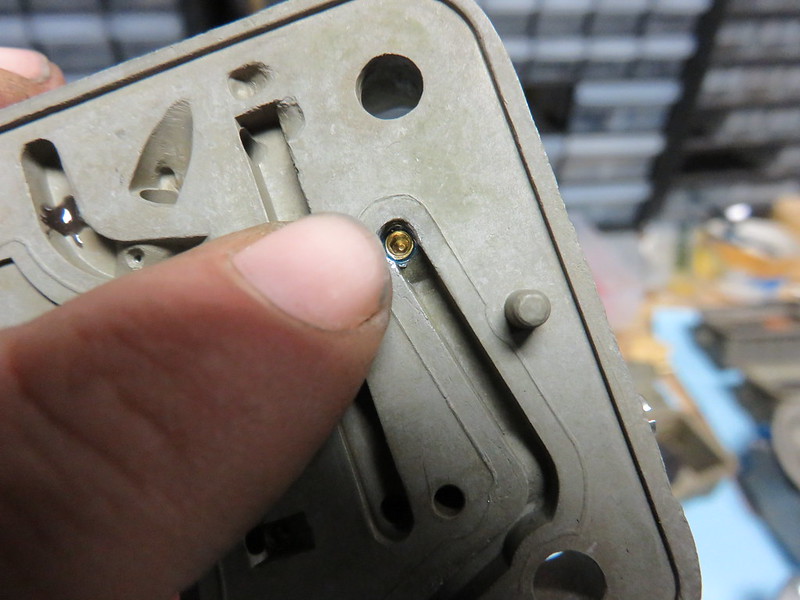
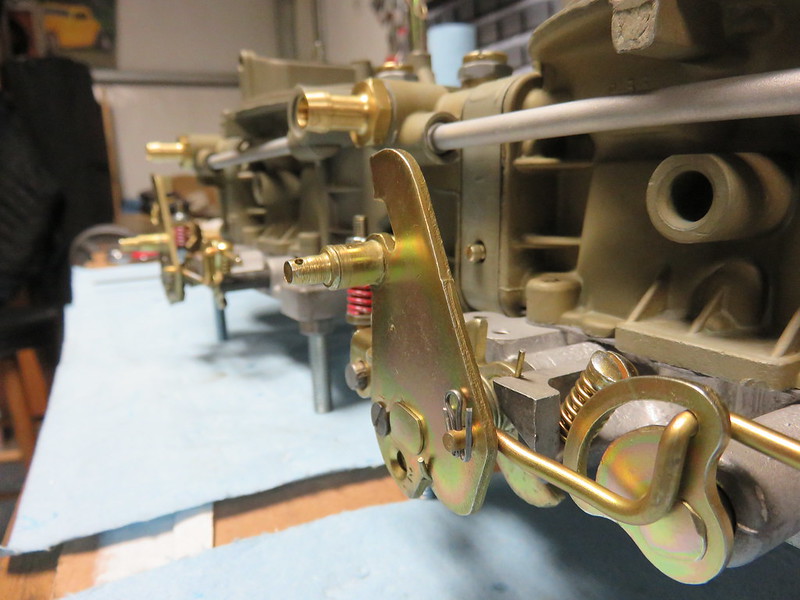
The primary carb has a ported vacuum barb available. In the secondary carb I drilled and tapped for a 6-32 x 3/16 set screw so the port is plugged internally.
 IMG_0111
 by
Drew Pojedinec, on Flickr
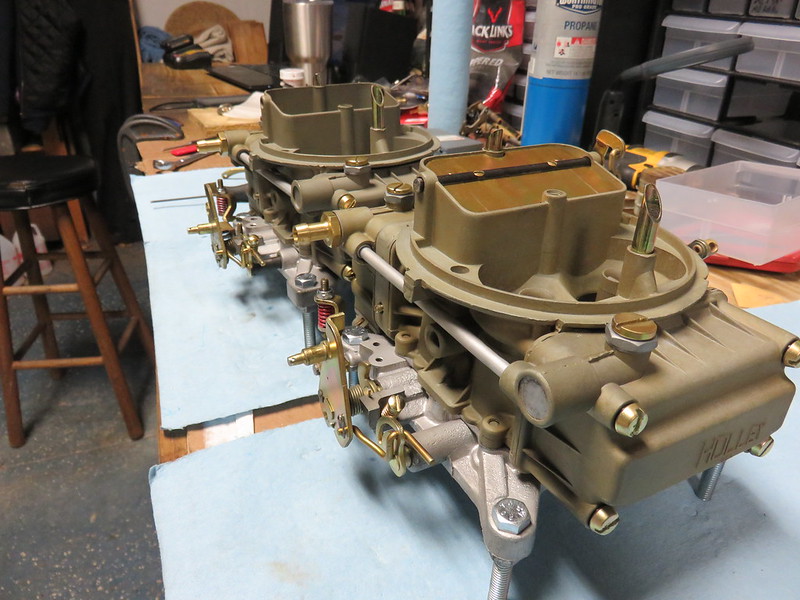
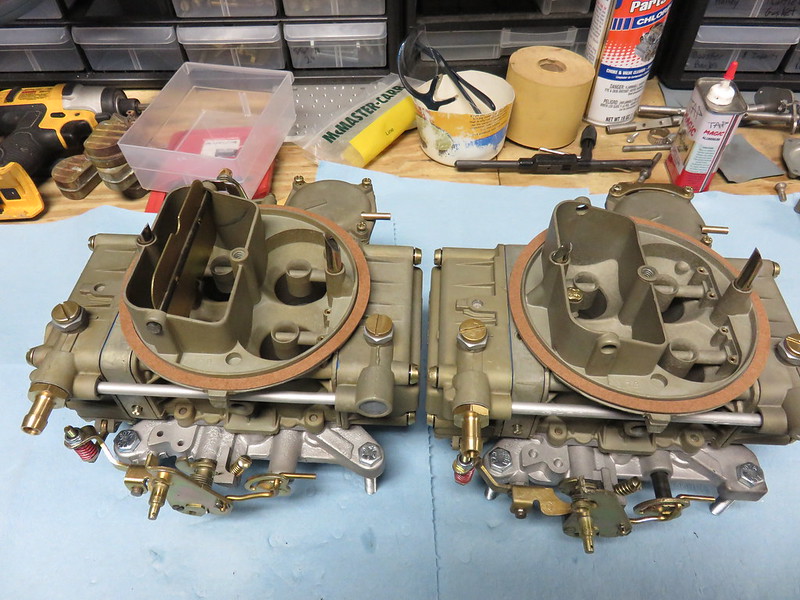
Ok the rest are just glam photos
 IMG_0112
 by
Drew Pojedinec, on Flickr
 IMG_0113
 by
Drew Pojedinec, on Flickr
 IMG_0114
 by
Drew Pojedinec, on Flickr
 IMG_0116
 by
Drew Pojedinec, on Flickr
 IMG_0133
 by
Drew Pojedinec, on Flickr
I think it's a pretty neat project, I'm about to leave for work and won't get to test these out until I get back. It's ok, the customer who requested them asked me to wait as he had some sorta money set back or whatever.
Either way, I've made up enough parts and have enough cores to knock together about 6 sets of these.
To be honest, this set is a little too bright and blinged out for my liking, but it's kinda what was desired by the fella that wants them. I'd like to do one with more mellow colors and one with more of an old cad type color, I'll try to do a few different types when I get back, it'll be cool


