I made some solid progress on the Shelby clone again this week, despite limited time over the weekend. During the week I had been able to get the driveshaft loop mounted and the rear sway bar brackets tacked into place, so on Friday night I pulled the differential out from under the car, and started getting the sway bar brackets and watts linkage brackets on the chassis reinforced and finish welded. I had to cut some reinforcing tabs out of 1/8" steel plate to strengthen the driver's side watt's link bracket, which extended down from the frame quite a long ways. I also used a tab to reinforce the passenger side bracket, and several triangular pieces to reinforce the sway bar mounts. By around midnight on Friday I finally had the welding done under the car, and went in for the night, ready to tackle the next project.
Saturday I was tied up with family activities, but Sunday was a free day, so I got out to the shop early on Sunday morning to get to work. I had decided to work on the wheel tubs next. I wanted to get this done because I needed a few more tabs under the car to support the wheel tubs, and with them completed I could install them and mount the tabs, and that would essentially finish the chassis work under the rear of the car.
If I recall correctly I purchased the wheel tub kits from Summit Racing, several years ago when I purchased the car originally. The wheel tubs were designed for a maximum size tire diameter and width, but since I was using the factory outer wheelhouse on the car, I needed to revamp the wheel tubs to make them fit. From a cross section standpoint they needed to match up with the shape of the factory outer wheelhouses, and from a width standpoint they didn't need to be the full width from the outer fender to the inner frame rails. In fact, I wanted to keep them 3" outboard of the frame rails, because this would allow me to run fuel and brake lines outside the frame rails, without going into the wheel tub. So, I envisioned some 3" brackets, welded to the outside of the frame rails on each side, that the wheel tubs would be attached to.
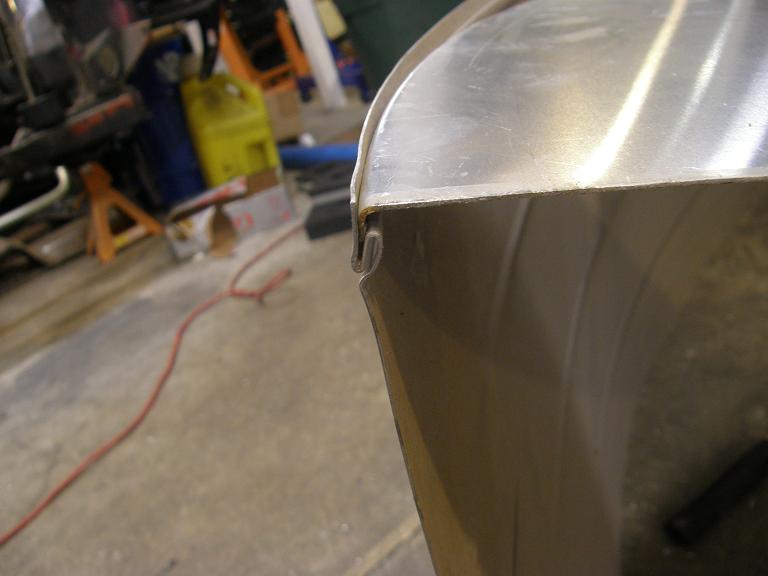
The wheel tubs come as two pieces that fit together with kind of a tongue and groove arrangement, as shown in the photo below:
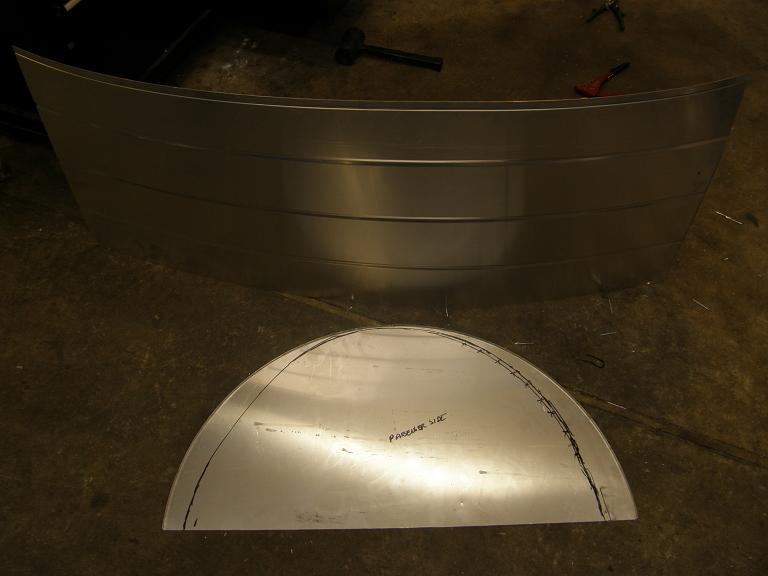
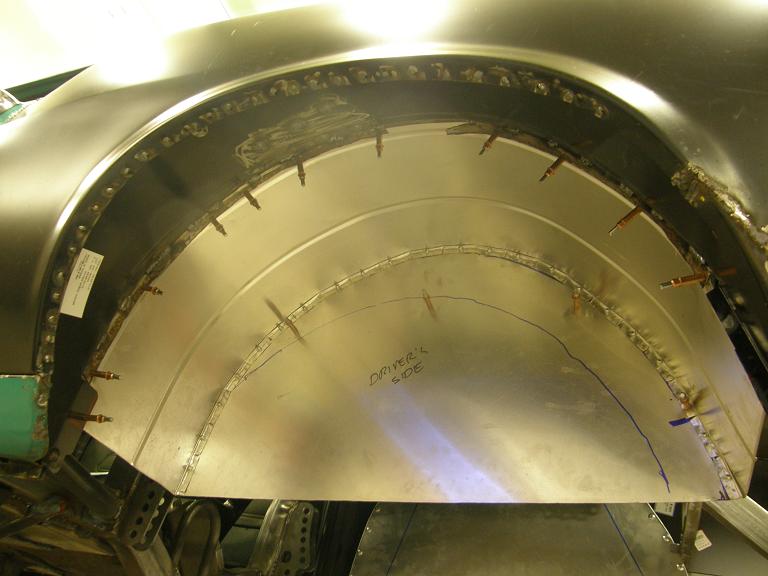
My first thought was to cut the half moon shaped piece of the wheel tub to match the contour of the factory wheelhouse, and then bend the side over so it would look like the original piece, and slide it into the groove in the flat part of the wheel tub. Here's a photo of the two wheel tub pieces, with one of the contours marked on the half moon shaped piece:
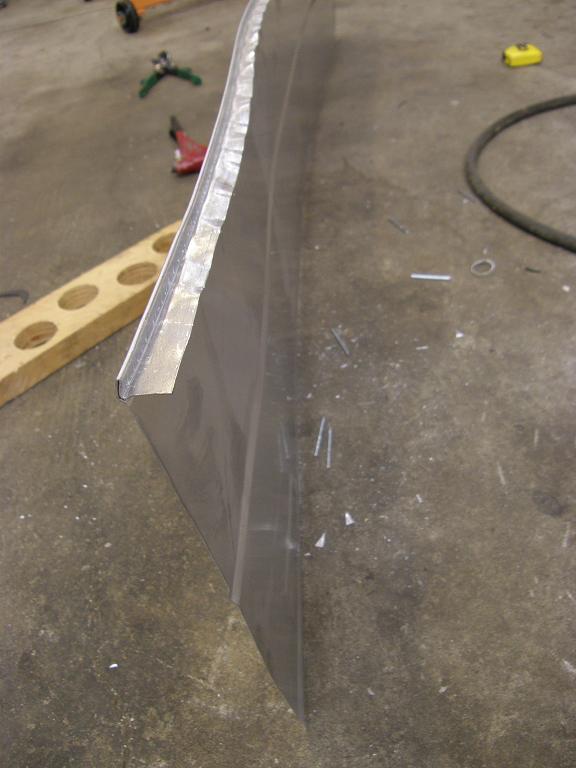
Unfortunately, this didn't work out because I couldn't easily get the side of the half moon piece bent over in a smooth curve. As soon as I got to a point where the curve wasn't smooth, the bent part didn't want to slide into the groove in the flat part. After several attempts at rebending, with limited success, I decided to go to a different approach. I bent the grooved portion of the flat part out at a 90 degree angle, and used pop rivets to put the two pieces together. Here's a couple of photos showing this process:
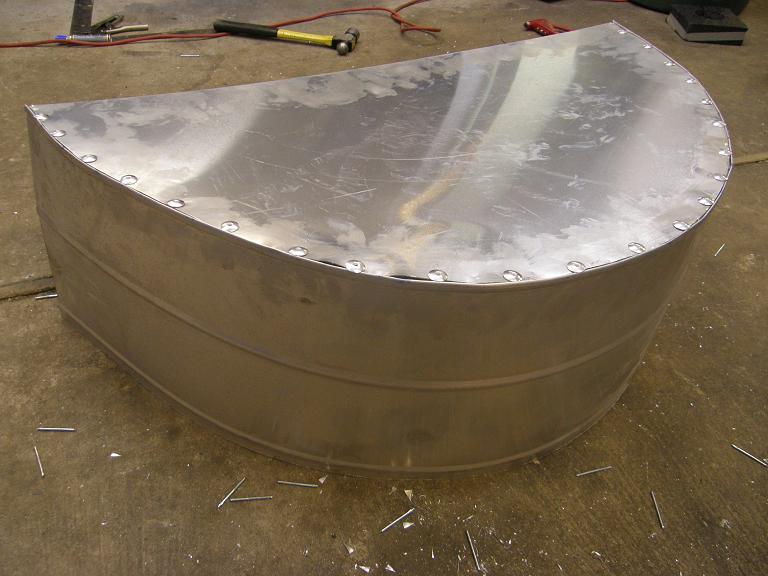
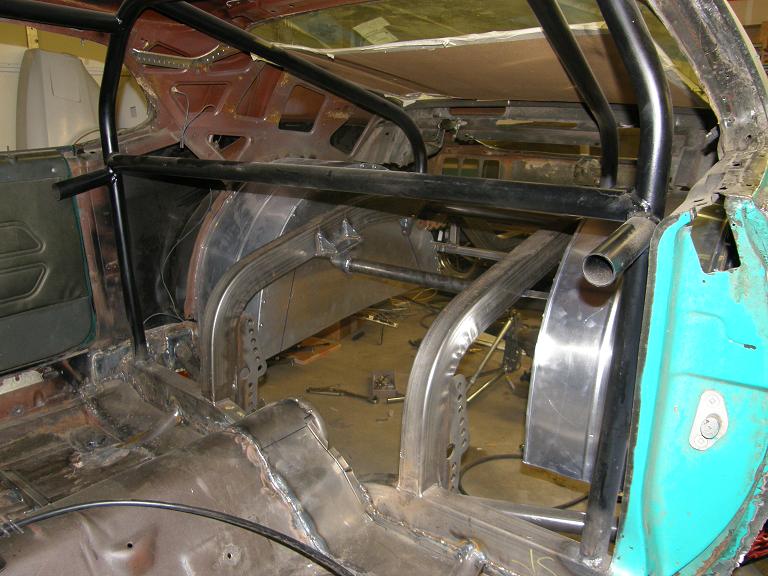
Back underneath the car I positioned the wheel tubs and used Klecos to hold them into position. After I had them where I wanted them, I cut up some 1" wide section of 2X3 rectangular tubing, and then cut these diagonally so that I had two 1" wide L-shaped brackets. I positioned these brackets so that they extended from the 2X3 rectangular tube frame, and the smaller leg of the L butted up against the wheel tubs, and tacked them into position with the wire feed. After I finished tacking I welded all the brackets into position, and drilled holes for Klecos to secure the inboard side of the tubs. Here's a couple of photos of the wheel tubs in position, from under and inside the car:
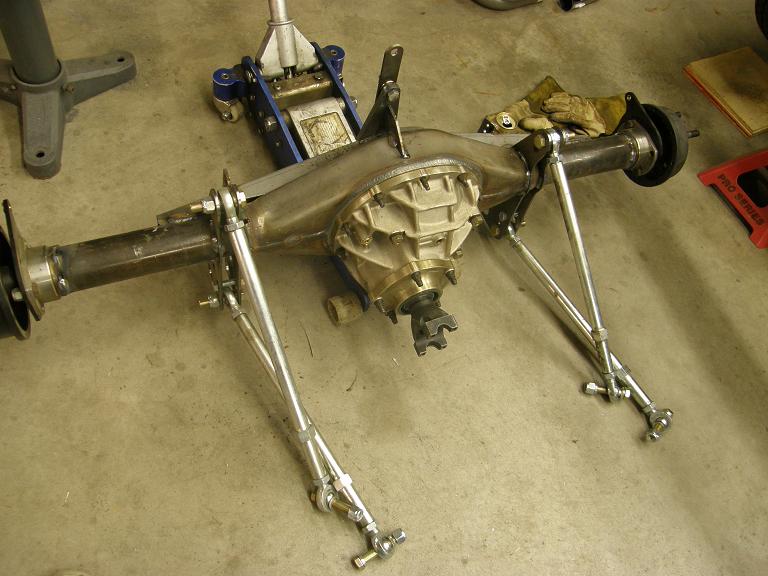
The wheel tub project had burned the whole morning and most of the afternoon, so I only had a couple hours left in the shop that I could get something accomplished. I decided to spend the time I had left finish welding on the axle housing. All the required brackets had been tacked in place, so they just had to be finish welded. Also, the axle housing ends and the back brace had to be finish welded to the housing. I've always been concerned about warping the axle housing during this operation, so I go very slowly, welding beads around 3/4" long on several spots that are widely separated on the axle housing, and letting the housing cool for a few minutes, before doing this again. After a couple of hours of this I had about half the welding completed; here's a photo of the axle housing:
I should be able to finish up this welding in the evenings this week. Next project is the headers. I got all the tubes for building the headers this week, so I should be able to make a big dent in that project next weekend. Also, my friends Steve and Jerry will be coming by either next weekend or the weekend after, for a "barn night" to help me get the new doors and all the Shelby fiberglass hung and fitted on the car. After the headers and the body panels, it will be time to start my sheet metal intake, probably around the beginning of April. I'm looking forward to building that, and seeing how it performs on the dyno! I'll post another update next Sunday night.


