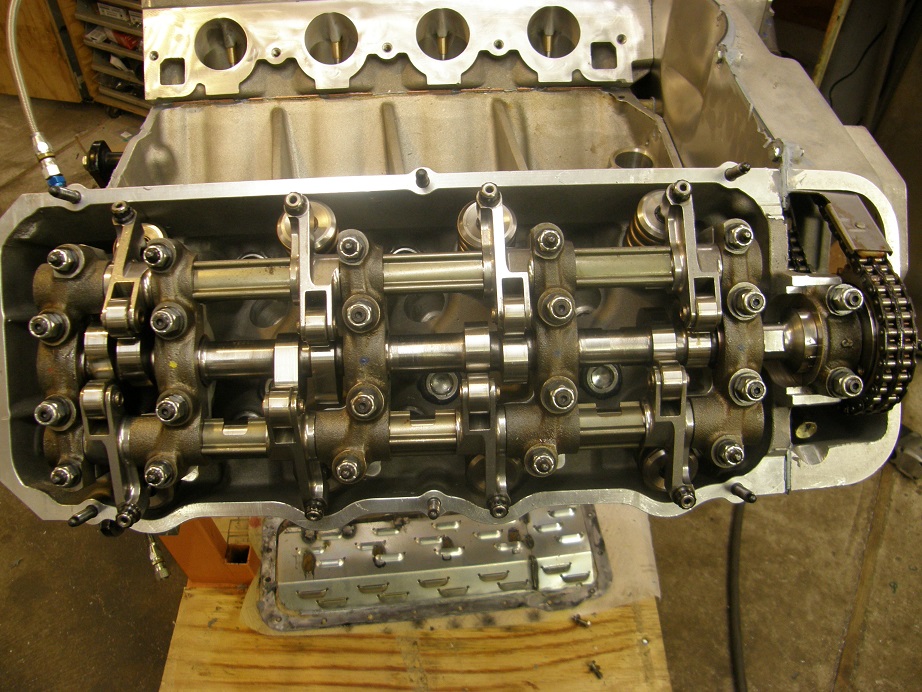
Its the end of the holiday weekend, and I'm not real happy about how much I got accomplished over the weekend, but still I did make some progress. All day Sunday was tied up with other stuff, so I really only got a couple days of work done. Friday night I got the valvetrain assembled, the second cam degreed, and the lash adjustments done; here's a photo of one side of the engine with the valvetrain installed:
Sure does look cool under that valve cover! Saturday morning I got going bright and early to get the oil pan installed. First thing I had to do was leak check it, and sure enough there were a few leaks. I filled the pan with water, marked where it was dribbling out, and rewelded those areas. I repeated this process several times as the smallest leaks appeared, but finally I got the pan to hold water with no leaks for 30 minutes, and figured I was good. Along the way I had noticed that the pan rail was a little wavy, and after a futile attempt to beat it straight with a rubber hammer, I finally gave up and stuck it in one of my CNC machines to take .075" off the rail. Fixturing the pan so it wouldn't move, and so that the rail was level, was rather problematic, but I finally got it done and was rewarded with a nice, flat sealing surface. Total time invested in the pan to get to this point: 8 hours!

Next I cleaned up and straightened the windage tray, and installed it on the engine, then turned the engine over to inspect for clearance. I was burned by this problem once before, so I always double check this now, especially with a big stroker crank. Everything cleared fine, so then I started checking the oil pan rail bolts holes because I had it in the back of my mind that a couple of them were stripped. Sure enough I found two, so I taped up the bottom of the engine, and drilled out the holes and tapped them for helicoils, then installed them. By this time I had to go in the house and have dinner, but around 8:00 I was back in the shop, and finally got the oil pan and windage tray installed on the engine. It took me a whole day to get this done, but at least it should seal up pretty well. Here's a photo of my ugly pan, FINALLY installed on the engine:

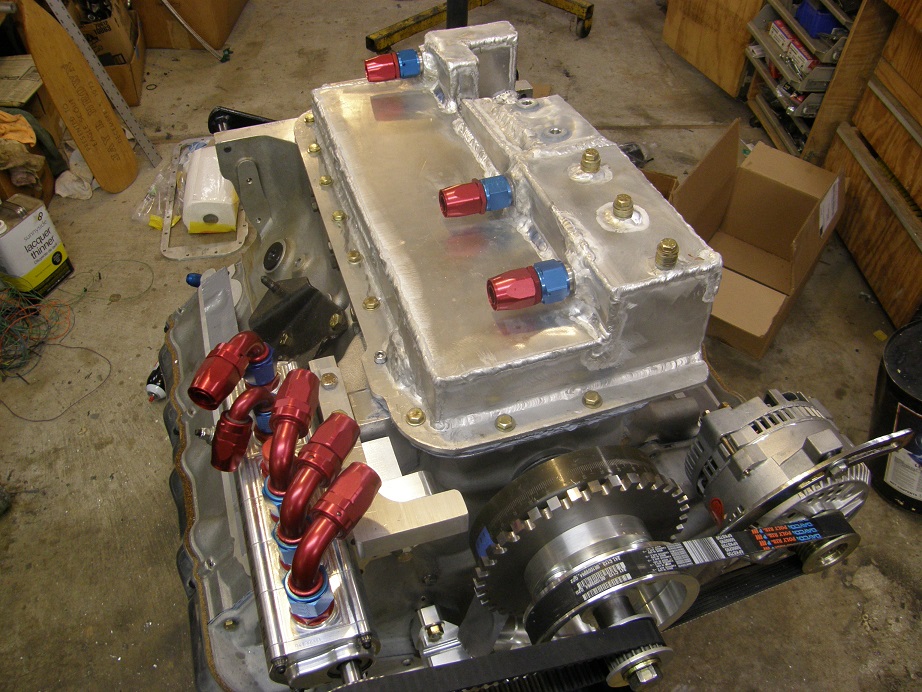
Memorial day brought me another day that I could spend on the engine, so I got going early again and started by putting the front of the engine together. This included mounting the crank trigger wheel and alternator pulley, the water pump, and the alternator. Then I started looking at the arbor required for the mouting the dry sump drive gear. I had a piece of 1.25" round steel stock that I was going to make this arbor out of, so I took some measurements and went over to the lathe to start cutting. Another long, drawn out process, but by noon I had the arbor finished up. I installed it on the engine and was finally able to hook up the dry sump pump via the toothed belt. The front of the engine now looked more or less complete:

Shortly after lunch I was interrupted by the CNC machine, which had finished the most recent FE intake adapter. When I machine the adapters I use two different setups, and the manifold that had just completed was the last one I had that had been through the first setup and was finishing the second. So, I had to take a couple of hours, break down the CNC setup, re-set up for the first operation, and then start the next batch of raw castings on the machine. More delays

Anyway, after that was finished up I started working on mounting the crank sensor, which was the last bit of fabrication that I really needed to do on the front of the engine. I ended up flipping the engine back upside down again, and cutting out an L-shaped bracket from a 1" piece of aluminum plate. You can see this bracket adjacent to the dry sump pump in the following photo:
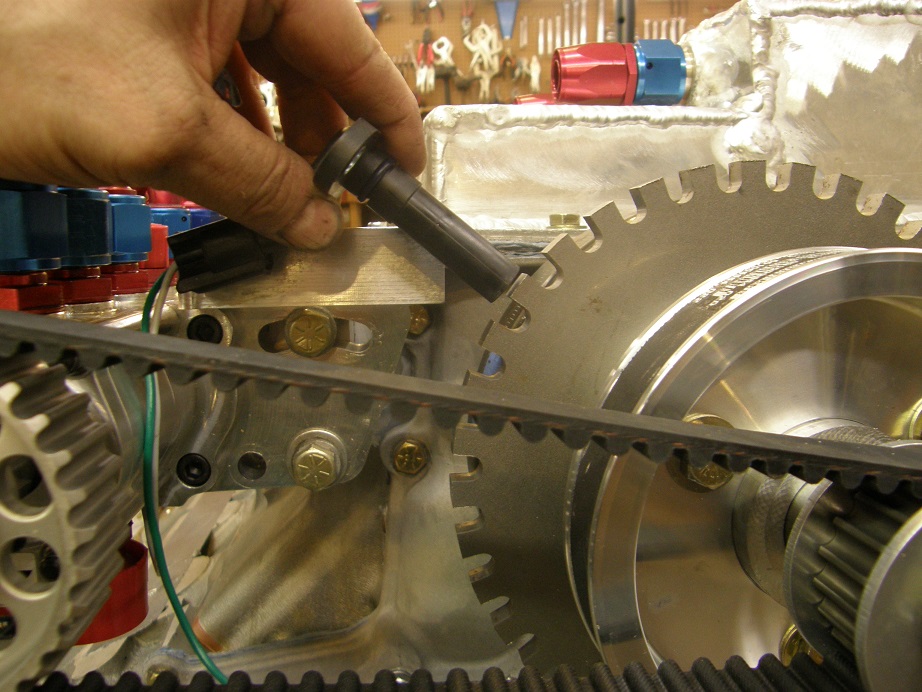
That was about all I had time to get done today, but I only have one fairly simple piece to machine, in order to get the crank sensor mounted. This photo shows the position that crank sensor will be in when I get the last part finished up:
This coming week the lines and fittings I need for the dry sump system will be here, so next weekend I can set that up, and also install the induction system. After that it is on to the dyno, where it will take me some time to get the wiring all done for the MS3X EFI system. I'm hoping to be all done with that, and running on the dyno by June 7. If all goes well, the following weekend my friend Scott Clark will be coming up to help tune this engine, with his 8 pack of oxygen sensors that will allow individual cylinder tuning. I'll write another update next weekend.


