Some of you have seen the thread at the link below, where I eventually made some of the hardware I need to run my cylinder heads on an engine:
http://fepower.net/simplemachinesforum/index.php?topic=8549.0I was happy with the results except that the hardware was not black, like an ARP nut or bolt. CV355 mentioned that a company called Caswell made a do-it-yourself black oxide kit. I looked up their web site and found that I could order the kit for less than $100, so I went ahead with that. The kit arrived yesterday, so today I tried it all out.
The basic kit runs about $60, but they recommend an additional preparation chemical for hardened steels, called the activator, so I got that one as well. The kit included the chemicals for pre-treating the hardened steel, the black oxide coating, and a sealer, plus a couple of white buckets for mixing up the chemicals. Since what I was doing was pretty small, I didn't need to use the buckets, so I ended up using some plastic paint measuring cups. Also required for the process is distilled water. Here's a photo of what I set up to begin the process:
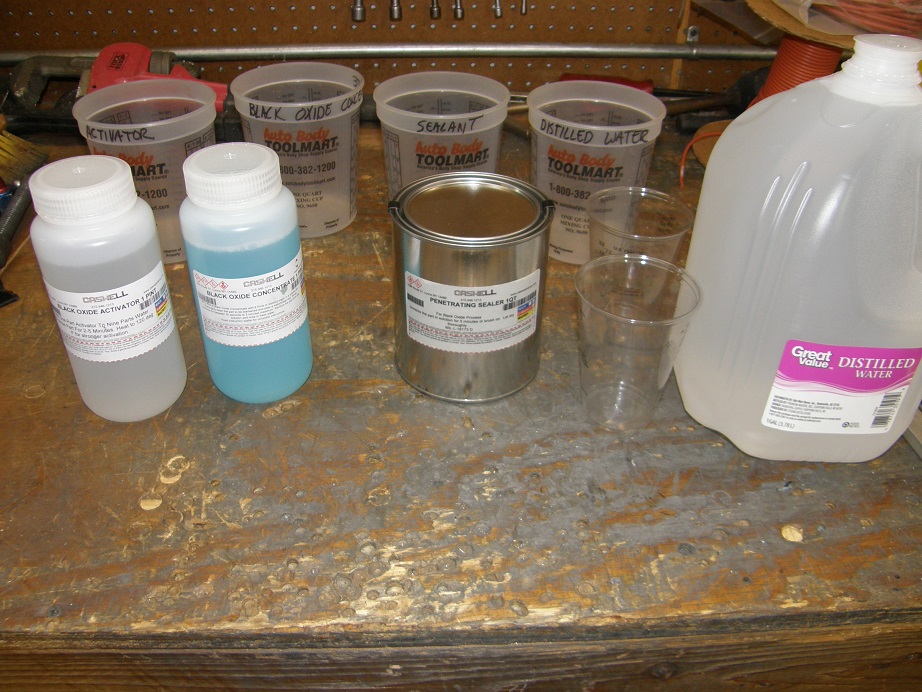
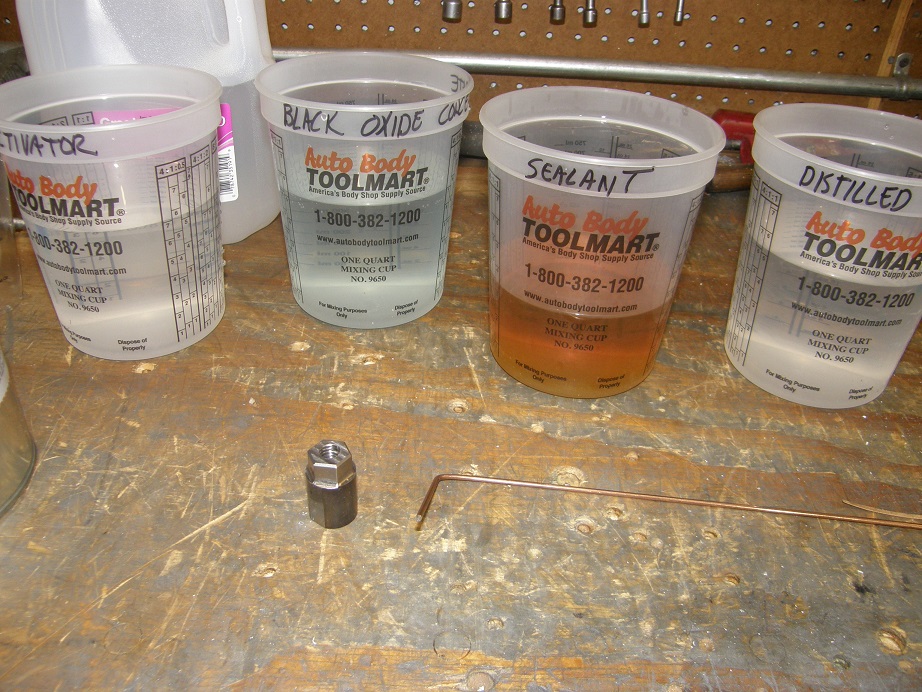
The process involves mixing the activator and black oxide chemical with distilled water, one part chemical to 9 parts water. For what I needed I hardly used any of the material. The sealer is used at full strength, but they give you two quarts of that with the $60 kit, so there's plenty of that too. I used the small cups in the photo above to measure the activator and the black oxide chemical, along with the distilled water, because the cups have ounces marked on the side. When I was done mixing the chemicals they looked like this:
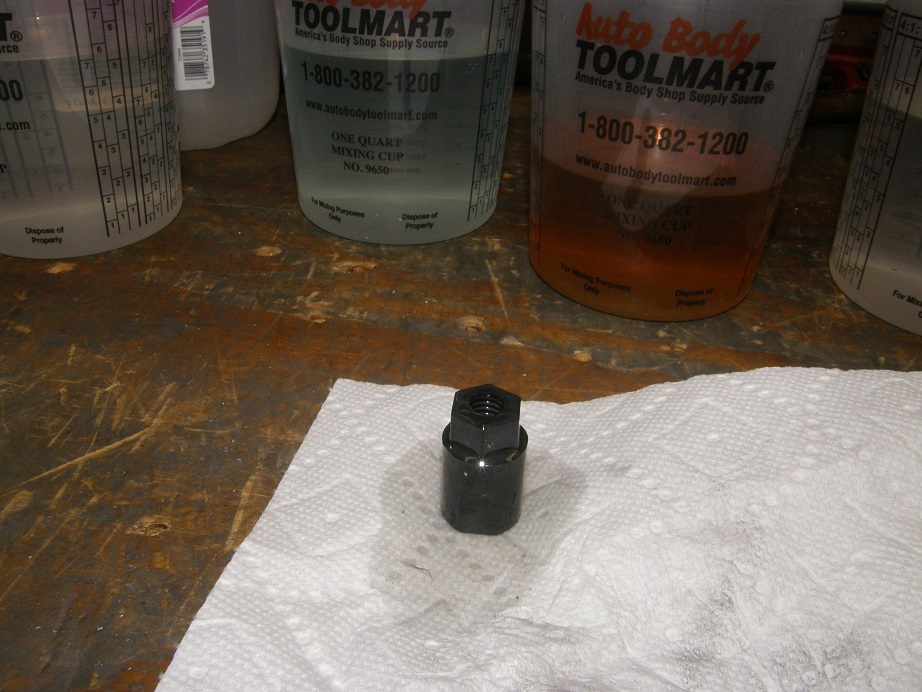
The nut in the foreground of the photo was one of my first tries at machining these things and the hole in the nut isn't quite concentric with the outside diameter, so I thought I'd start with this one. I didn't do any prep to the machined surfaces, but the raw surfaces got wire brushed before I started. First you dip the part in the activator and let it sit in there for 3-4 minutes, then take it out and rinse it in the cup of distilled water. Then it goes into the black oxide chemical for 2-5 minutes. They say to agitate the chemical, but all I did was stir it around with a paint stick. After about 3 minutes I took it out and rinsed again in distilled water, then dropped it into the sealer for 2 minutes. Took it out and set it on a paper towel to dry. It looked pretty good, I thought.
After it dried for a couple hours I did notice a few spots where the black oxide hadn't really adhered well to the nut. The instructions made a point of washing the parts with soap and water prior to coating them, and I hadn't done that with the first one. So, I took the first five good nuts that I machined, scuffed all surfaces with a wire wheel, and then washed them off in hot soapy water. Then, I went through the same process with these five. They look much better than the first one, and I'm very pleased with the results; here they are next two the other five original nuts:

A couple of other comments. One is that the chemicals are corrosive, so you should wear rubber gloves when doing this procedure. Also, their web site calls the finish an "oily" finish using these chemicals, but it doesn't really appear oily to me at all, after the sealer finally dries (which takes a couple hours). It looks just like the finish on an ARP fastener. Needless to say, I'm very pleased with these results. I still have tons of chemical left from the $60 kit, so I should be all set to make more of these fasteners in case I can't find a source to make them for me at a reasonable price.


