Update:
I decided to try a final mockup attempt at installing it in the old tank.
Make sure you use duct tape around the opening
It has to go in this way(won't go in any other way)
The new RockAuto special:

When I tried to remove the drain plug it came with, it wouldn't budge. So, I resorted to heat, but all that did was loosen the soldered joint at the drain fitting and drop into the tank.

Has anyone else had this problem? Well, now I decided to do things my way, so I ordered a 6AN bung and had it tigged on.
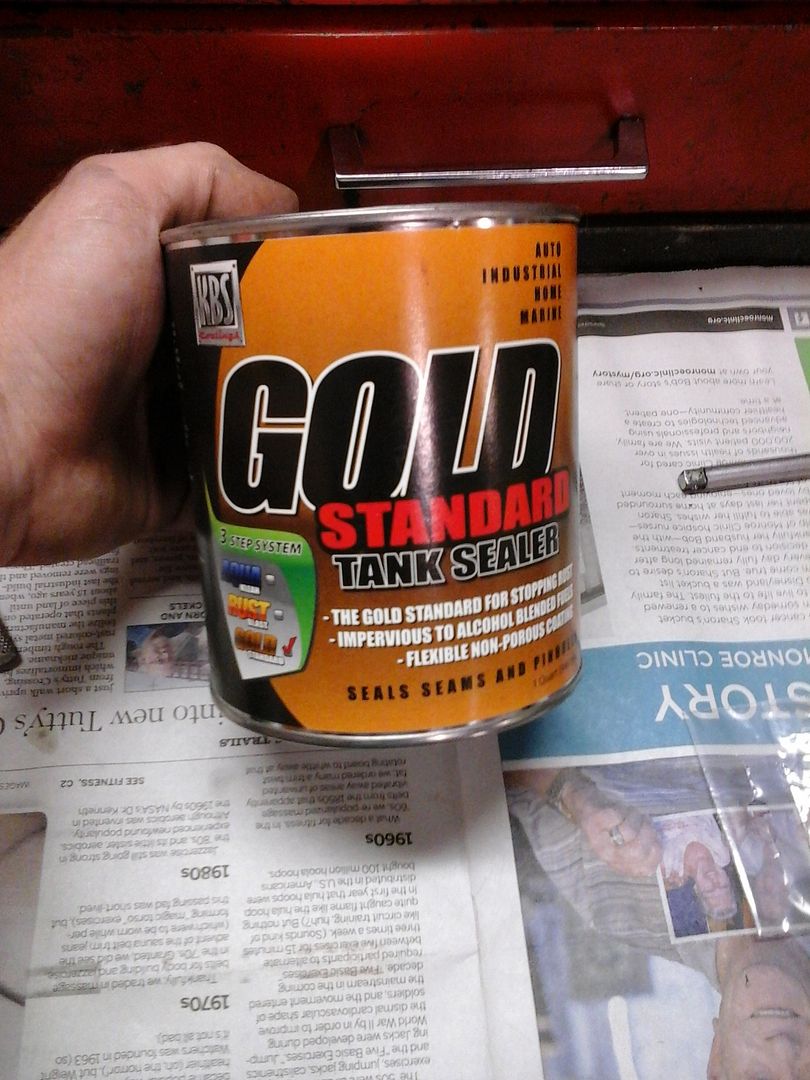
Next, I washed the tank out with soap and water and let it dry out in the sun while I ran into town for paint on the exterior. When I got back it was nice and dry and I started mixing this to seal the inside of the tank. I used this on the old one, works very well.
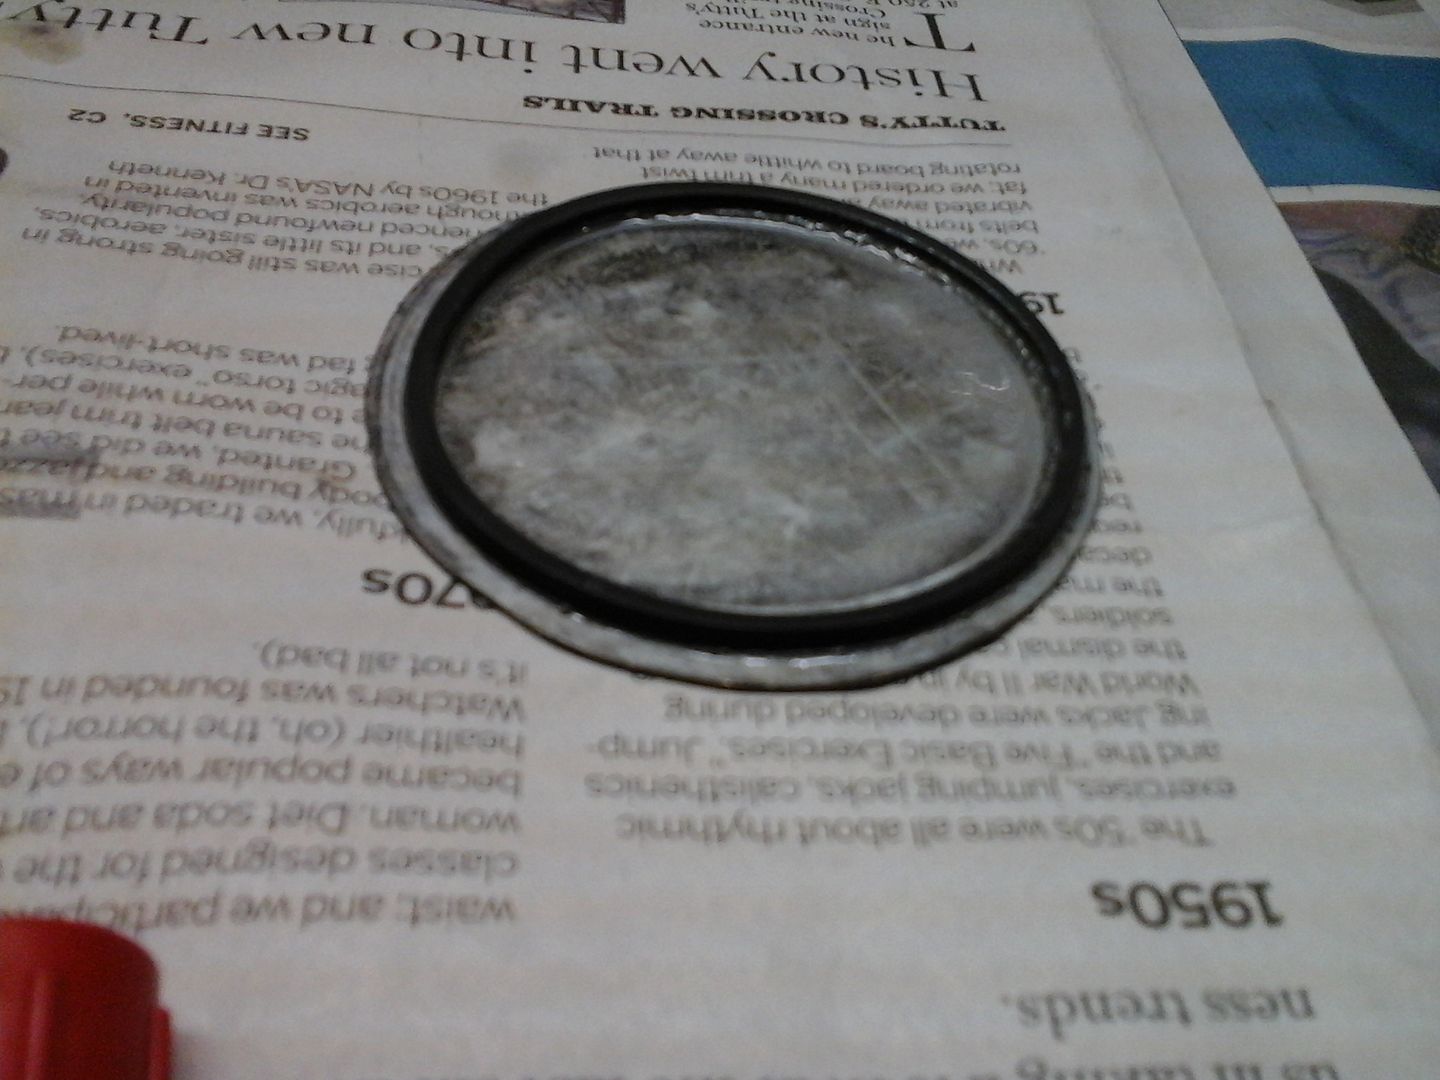
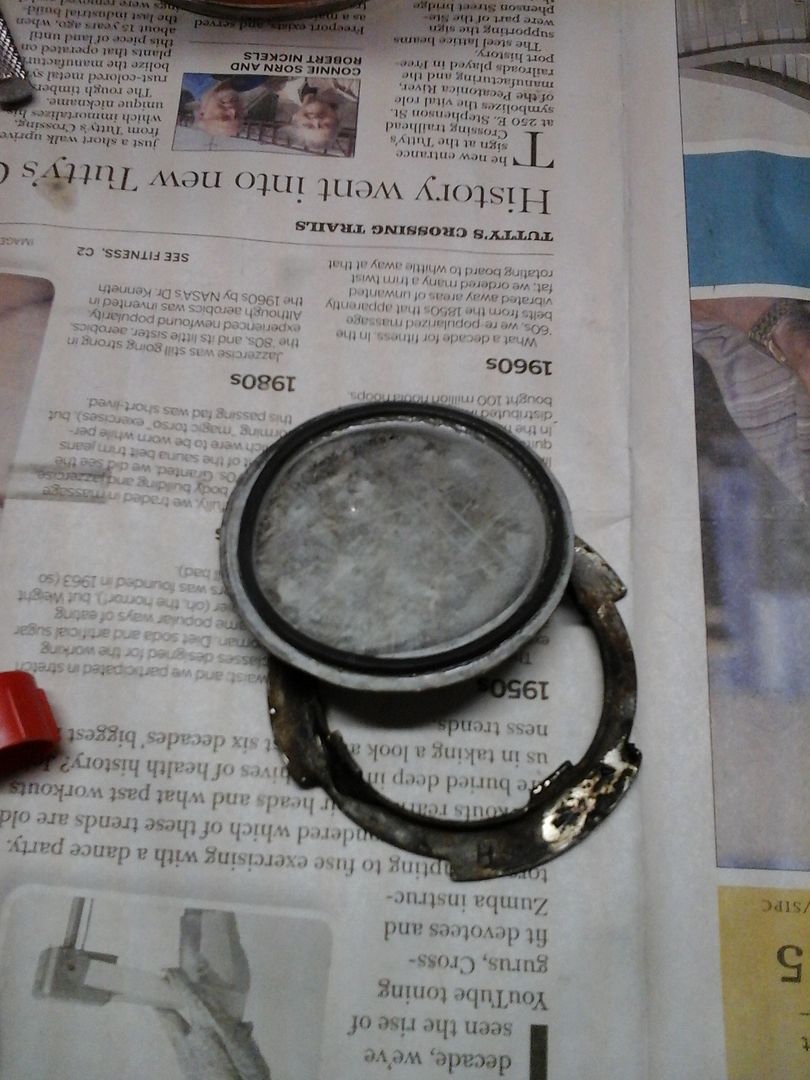
From the last time I did it, I made this little seal plate out of sheet metal and rough cut it into a circle and filed it smooth. I used an old tank seal and lock ring to complete it.
After that was done, I was ready to paint the outside of the tank. This is what I used-
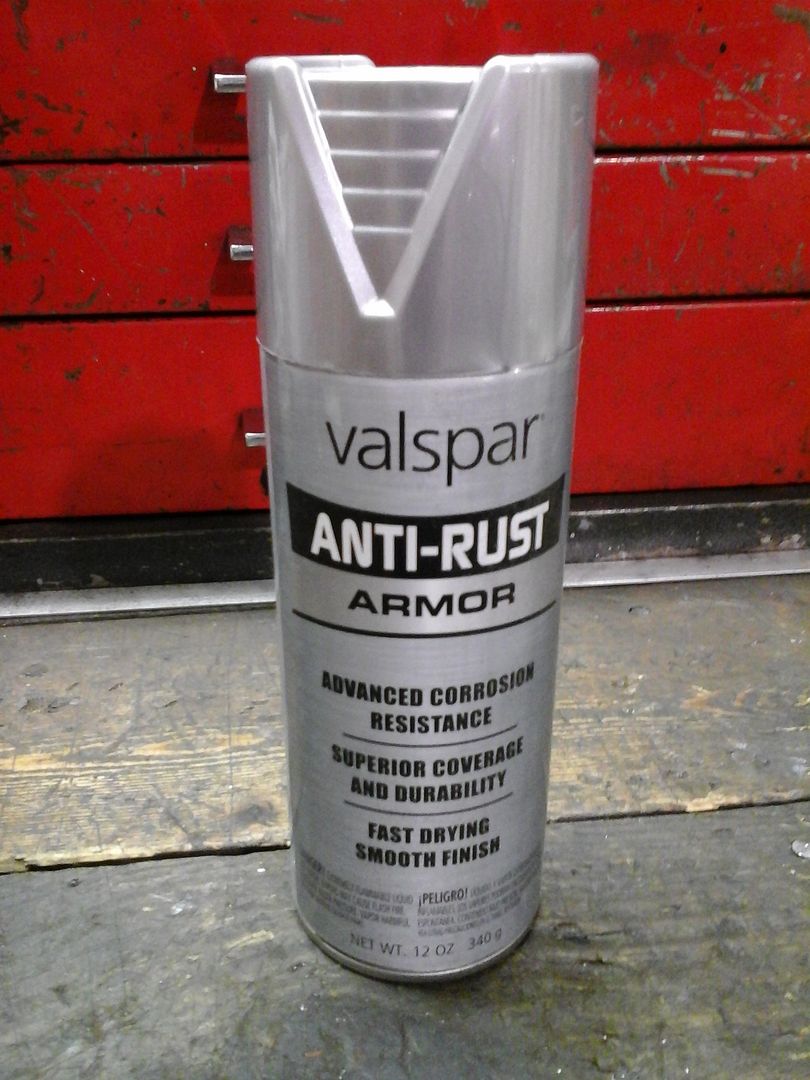
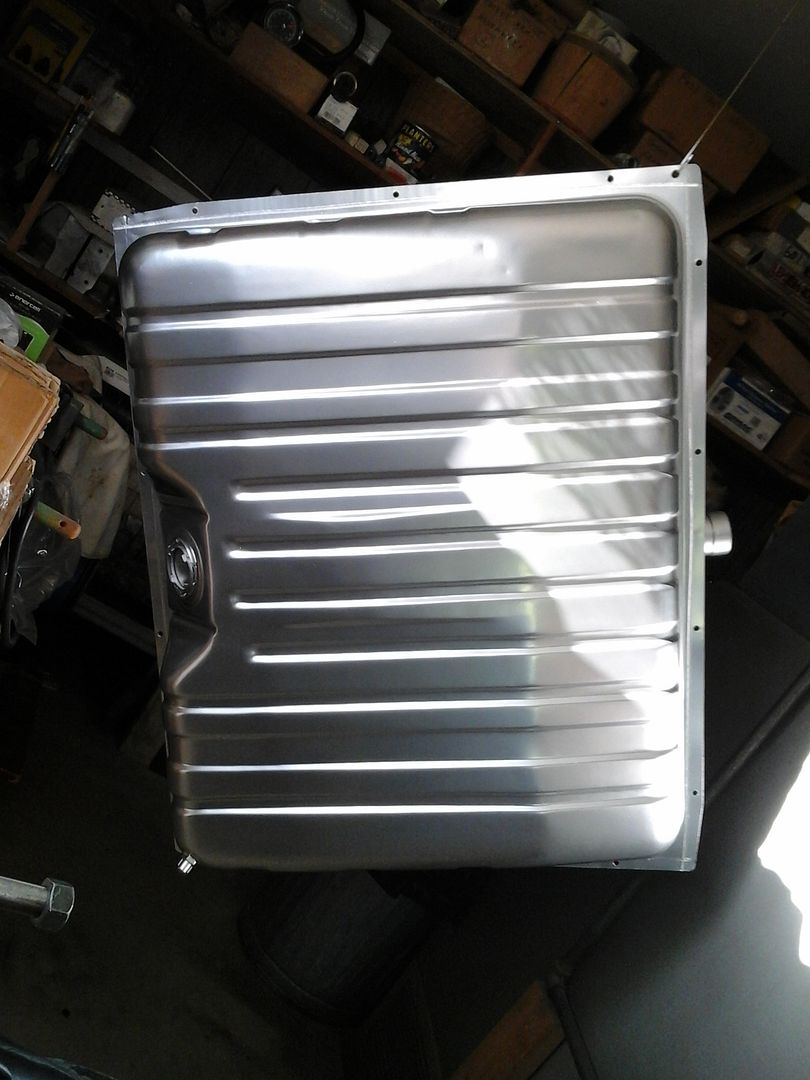
Here it is after the aluminum. Still need to apply the clear coat.
So, still need to clear the tank as I mentioned, mount the new pump, and install the Hydramat in new tank. One thing I'm still not sure on is the Hydramat sitting in the bottom of the tank. In the instructions, they show using magnets on each leg to make it stay on the bottom of the tank. I don't see how it would work to put it into the tank, because the legs are smashed togther on install, which means the magnets would want to stick to each other and then figure out some way to separate them once inside the tank.

Not to mention if they want to stick to the roof of the tank on install. I am using Aeroquip socketless hose between the pickup and the Hydramat. The hose is very stiff. I don't think the Hydramat will lift off the bottom of the tank with that. Also, I was wondering if the fuel saturation will be enough to weigh down the legs and keep them from moving. Hmmmm, I'll have to think on that one.


