Show Posts

This section allows you to view all posts made by this member. Note that you can only see posts made in areas you currently have access to.


Messages - Nightmist66

Pages: 1 [2] 3 4 ... 81
16
Member Projects / Re: Putting A Little Pep In My 390's Step
« on: November 14, 2023, 12:43:31 AM »
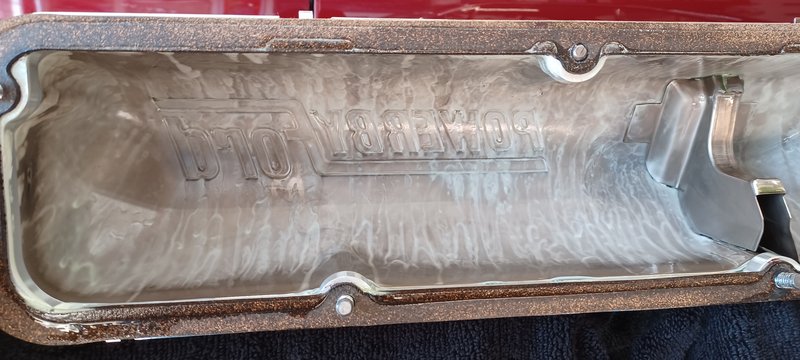
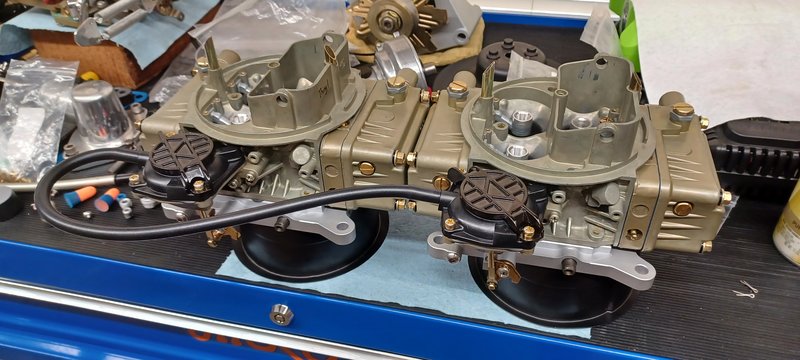
Well, as they say, nothing lasts forever. The weather was nice on the 4th and I decided to get the car back out. I swapped my home brew carbs on the night before. I got it running and checked a few things over and took it out for a drive. Cruising around felt pretty decent. Made a few scenic trips to put some miles on. Everything seemed okay. I figured it was about time for a performance evaluation. I headed over to a local test spot(in Mexico) and tried to make a hit. I let the clutch fly at about 6200 and ran in through 2nd and 3rd shifting between 78-8000 and ran it halfway through 4th. Seemed very strong. Came up to the stop sign and took a left and jumped on it a little more, when all the sudden......Smoke rolling from the valve covers(hood is still off). Hmmm. Thought maybe a gasket or something started throwing some oil? Then I hear a faint tapping sound.  Nah, can't be. Well, I make it to the next turn and the tap turns into a knock. I look down at the oil press. gauge and it's not happy with me. Sinking like a lead balloon. Uh oh. I'm only 1/2 mi. from home. Tried to go real easy, but the knock was loud and it felt like it was losing power. I shut it off and pulled over. I called a friend from down the street for a tow home. Looked around on the engine and nothing out of place, everything is dry. Get it pushed back in the garage and let it cool off. Pull the valve covers and see this:

A little milky.....


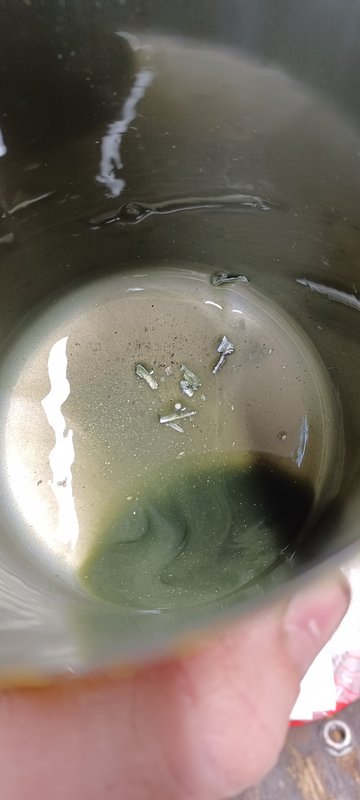
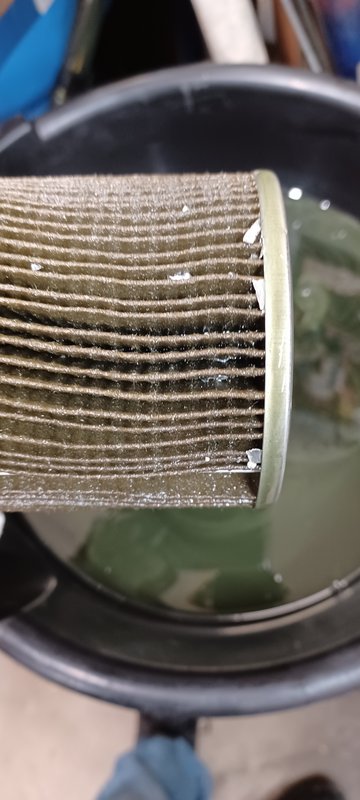
Then I check the radiator and it's down some. Great. Figure I might as well cut the filter. As soon as I pull the filter I'm greeted with this


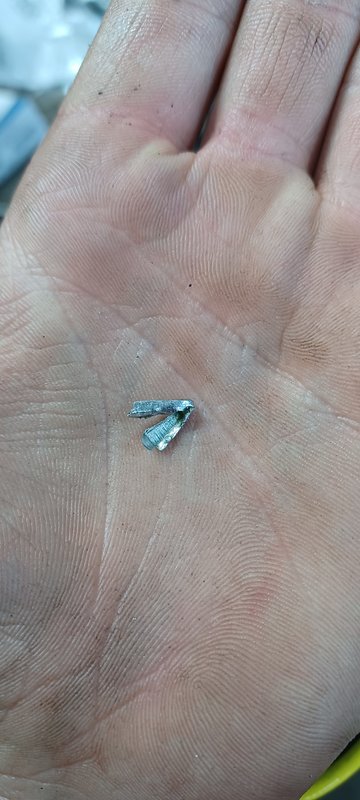
Cut it open to find plenty more where that came from.


So, I blew it off and worked on something else the next day. Grabbed my borescope and coolant pressure tester from work and checked it out more last Fri. I pulled all the plugs. Nothing too obvious. Started looking in cylinders and got to #7. Huh, looks like a small puddle at the bottom of the cylinder. I pressurize the water and it starts filling up fast!

https://m.youtube.com/shorts/Vk5vpvK7cUc

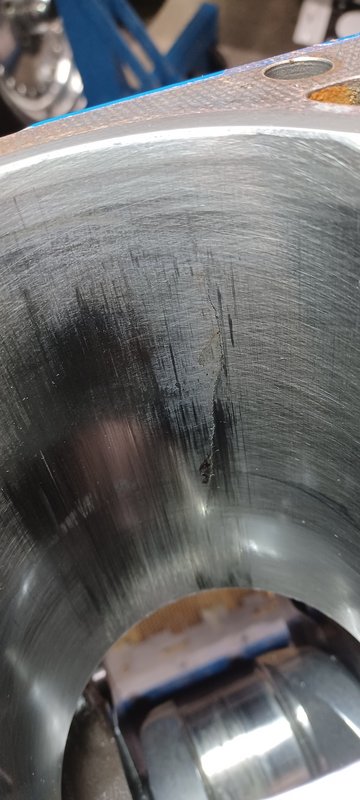
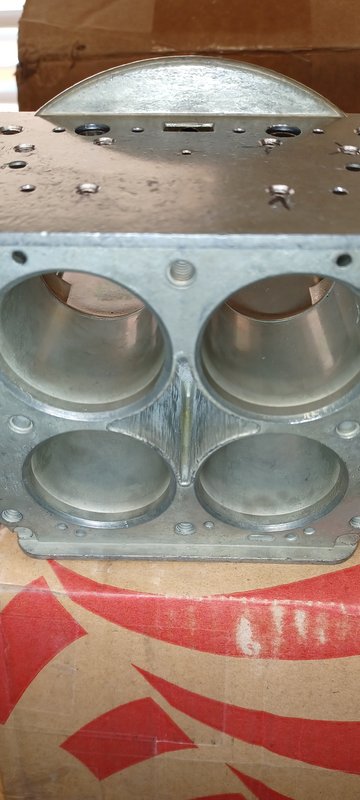
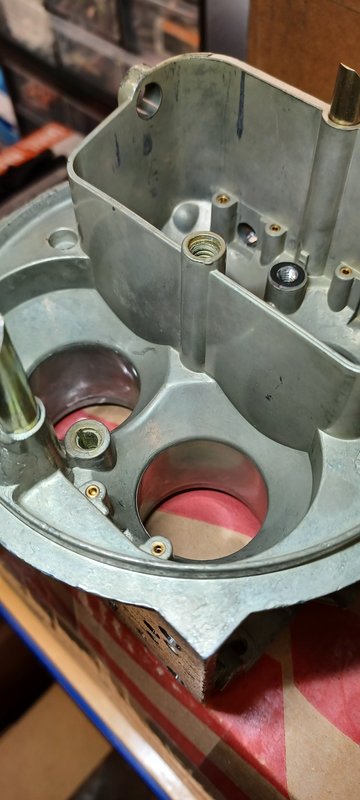
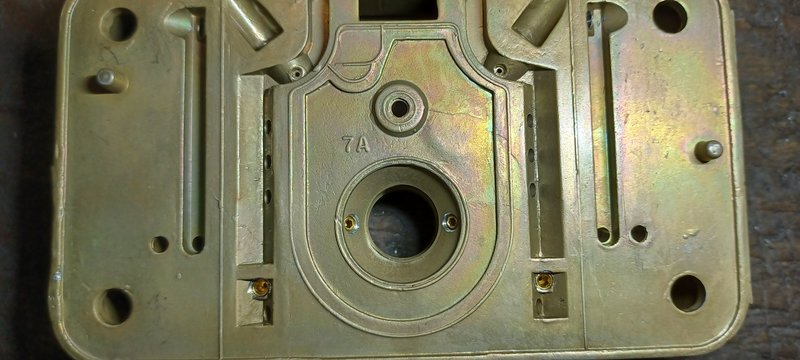
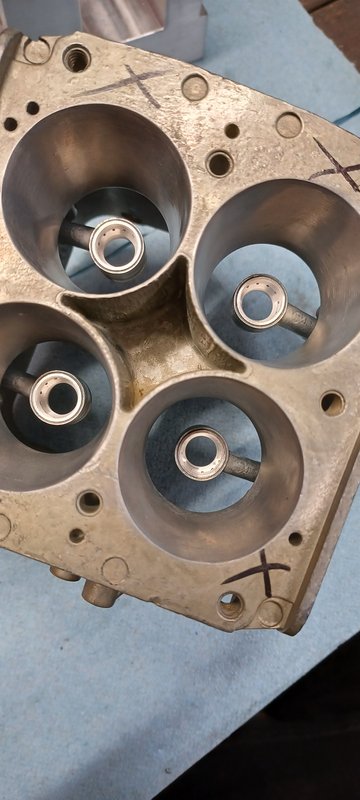
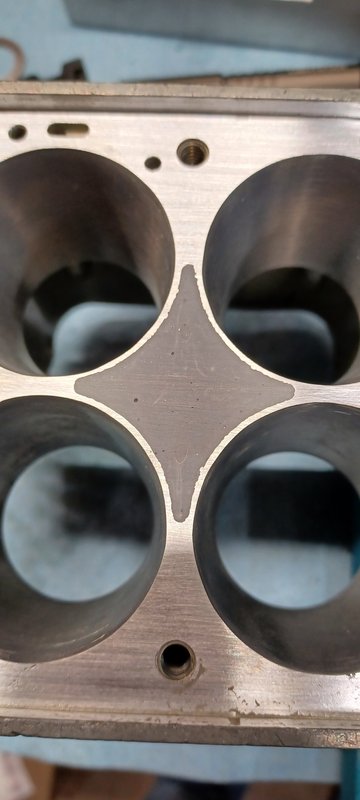
On the left side of the screen, you can kind of make out the valve reliefs on the piston. And a bunch of water on the right! Half the piston is submerged. I figured it better come apart so things don't get rusted inside. Pulled the engine out yesterday and got started on the autopsy. Once I got the head off, I found the obvious cause:
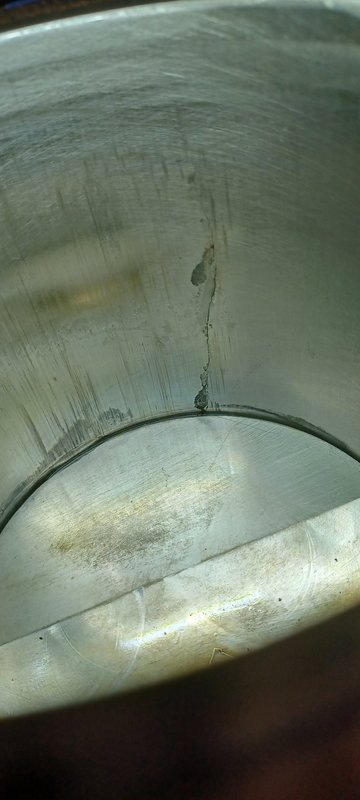


The knock:


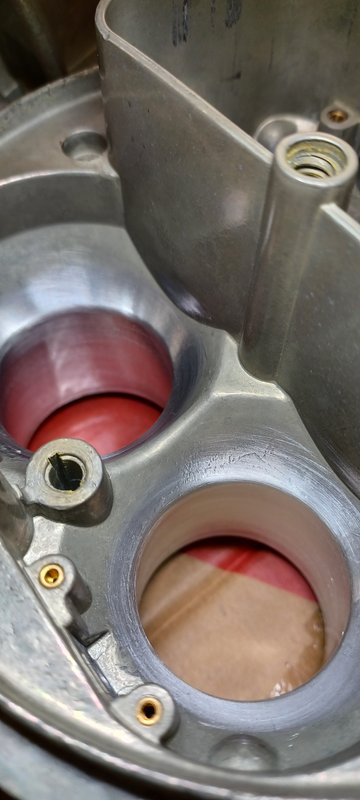
The cylinder has a pretty long crack.


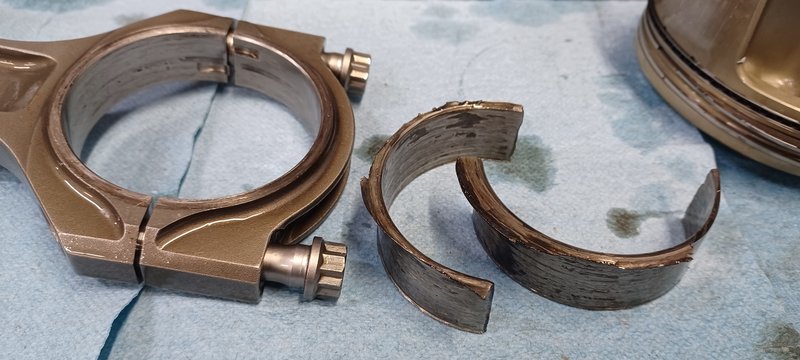
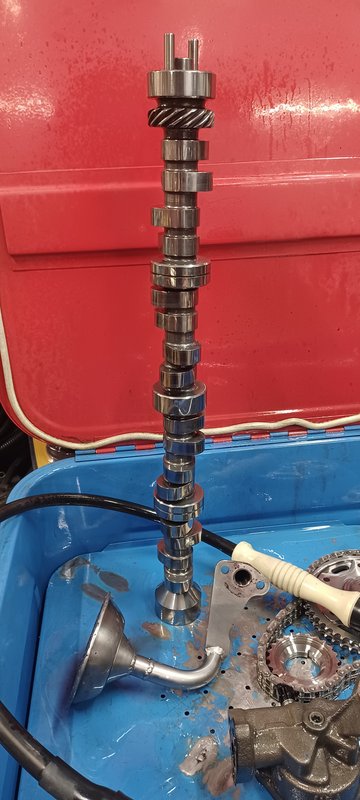
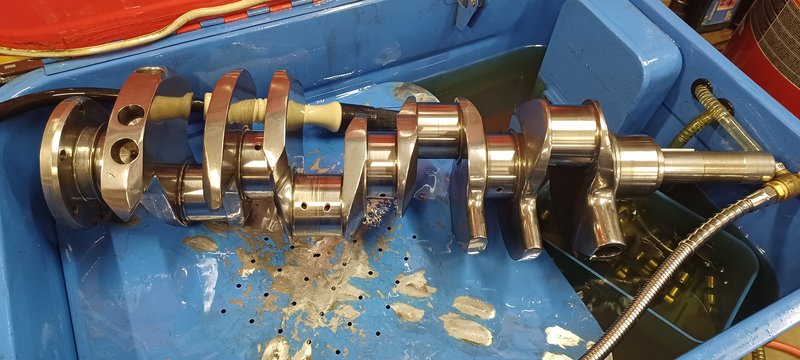
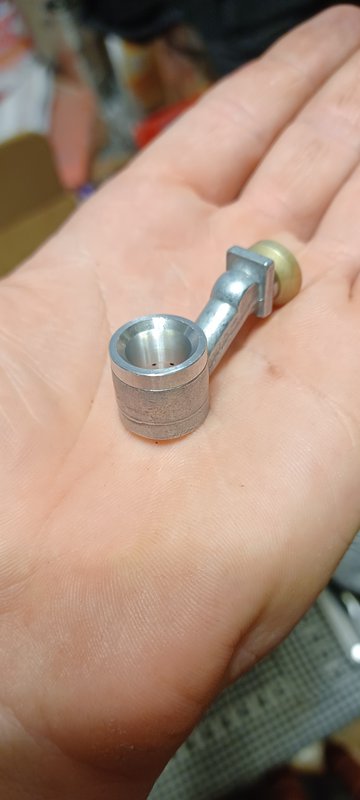
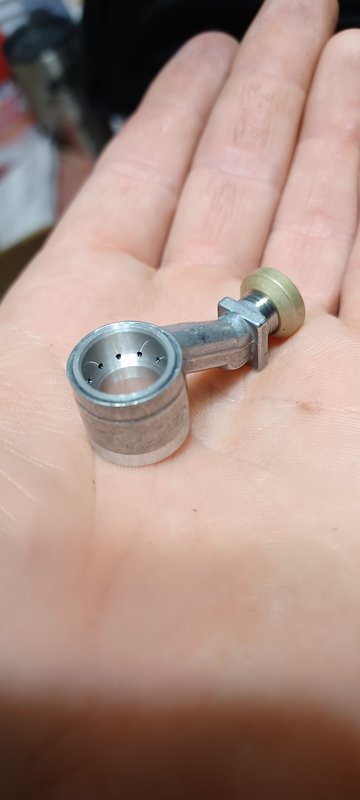
The big end on #7 rod is pretty ugly. Don't think it can be re-sized, so prolly need a new one. Luckily the damage was very isolated. Every other journal looks like it never ran, like I just assembled it. I think the coating on the bearings and a good oil additive helped me out. Looks like the crank can be turned on just the rods. Cam still looks like chrome from polishing. Can barely see where the lifters were riding.


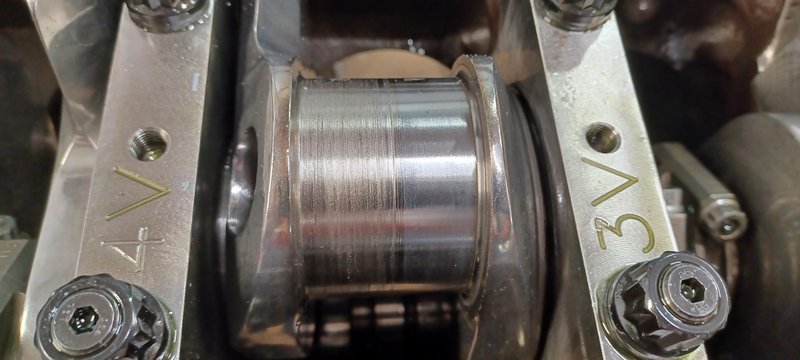
Crank still nice and shiny.


Haven't gotten the oil pump apart yet, but hoping the aluminum bearings did minimal damage. I guess it could have been a lot worse. It was a one hit wonder. Butt dyno said it was making every bit of the 335hp factory rating when it let go.

17
Member Projects / Re: Putting A Little Pep In My 390's Step
« on: October 29, 2023, 07:40:30 PM »
Thank you Bill and Heo for the kind words. Much appreciated.


Jared, Quick Fuel might be hiring. You could be in charge of product development.

Warped main bodies out of the box, there is something right there you could make sure doesn’t happen, ( I know they are Holley parts but Quick Fuels might be prone to it also).

I suppose you made the tuned exhaust collectors also?

Nice work as usual.


Thanks Jim. The headers are Mad Dog 2" and the same collectors as before. The collectors were spec'd by someone much smarter than me for this combo and were made by REF. They have an O2 bung on each side in case I ever want to go efi or to just check AFR and they were made with a v band to connect to the exhaust for street duty.

18
Awesome! I agree, with that mph, it should do a 10.50. Making some good power...

19
Member Projects / Re: Putting A Little Pep In My 390's Step
« on: October 28, 2023, 08:49:09 PM »
Picking up where I left off with a minor update. Engine has been in the car for about a month now. Finished up the loose ends. Weather has not been cooperating lately, so I figured last weekend I would clean off the 3yrs of accumulated dust and picked up a buffer and gave it a little polish. Paint looks okay for 39 yr old lacquer but is showing some age in places. Here's the engine installed:


I found an ink stamp for the alternator, so I made the powermaster unit look a little more original.


Weather has been awful lately, but today it cleared off and made it to a whopping 47degrees. I managed a couple shake down runs today to test the new ring and pinion, new clutch, new front and rear tires, and new engine to seat the rings under load. I turned the electric fan controller up high to let the engine get some more heat in the cool weather, but the hottest it would get is 170°. Carbs need some fine tuning and a couple very minor things to address, but overall a success. Finally outside again:


Will have to wait till spring to get to the track. Tomorrow is the last day our track is open. Oh well, there's other stuff to do until then...

20
Member Projects / Re: Project 503 aluminum FE
« on: September 28, 2023, 10:10:48 PM »
Looks great so far!

21
FE Technical Forum / Re: SCAT stroker kits
« on: September 28, 2023, 10:05:07 PM »
You should be just fine in that power and rpm range, especially N/A. The factory cast cranks are tougher than some give credit for. The Scat seem pretty decent as well. I am planning on tickling 8,000+ with my factory junk. I know others have pushed them a good bit higher before. RPM, balance, bearing clearance, journal diameter, rod/piston weight, compression, material composition, power adder, etc. all have an affect on it.

22
Member Projects / Re: Putting A Little Pep In My 390's Step
« on: September 24, 2023, 08:22:18 PM »
I have two sets of carbs to try on this engine. Well, 3 if I want to throw some extra stuff together. For now, I have a set of "550" cfm carbs spec'd for this combo by Allstate. They started with 600 vacuums and converted to mech. secondaries. They installed some of their straight leg skirted annular boosters. They figure the real estate the new boosters takes up makes them closer to 550 cfm.

Anyway, I decided I also wanted to try and make a set of my own. I was thinking of a high flow 650-ish cfm vacuum. So, I started with two new replacement main bodies from Holley. They are 1 1/4", 1 5/16" venturi. I noticed when setting the base gasket on or even the baseplate that the venturi was small up until the last 1/4" before the base. It has two flares at the bottom to go out to the 1 11/16" throttle bore size.


I also wanted to install some different boosters to replace the generic straight legs. So I knocked those out and now I can also deburr and blend the entry into the venturi.


I was very careful to leave the entry size the same. I found a socket that was exactly 1 1/4" and another that was 1 5/16" OD. That was my "gauge". I decide to port them to the full 1 11/16" size to match the baseplate perfectly. I spent a good couple days whittling away. I used a small metal ruler as a straight edge to make sure it was a consistent taper from entry to exit. I used sharpie near the entry, so I knew if the grinder was getting close so I could keep the entry the original size.


I decided on trying some fancy threaded annular down leg boosters.


I got some new replacement HP metering blocks and removed the IFR from the upper location and installed some 6-32 restrictors in the lower position. I also tapped behind the power valve for 4-40 restrictors.


I had my machinist put the main bodies in the Bridgeport to counterbore for the tapered nuts on the threaded boosters. Here is a test fit.


One thing I noticed is after porting, the casting became very thin near the center. I was afraid the gasket would not seal there, so I filled the center with JB weld and trued the surface.


After I re-installed the boosters, I surfaced the other sides to take any warpage out and make sure the nuts and boosters were not proud of the surface. The sides were nicely warped out of the box....


I am using Quick Fuel jet plates on the secondary. I did have to notch the floats and reseal them with epoxy. The floats are nitrophyl.


I installed some billet baseplates and also swapped out the primary shafts for the original Ford style arms.


These are some oddball carbs and didn't know what else to call them.


A couple pics installed and ready to run.


So last night I decided to try them out, but it didn't go so well. It idled very high and was lean and wanted to die after a rev. Now, I just ASSUMED it would want a little bypass, so I drilled the butterflies from the start. WRONG. I had the throttle plates completely closed on both carbs front and back and the mixture screws rich and it still idled at 1500 and was a sack of potatoes. So I figured I better change the throttle plates. This morning I dug out a new set of spare baseplates for a 660 that I could rob the blades from. Swapped them out and fired it back up after lunch. I was happy to see it was running like a top now. Idles well down to around 1200 or so where it's happy and mixture screws are where they should be. Revs nice after swapping in some 35 squirters and comes right back to an idle without stumble or dying like before.

https://m.youtube.com/watch?v=QnAYeEJWYd0&pp=ygUjRm9yZCBmZSAzOTAgb24gaWRsaW5nIG9uIHRlc3Qgc3RhbmQ%3D

Now that both sets of carbs are fairly sorted out, I feel ready to drop it back in the car. I think I left out a bunch of details, but that's the gist of it.

23
FE Technical Forum / Re: ARP header bolts
« on: September 16, 2023, 10:01:43 PM »
These are the options. It will be up to personal preference what style you would like best. These are all 1" long and have a 5/16" head for use with a 5/16" wrench or socket. They all come in a pack of 16.

Black oxide hex head: 100-1110
Black oxide 12pt head: 100-1210

Stainless hex head: 400-1110
Stainless 12pt head: 400-1210

24
FE Technical Forum / Re: ARP header bolts
« on: September 16, 2023, 07:50:27 PM »
You need to let us know how thick your header flanges are. If they are thin, like 3/16 - 1/4", it will need a 3/4" long bolt. If the flanges are 5/16 - 3/8" thick, you will need a 1" long bolt. They will be a 3/8-16 thread.

25
FE Technical Forum / Re: BLACK SOOTY PLUGS
« on: September 16, 2023, 07:43:14 PM »
The plugs in the picture are resistor and are a 6 heat range. It's a pretty hot plug if you're going to run hard, especially with nitrous. If you want a non-resistor plug from NGK, I would recommend a 4091/ R5671A-7. It's a 7 heat range. We've had good luck with them at 12.5-13.5:1 compression with aluminum heads.

26
Member Projects / Re: Putting A Little Pep In My 390's Step
« on: September 14, 2023, 07:43:01 PM »
Thank you, Howie and Mike. Howie, I believe I made a slight trim for the dipstick but can't remember...

27
Member Projects / Re: Putting A Little Pep In My 390's Step
« on: September 12, 2023, 09:12:57 PM »
Which engineering field do you get paid to create in. Whew!

Which logging system does that fuel psi sensor work with?

Nice stuff man.


Jim, I'm self-sufficient. ;D 
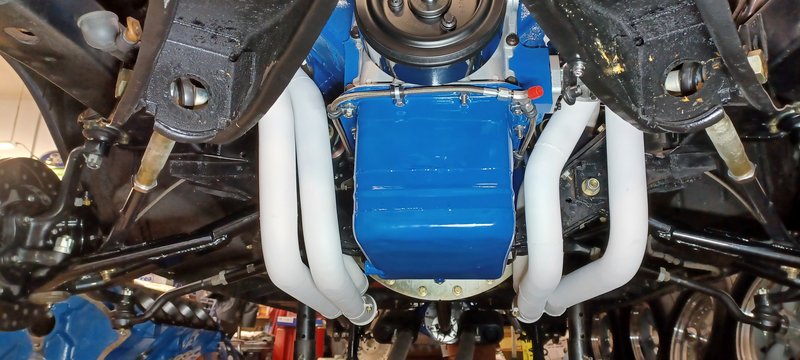
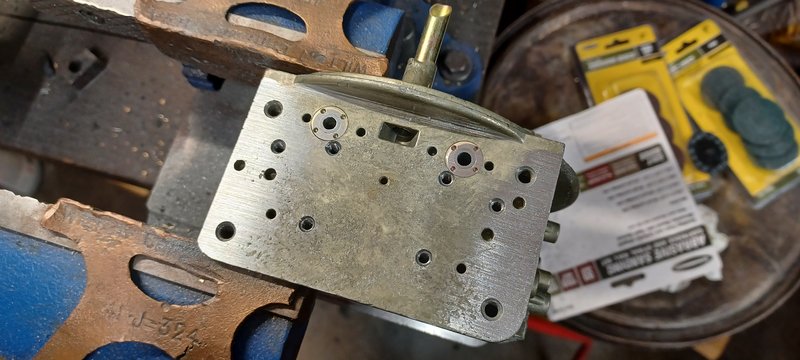
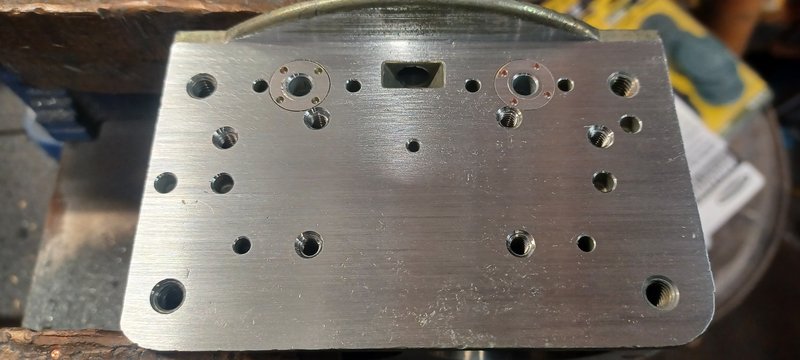
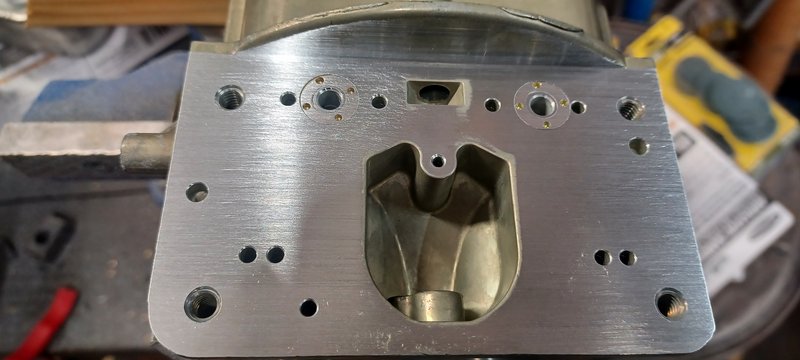
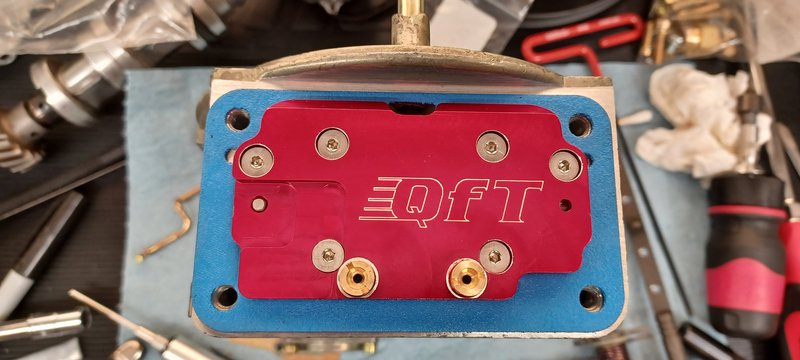
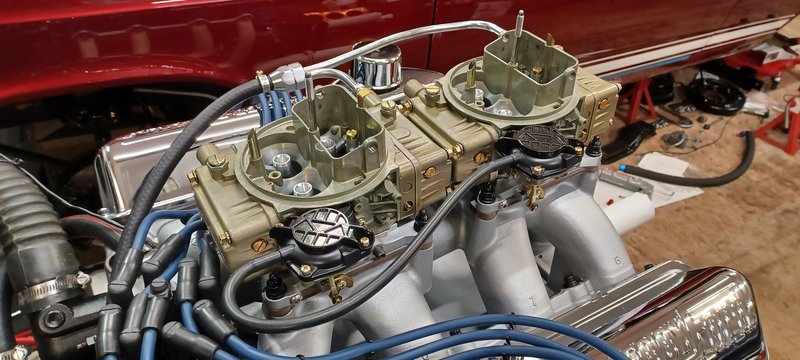
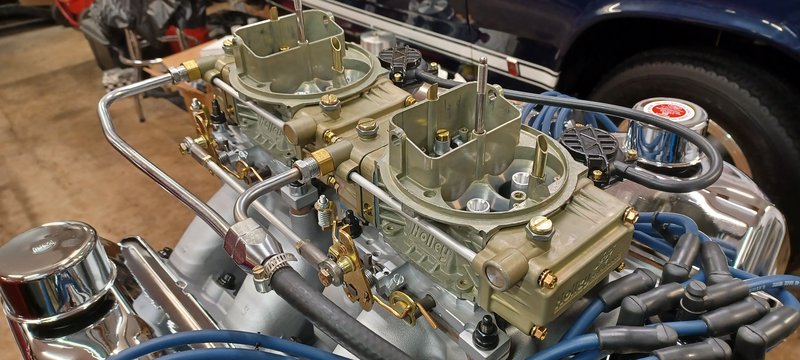
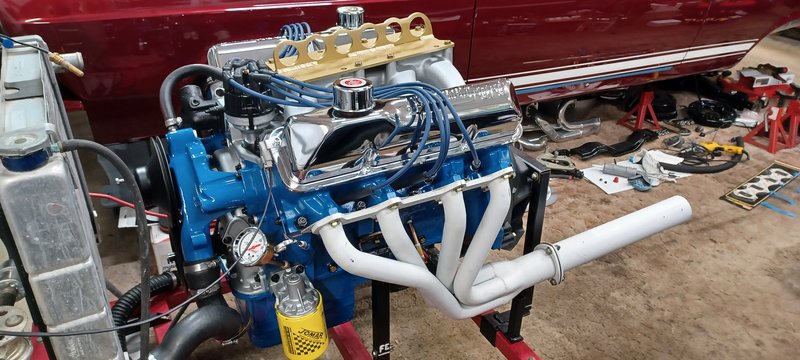
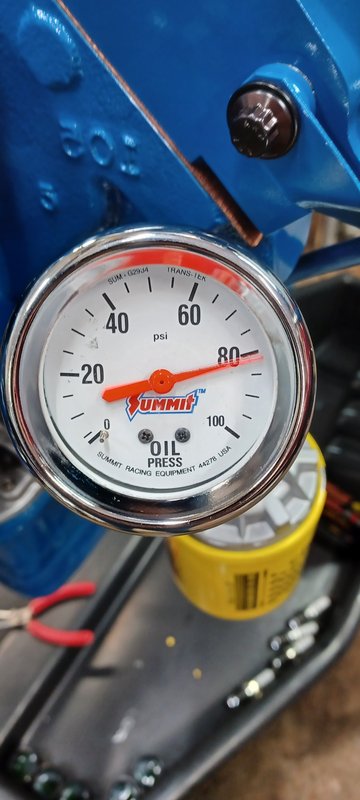
I do this for a hobby like most of us here. The fuel pressure sensor is for my AutoMeter gauge. I went with the electric fuel pressure and water temp gauges because it is a little cleaner install and that way I could get around having an isolator for the fuel pressure, since the gauges are mounted in the car. I went with mechanical for oil pressure, just because I thought it was a better option for oil press. I run -4AN line to eliminate bubbles in the line and false reading.

28
Member Projects / Re: Putting A Little Pep In My 390's Step
« on: September 12, 2023, 09:03:53 PM »
Thank you gentlemen for the kind words. It means a lot. :)  Jay, you're being way too kind. I wouldn't give me THAT much credit. ;D


Fantastic work, Jared. You and Keith (fekbmax) take it to the next level with your attention to detail. I really hope you're satisfied with the results when you get to drive it and get some tuning done.

Just curious, what's the thought process on the external bypass for the oil pump? Once you get any bugs worked out and are satisfied that it's dependable, do you have any hopes for a drag & drive event, or just street and strip miles?


Thanks Doug. I agree, Mr. Keith does very nice work. As Mr. Bill alluded to, one of the main benefits of the external bypass is to help eliminate possible aeration. It can also help to reduce oil temp. slightly. If the Drag-n-Drive route comes close, I may consider it. For now, street/strip. I have a 4.86 gear in the car now, but I feel it will want more. I already have a 5.14 waiting on the sideline.

29
Member Projects / Re: Putting A Little Pep In My 390's Step
« on: September 11, 2023, 10:01:41 PM »
And that pretty much brings us to where it is today. Installed on the test stand last Fri. afternoon.


I have another set of carbs that I built from scratch for this that are highly modified. Too tired to post all that right now....

30
Member Projects / Re: Putting A Little Pep In My 390's Step
« on: September 11, 2023, 09:52:46 PM »
Now the intake is ready for a little paint...


Ready for final install.


Adding a few more bits.


Installed Jay's covers for pre-oil check.


Was nervous whether my highly modified oil pump would sink or swim.....Whew...


Pages: 1 [2] 3 4 ... 81