This week I put together a detailed schedule of what I have to do to get the engine finished up and on the dyno, and the car back together and running by the end of June. As usual, it looks do-able, and as usual the plan will probably go out the window as soon as something unexpected goes wrong. However, I'm going to try to hang with it as much as possible; this year I've just GOT to get to the track a few times before the event. This week I got the great news that my friend Steve, who went with me at Drag Weeks 2005 and 2006, was able to get his vacation for the week approved, so he is going with me this year for Drag Week #10. We plan to hit the track together several times before the event.
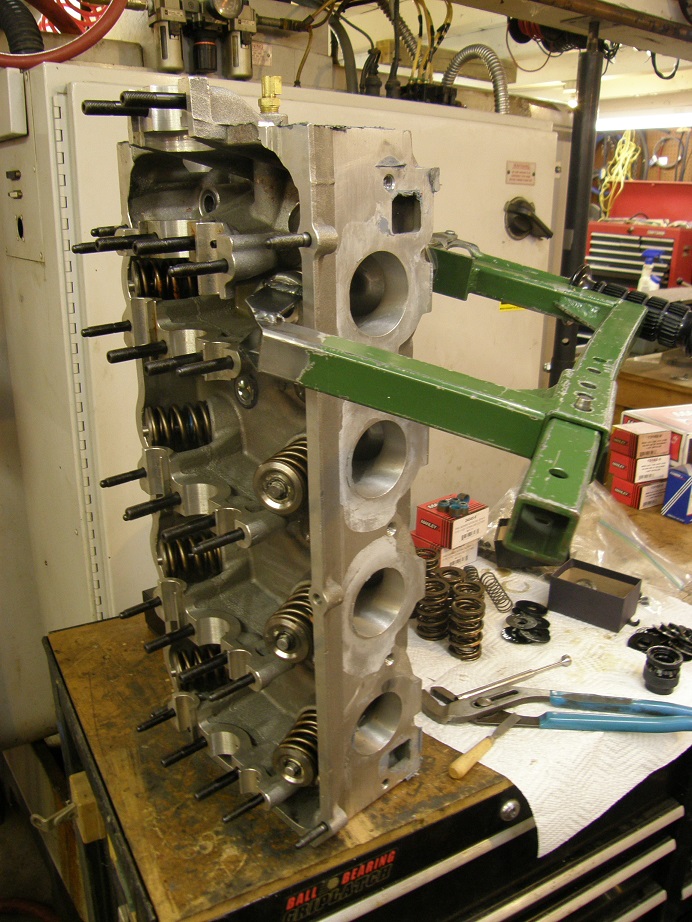
Back to the engine work, one of the upgrades this year is addition of a dry sump system, with the result that at all times when the engine is running, the pressure in the crankcase is going to be lower than atmospheric. This means that the seals will have to be in the engine backwards, because part of the way the seal works is to use the higher pressure in the crankcase to force the seal lip against the crankshaft. With the vacuum from the dry sump in the crankcase, the pressure differential is reversed, so the seal has to be reversed. So, on Saturday this week I got to work flipping the rear main seal around. On the Shelby blocks the fit between the caps and the block is really tight, so you have to use a slide hammer to get the caps loose. Here's a photo of the slide hammer attached to the rear main cap as I'm pulling it out of the block:

After I got the cap off I tried without success to push on the end of the seal that was already installed, but it wouldn't budge. So, I ended up loosening the remaining four main caps so that I could pry the rear of the crank up just a little bit, and rotate the seal out of place. Then, I reversed it and stuck it back into the groove. It took me an hour to get all the caps loose, and 30 seconds to reverse the seal

I reset and retorqued caps 1-4, and now I just have to install the rear main cap later today (with its seal half reversed also), and then this little job is finished up. The front seal will be much easier, of course, because the timing cover is already removed from the engine.
During the week this week I had taken the few spare moments that I had and finished welding up the oil pan, to convert it to work with the dry sump system. This is undoubtably the world's ugliest dry sump pan:

This is actually the third iteration of this oil pan. I ran this originally in my Galaxie, where it was a rear sump pan to clear the front-steer rack that I have installed in that car. Then, when I swapped the motor into my Shelby clone, I had to modify the pan extensively, in order to fit around the rear-steer rack setup that is installed in that car. Both of those installations were wet sumps, so this time I had to cut the oil pan down while still keeping it set up to fit around the rack, and add the fittings and pickups for the dry sump lines. It was a major pain, and I'm definitely not happy with the appearance of this thing. Further, I haven't leaked checked it yet and I will still have to do that and weld up any problem areas, so its only going to get uglier. But if it works, and doesn't leak in the car, I guess I'll be satisfied with it.
After the seal swapping episode yesterday, today I tackled disassembly of the cylinder heads. As mentioned last week I wanted to get rid of the Ferrea valves and install the Manleys that flowed so much better. I've been doing my own cylinder head setup on these engines for several years now; here's a picture of the valve spring compressor set up on one of the heads:
The spring compressor is a standard one that has been modified to fit in the tight confines of the SOHC heads. After getting all the valves removed I also had to remove the valve seals, spring seats, and shims, because the new springs I wanted to use with the new cams for this engine were a little heavier than the Comp 943 springs that these heads were originally set up with, and would require different shims. I was planning to use the Comp 26099 springs. I had gone to the trouble of sending an SOHC head with one of the new cams to Bill Conley last year, so that he could run it on his spintron machine and check for valvetrain stability. Bill ran it with both the 943 springs and the 26099 springs, and the 943 springs just couldn't hack it with the new cam. But the 26099 springs looked good. I have a set of new 26099 springs here that I purchased for use with another set of SOHC heads that were built by Dove (the 26099 springs fit on the Dove heads), so I grabbed those and started to get set up to install them. Right away, I discovered a problem. These heads, which are Coon heads, only have the valve pockets machined for a maximum spring diameter of 1.55", and the 26099 springs are 1.63" in diameter. So, my hopes for getting the heads completely assembled this weekend have gone out the window.
I have two options here. One is to take the heads in to my local shop and get the spring pockets opened up to 1.63". The other option is to buy a set of springs that will fit the heads, like the Comp 26115 springs, that have about the same specifications for open and closed load as the 26099 springs. The problem there is that I'll be out $800 to buy springs, retainers, and spring seats. Also, I have a couple of sets of the 26099 springs, plus extra retainers, and having spare valvetrain parts during Drag Week is a big plus. So, I think I'm going to see if I can get the heads cut for the 26099 springs quickly; if there is a delay on this, then I'll have to buy the new springs and retainers.
With the heads completely bare I went to the next task, which I have to say required some intestinal fortitude. Here is a picture:
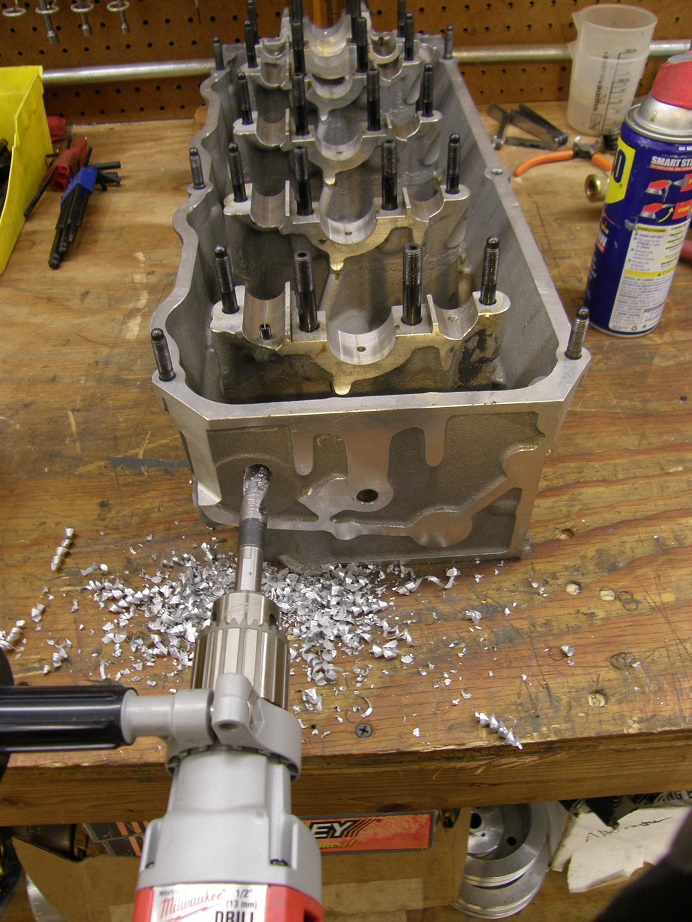
You kind of hate to drill a big hole in a set of heads that you've got $7500 in between the price of the castings and all the porting work! But my dry sump setup is a six stage, and it needs a scavenge line connected to the back of each cylinder head. So, after drilling the hole, I tapped it for a 3/8" pipe thread. Here's a picture showing the fitting temporarily screwed into place:
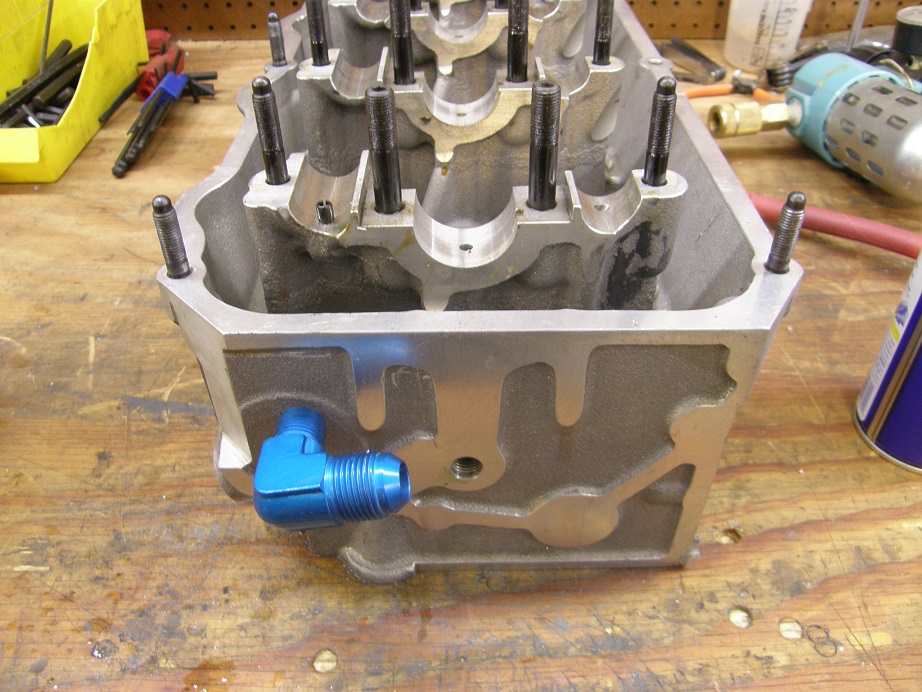
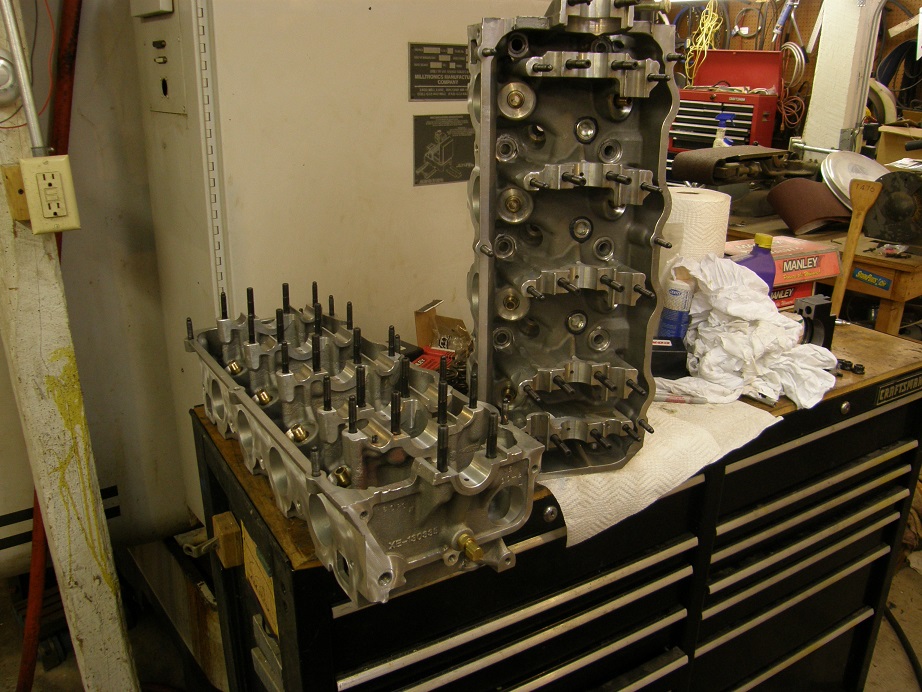
After that was done I thoroughly cleaned each head to get rid of all the old sealer and any remaining traces of metal shavings; here they are, ready for a quick trip to the machine shop:
I'll find out Monday if I can get the valve pockets cut in time, or if I need to go to the other set of springs.
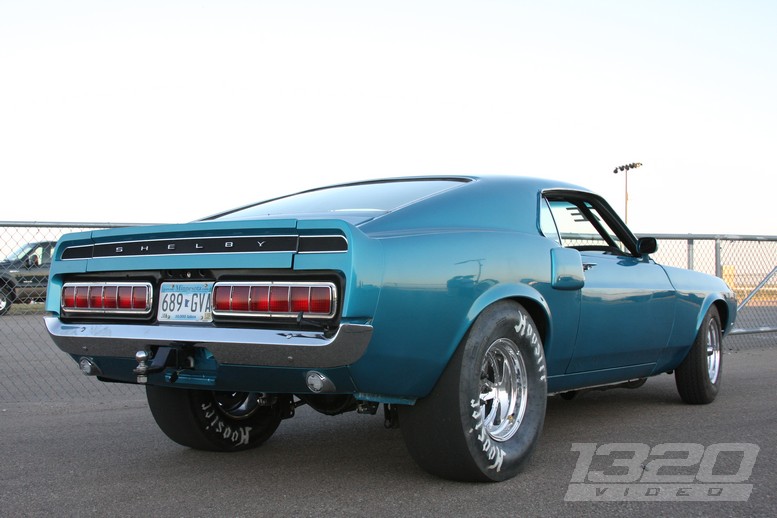
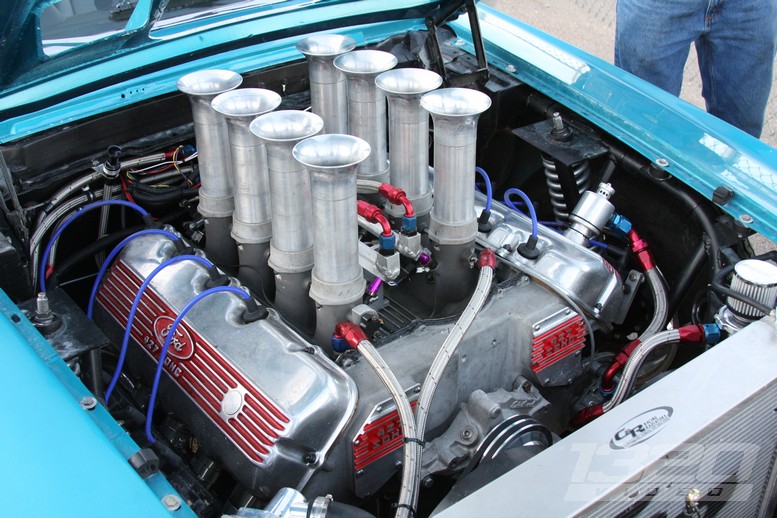
Saturday night was my daughter's junior prom, and last night while at the dance she texted me asking for photos of my Shelby clone. Obviously, she was trying to impress some young man at the dance LOL!. I dug up some pictures from Drag Week 2011 and sent them to her. I had forgotten how nice the car looked back then; I will post the pictures below, and come back to this thread for motivational purposes when my enthusiasm for the project starts to flag

All the pictures below were taken by Kyle Loftis at 1320 Video:
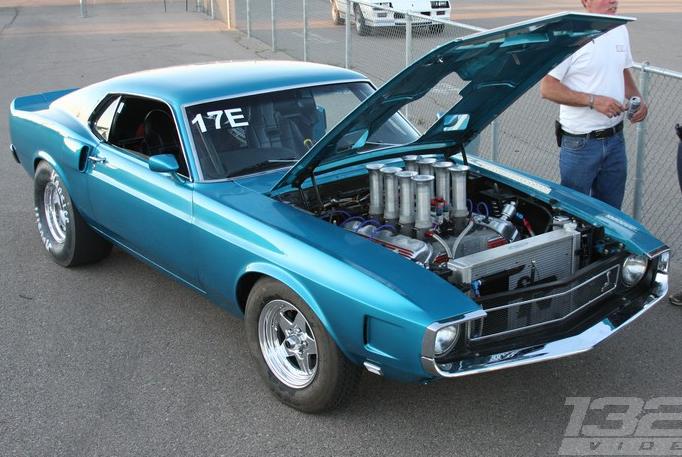


Now, its back to a little custom intake adapter work...


