Show Posts

This section allows you to view all posts made by this member. Note that you can only see posts made in areas you currently have access to.


Messages - 66FAIRLANE

Pages: 1 ... 35 36 [37] 38
541
FE Technical Forum / Re: My new FE powered car!
« on: October 20, 2011, 12:21:04 AM »
Somebody stop me...

Nope..not from here.. I think that would be cool and still retain the stock factor.

542
Member Projects / Re: Installing a Gear Vendors Overdrive to C6
« on: October 15, 2011, 04:20:30 AM »
Well...I measured my driveline angles with car in the air as it was during the install. The important thing is to have the car supported under the diff so it sits at approximate ride height. Doesn't really matter what angle the car is on.

After much research on driveline angles (and there is plenty of misinformation and lack of understanding out there) these are the rules I am playing by, There are only 2:

1) The output shaft of trans and input shaft of diff (yoke) should be parallel to within 1 to 1/2 a degree with the diff pinion being down that 1/2 to 1. Diff pinion angle is all a compromise. With a leaf sprung car the more hp and the more strip time it sees the more angle down on the diff pinion. As this is a street car I will shoot for the 1/2 to 1 degree down. This keeps the operating angles of front and rear unis very close to equal.

2) These shafts should be brought to within that tolerance in such a way as to try and ensure that the operating angle of the unis does not exceed 3 degrees. This is for a hottie. Standard passanger cars & 4wd's etc can tolerate angles up to 7, but angles within 1/2 to 3 degress are more desirable. Operating angles of 0 degrees are a no no.

End of story and no debate will be entered into. There is enough debate out there on other forums and beleive me I think I have read it all!

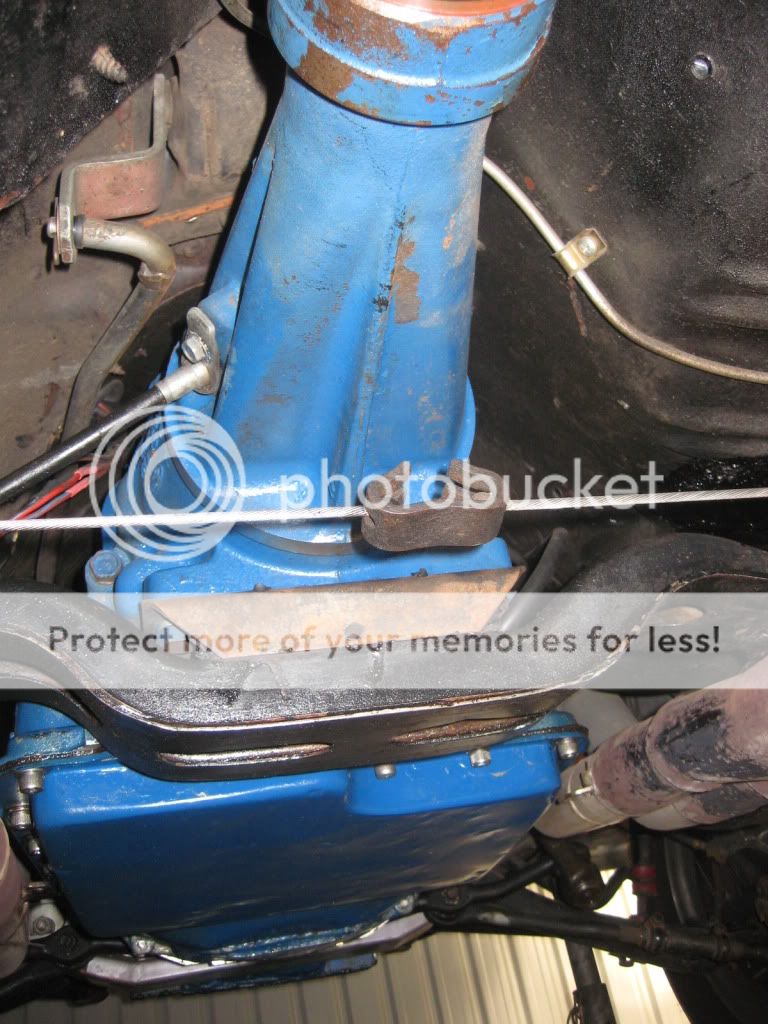
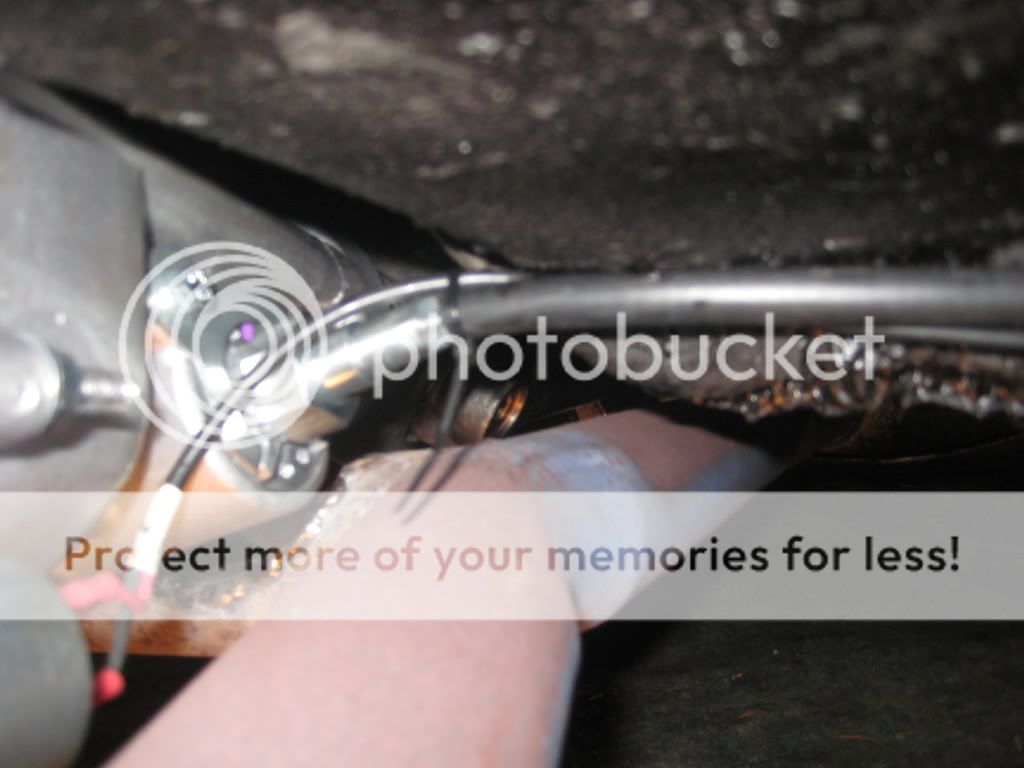
So here is a pic of driveline angles as measured with those 5mm spacers under the crossmember to 'clear' floor.


This means that either the output shaft or diff pinion has to come up about 4 degrees to make the angles parallel. If I take the pinion up 4 degrees then the operating angles of the unis become large (7 degrees). So obviously the desirable thing is to lift the output shaft, but the floor is in the way. Wanting to take it for a test drive without it shaking like a dog passing you know whats I made up some temporary 3 degree wedges to get the angles close.
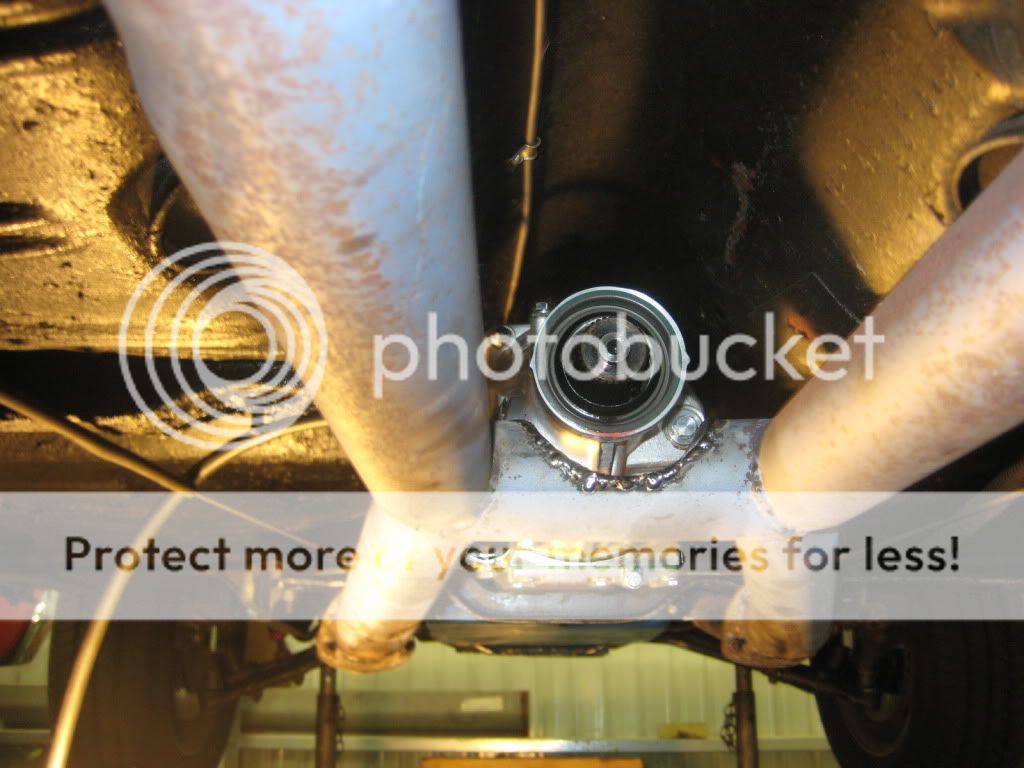
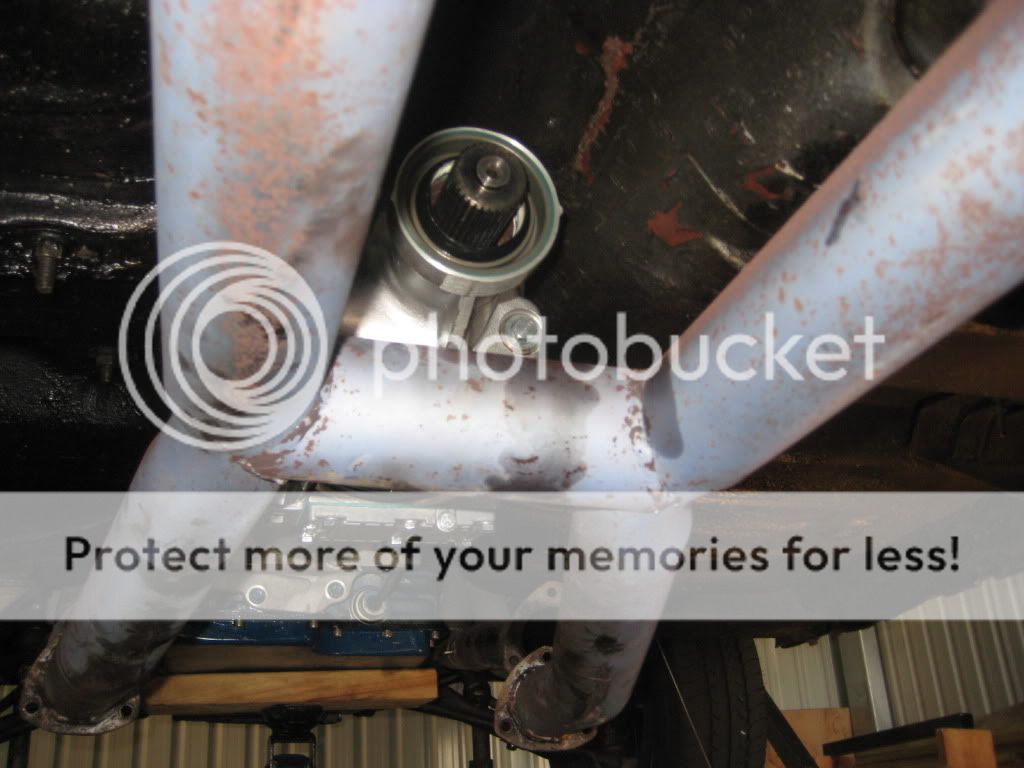
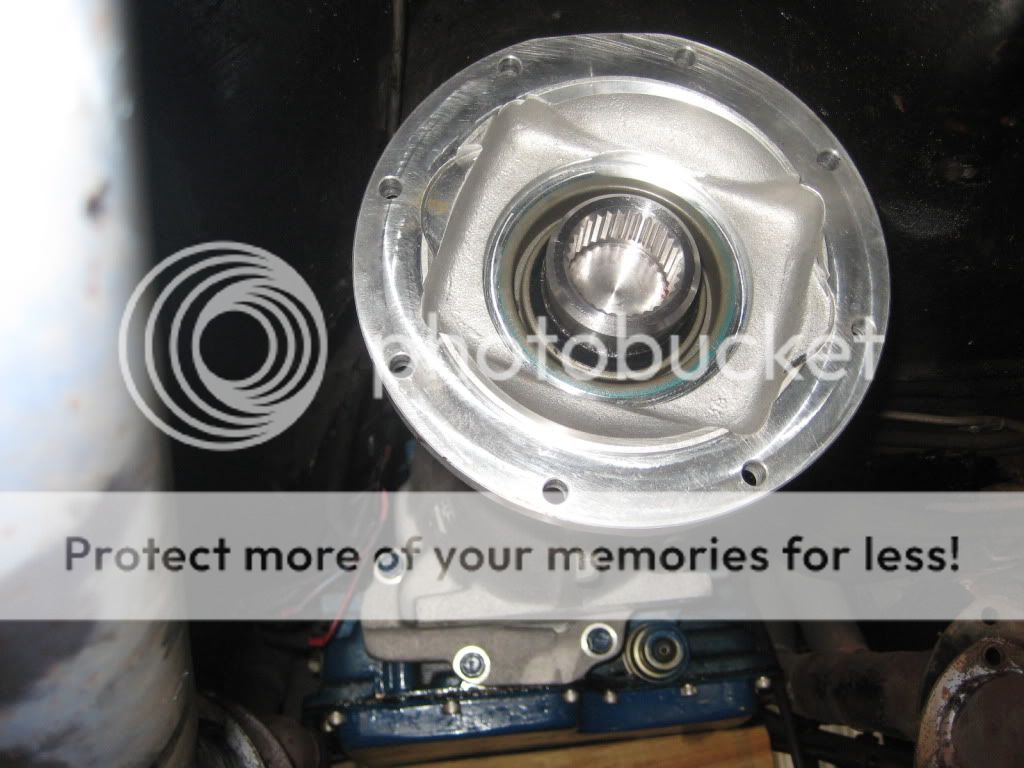
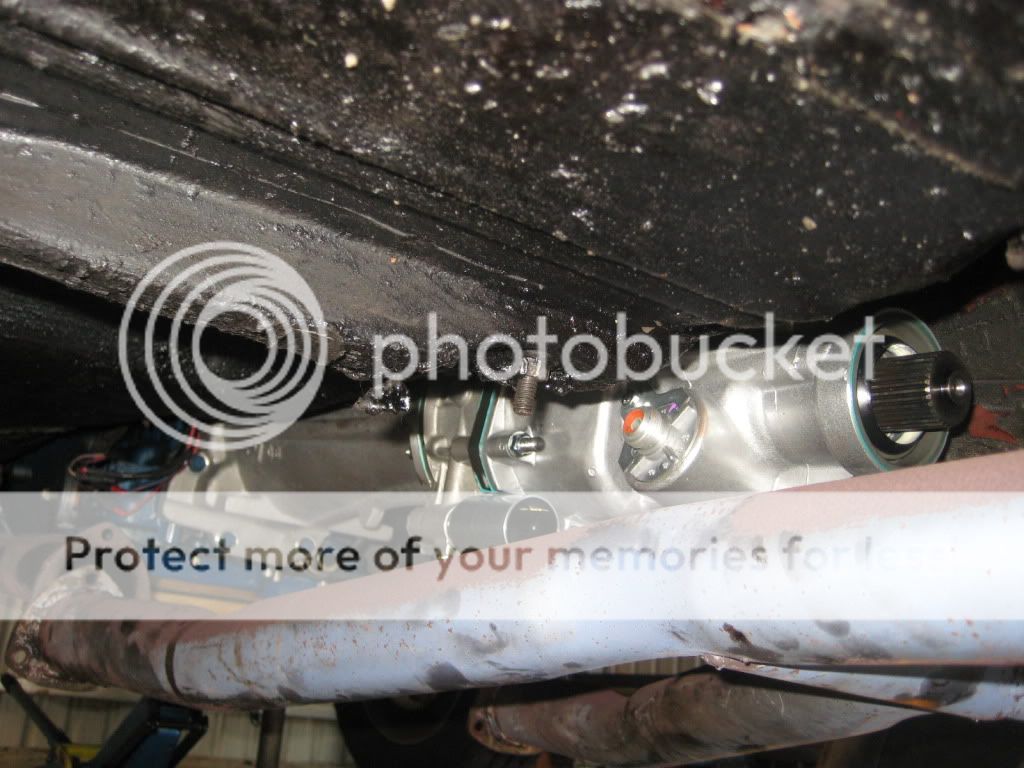

Installed


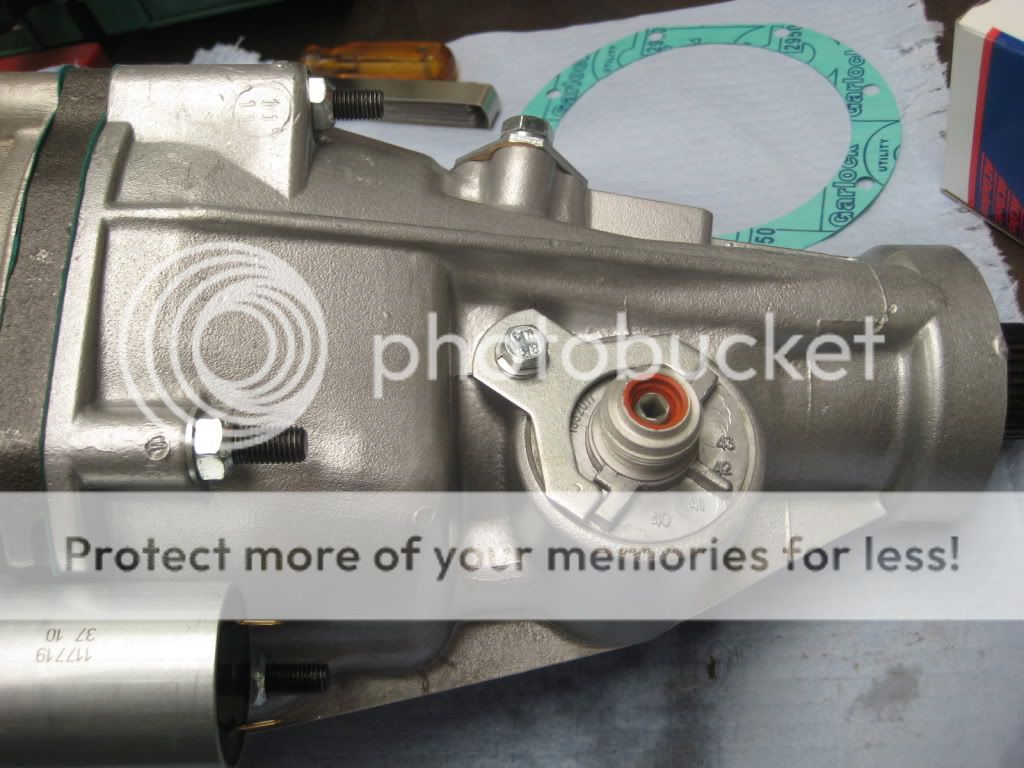
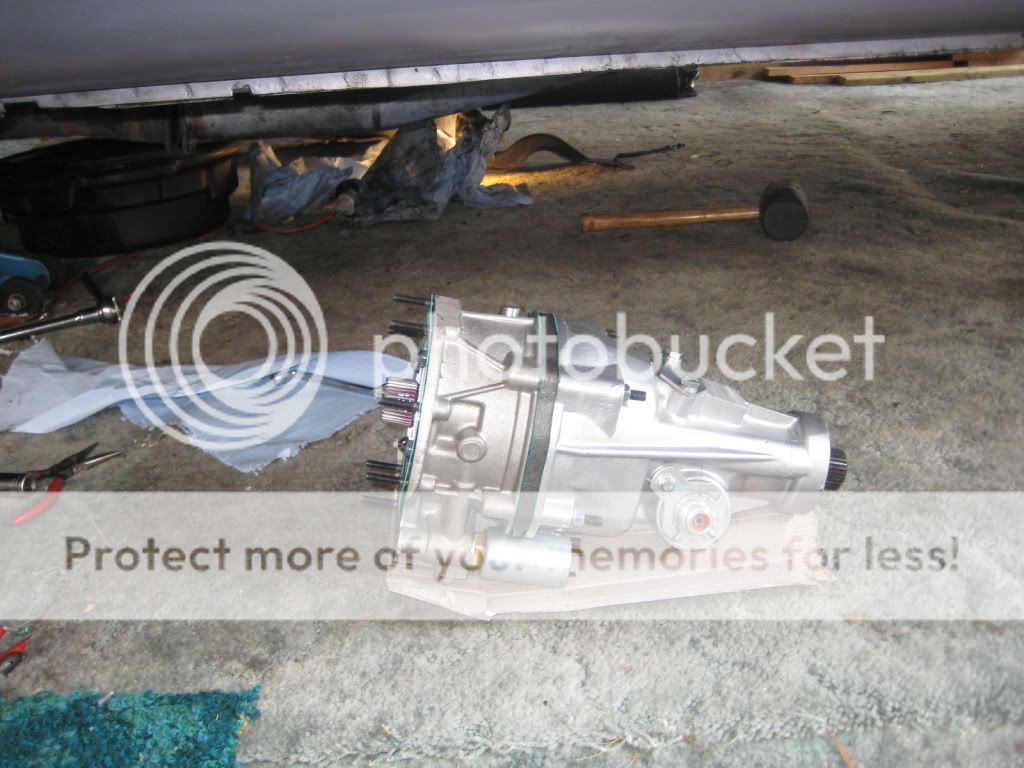
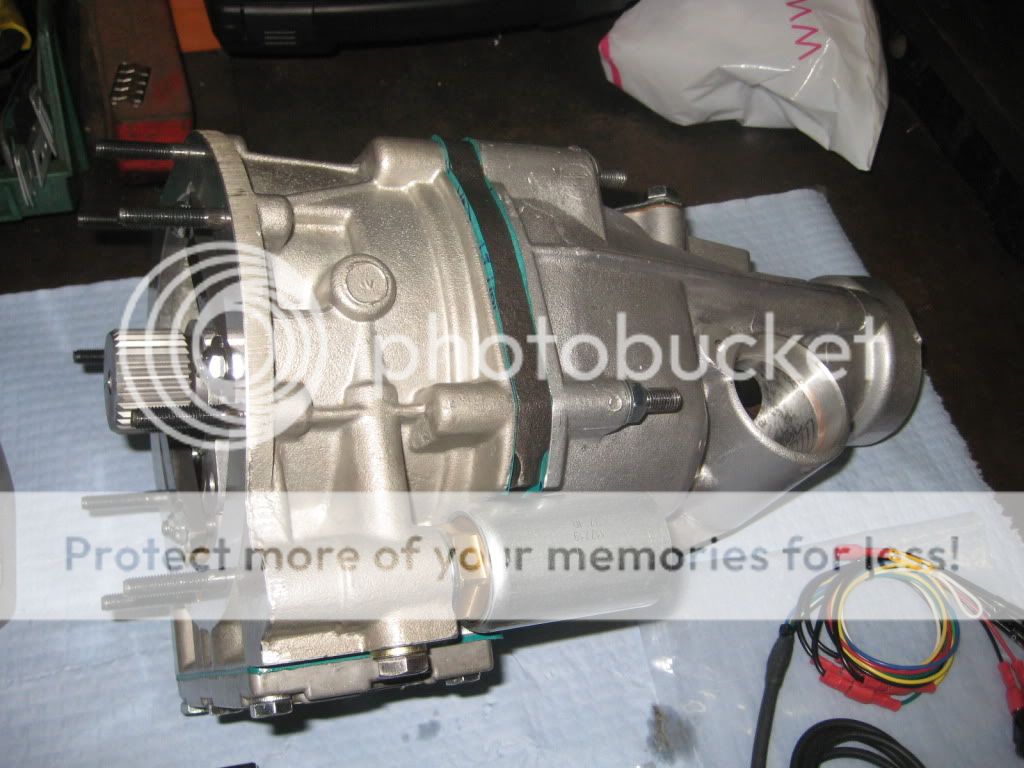
Also the speedo cable hits the floor at a bad angle as is and some massaging here will be necessary also. The unit appears to be loosely based around a GM TH400. I don't know whether all GM transmissions have the speed output pointing up but it seems bloody silly.

Speedo cable into floor.


So I took it for a short drive around a long block. All working properly and I think I am really going to like it. I didn't get on it as they recommend a short break in period and I wasn't really confident of the diff wedges either. Some small vibes but hard to tell what it is with unit on the floor. It was really noticable stationary at idle and just noticable cruising along so it may just be the unit touching the floor.

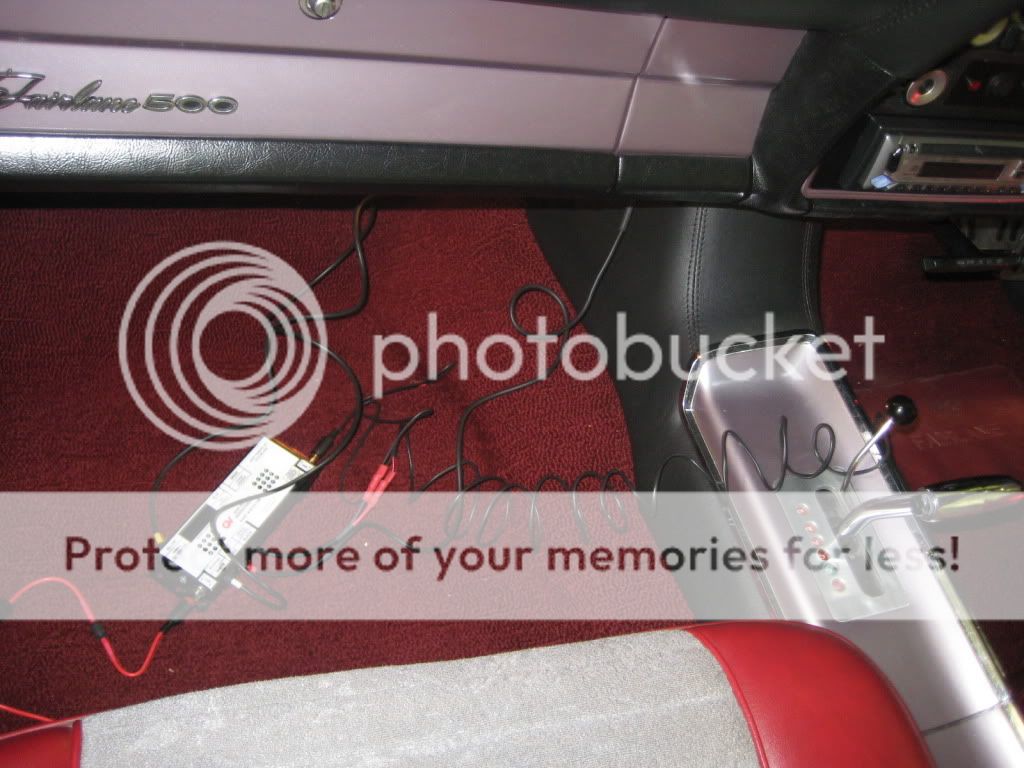
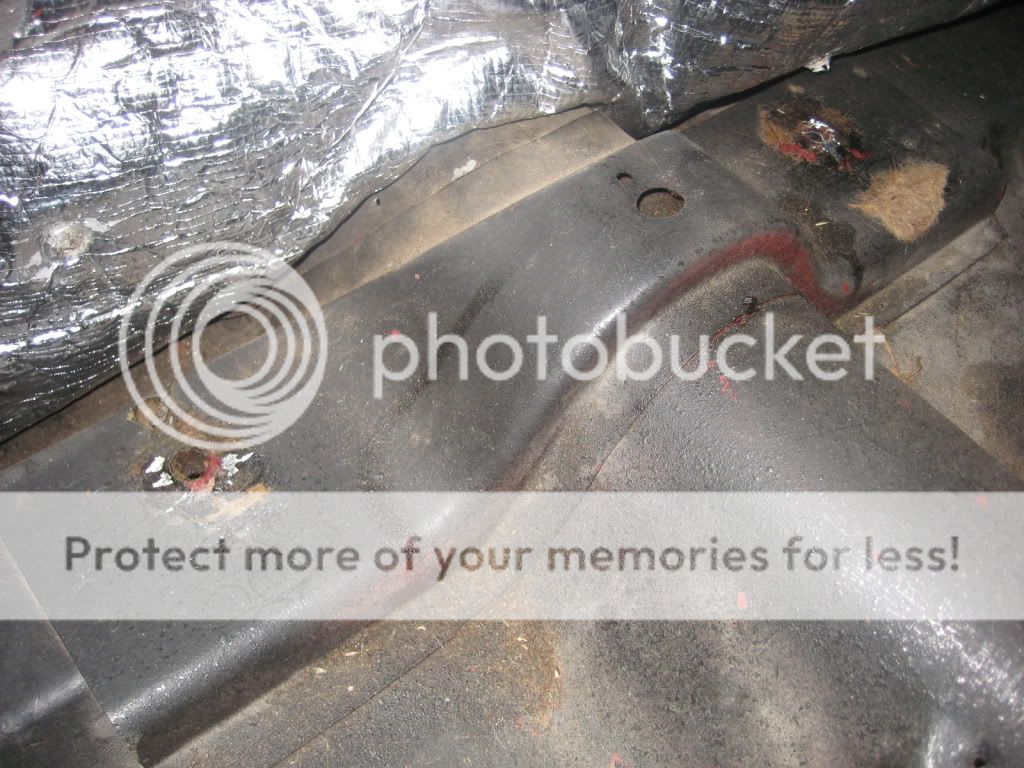
I got home and am very keen to get the floor sorted and the unit up so I can drive it with confidence and get stuck into it. So out came the interior.


Unfortunately Where the tunnel need altering is right under a brace. Still thinking about this one.


It's Saturday night. I'm gunna go have a bourbon! Cheers.

543
Member Projects / Re: Installing a Gear Vendors Overdrive to C6
« on: October 10, 2011, 04:55:00 PM »
I haven't been able to spend much solid time on this lately. Sometimes life conspires to foil the hotrodder. Anyway I have been able to get an hour here and a couple of hours there and good progress has been made. I have also received my shaft back shortened, balanced, new 1350 weld yoke and new uni's.

I dropped the exhaust off and decided to modify the H pipe for clearence rather than cut it out. The only peice of pipe I had with a suitable radius was stainless so not having any gas for my mig at the moment some high nickel electrodes were in order. It doesn't look real neat but with the prospect of exhaust modifications to come I wasn't too worried.

Here is the peice welded in and fitted up.


Next thing I did was fit the short speedo cable to the OD unit and then fit the electrical speed sensor thingy (forgot what its called) and the Ford cable adaptor. Fit of the original speedo cable is strange as it just pushes in the cylindrical adaptor with the only thing retaining it a 'click' fit of the o-ring inside a groove. I wasn't too keen on this so I put a zip tie on it too. I have also just zip tied all this stuff up and out of the way and will neaten it all up later.


Wasn't all plain sailing though. Initially the original cable would not push in far enough to engage the o-ring groove. Small drive adaptor pin below required shortening by about .080".


I also dropped the unit back off the floor and got up there with some bars and stuff and tried to ease the floor where required. With this and the moving of a brake line I have been able to get the crossmember closer to it's original (well for this car) position. I have two heavy 5mm washers between the crossmember and the chassis. With these in place one side of the OD unit is touching the floor and the other is about (3mm) off.

You can see the washer installed here.


I then ran the wiring through a redundant heater hole for now and plugged everything in.


All thats left to do (after filling it and the C6 up with Dexron III) is to power up the control unit.


I will need to tidy up a lot of stuff and after measuring driveline angles I really need to get that crossmember back up to it's original spot and maybe then some. I want to drive it first and make sure everything is working ok. and then I will sort it. The unit will most likely have to come out again to massage the floor and I don't want to do it twice if there is something wrong. The exhaust will also need modification as it passes very close to the speedo cable and solenoid.

544
Member Projects / Re: Installing a Gear Vendors Overdrive to C6
« on: October 09, 2011, 11:02:26 PM »
I then jacked the trans up until it all hit the floor and went about reinstalling the crossmember. Let the fun begin. The crossmember has zero hope of bolting up to its original position. The interference with the floor means that the crossmember is sitting about 15-20mm lower than where it was. For now I have bolted it up with spacers. when the jack was let off the trans it eased on the mount and dropped off the floor about 10mm, about where I want it. At least it will allow me to measure the driveshaft length. Once I have the driveshaft in place I will measure the angles and if not too severe I will modify the crossmember to hold it in the lower position. I will also have to drop the exhaust right off and modify the balance pipe as it hits the overdrive unit and will not bolt back up.

H pipe interference.


Another pic of installed unit looking back.


Tailshaft ready to go out.


Gear Vendors told me it would bolt straight in with no trans tunnel interference although I was was warned by others on another forum I would need a hammer. I suppose I shouldn't complain about the fit as nothing is standard or original on this car. But this is definately not a straight forward installation.

Car will need a 1010mm tailshaft. From centre of slip yoke uni to centre of rear uni. The more expensive and harder to fit "shorty" option is starting to look good.

545
Member Projects / Re: Installing a Gear Vendors Overdrive to C6
« on: October 09, 2011, 10:59:18 PM »
At this point I am really starting to worry about floorpan clearance. Looks like it is going to be very tight.

Next thing to do is install the coupler in the troublesome bush and check end float. You have to lay a straight edge across the face of the adaptor and measure back to the fully seated coupler and adjust end play. In one of their instructions it says to adjust to 0-.015" and in another it says .005-.035". They supply shims and you stack them in the coupler and replace on the output shaft to acheive desired result. All supplied shims are .024 so I don't know how you are supposed to get it spot on. Anyway mine checked out ok at .015 with 4 shims.

Supplied shims at .024


Coupler installed


Here is a pic showing the input side of the overdrive unit. Pump eccentric is clearly visible.


I then installed the speedo drive unit on the bench rather than under the car as per instructions.


Unit ready to slide under and bolt up.


Then its just a matter of installing the gasket and bolting it in place. Heavy little barsterd. Not as bad as doing a 9" centre though.

546
Member Projects / Re: Installing a Gear Vendors Overdrive to C6
« on: October 09, 2011, 10:57:39 PM »
I spent some time on it over the weekend. Started out working the tight adaptor bushing with some fine wet and dry, concentrating on the inner most 1/4". about 15 min work had the coupler sliding all the way through the bush and rotating as it should.

Then jacked the car up, pulled crossmember and dropped exhaust off. Unbolted the original output housing and all went without incident. Except for the colourful language. Damn I want a hoist!

Before shot


Cleaned up the gasket surfaces with Prepsol and installed gasket dry as per instructions.

Adaptor next to original housing.


Tranny with no housing


Adaptor installed

547
Member Projects / Re: Installing a Gear Vendors Overdrive to C6
« on: October 09, 2011, 10:56:05 PM »
As I am not doing the mechanical side just yet I thought I would find a place to mount the swith and indicator lights. Didn't really want to put any holes in the dash or console and I am not that fond of tacked on plates.

I have also never liked the factory clocks, I bet they never even worked that well when new! Most aftermarket stereos have clocks anyway.

Friday night I pulled out a spare clock, removed the facia and cut the back off it. I then machined up a new facia from aluminium and cut the holes to suit.


I then painted and fitted it to the modified clock housing.


New "clock" assembled in dash and is a totally reversible modification if the lights annoy me.


Hopefully I will get to the mechanical side soon. It has come out to play over the last few days (first drive since May) and I had forgotten how much fun it is, even with a 6000rpm limit due to weak valve springs (yes they are on the list).

548
Member Projects / Installing a Gear Vendors Overdrive to C6
« on: October 09, 2011, 10:53:48 PM »
Here is a project thread I have been writing on a couple of other boards.

As some of you know I have purchased a Gearvendors Overdrive unit for my 66 Fairlane Hardtop. So I thought I would do a thread on fitting the unit to the C6. For those not familiar with the Gear Vendors units they have been around a long time and I have had my eye on them for ten years or so. With the strong dollar I could no longer help myself.

Information here.
http://www.gearvendors.com/

Fairlane currently runs 3.89 gears with 27" tyres and a 3500rpm flash stall. Long term plans include a mellower cam lower stall and forced induction.  For a few years I have been alternating between 3.89's and 3.55's, but no more. With this unit engaged it will make my 3.89's feel like 3.00's and should make the car more user friendly on longer runs not to mention the fuel and engine wear savings.

Service was good over the phone and the kit despatched in 2 days and arrived about a week after that via UPS.

Here is a pic of the entire kit (uncle Jack's magic elixer was an optional extra :yummy: )


Overdrive unit itself. Uses planetry system and internal pump like an auto trans.


Control unit. Can be mounted hidden away as access is not required.


Supplied with new yoke and speedo drive uses TH400 plastic gears. They supply a gear to suit your rear end and tyre size. They also threw in another freebie gear for a smaller tyre size.


Normally supplied with an auto is the floor mounted switch on the left but they also threw in the shifter button in case I want to use that. Also in picture is the rocker switch with two lights connected to switch between modes. This is to be dash mounted.


Seen in this pic is the speed sensor and Ford speedo cable adaptor. You keep your original speedo cable.


As the weather is now turning in Adelaide the Fairlane is coming out of its winter hiatus. I want to drive it for at least couple of weeks just to check over everything before I fit this unit.

First issue is the adaptor. The coupler slides into the bush nicely until it reaches about 040" from exiting the bush on the inside. It then locks up pretty tight, will no longer rotate and takes much force to push through. I will phone them and seek a response but the inner section of the bush will need work as it is just way too tight.

Coupler inserted until it nips up.


Bush


Manual is ordinary and looks like it was done by a computer novice 15 years ago (probably was). They should do better.

549
FE Technical Forum / Re: rocker shaft side holder collar
« on: October 09, 2011, 09:44:53 PM »
I would feel much better with solid spacers in there. Not for me.

550
Over here in OZ if you get convicted of 3 offences considered "hooning" they crush your car.

551
FE Technical Forum / Re: Pond build problems...
« on: August 15, 2011, 10:28:12 PM »
If its any help I have used the Moroso ceramic seal before following the instructions on the bottle with no problems and no detrimental effects after years of running.

552
FE Technical Forum / Re: Plug and play Distributors
« on: June 19, 2011, 10:55:16 PM »
You would be very suprised what is here in oz fe wise, there are quite a few hard core fe guys here with very big stashes. I know 2 guys that have 7 cammers between them plus LOTS of other goodies.

Well, if you can find me one I am all ears.   :-*

553
FE Technical Forum / Re: Plug and play Distributors
« on: June 17, 2011, 01:51:59 AM »
If I could find a Mallory YL twin point with a vacuum can I would probably just use that with my guts. As I said it works quite well now. Finding one for an FE here in OZ will be bordering on impossible.

554
FE Technical Forum / Plug and play Distributors
« on: June 14, 2011, 01:03:45 AM »
Have been reading the post below with interest but didn't want to hijack the thread.

I currently run an old Mallory YL twin point with a Crane XR3000 electronic conversion. This works great for my application and I have had zero issues in over 10 years.

However I really would like vacuum advance to take advantage of the extra milage and throttle response, it is a street car. So I am looking at the Pertronix unit and the MSD.

The fact that the two also have rev limiters is an added advantage. I am leaning toward the MSD purely from a brand name perspective in getting parts into the future and being able to add a 'box' should I need to step it up in the futuer.

Are there any opinions on these two?

http://www.summitracing.com/parts/PNX-D7133700/

http://www.summitracing.com/parts/MSD-8595/


PS. Did Mallory twin points ever come with vacuum advance?


555
FE Technical Forum / Re: Camshaft suggestions NA & Blown
« on: May 04, 2011, 05:57:44 PM »
Thanks guys. I have considered a stroker kit but I am looking to tone down the whole package which includes reduced fuel usage, easy on valvetrain etc. At the moment it is a bit of a street stormer and pretty much confined to the city. I want to be able to jump in it and drive it 700 miles comfortably if I want to which at the moment is out of the question. More cubes would help acheive this end but I would probably not see the reduction in fuel use I would like. If I stay around 390 cubes, install a hyd roller, blower when possible, come back at least 1000rpm on the converter and a taller gear (3.5-3.25)  I reckon that would acheive my goal.

My biggest issue at the moment is deciding exactly what to do and stick to it. It is a toy and everytime I drive it now I love it! But then when mates are going on a 100 mile cruise I don't like it so much. Fuel usage is horrendous, brake vacuum is low, low speed carb tuning with poor signal is difficult, valve springs don't last all that long etc. It shits me so I park it for a couple of weeks and when I get in it again I love it again! I am really torn at the moment and am looking for the best way to have my cake and eat it too. It really helps to talk things through on a forum, get opinions, and then way all that up against my expectations.

Trying to distill my requirements down I am probably looking to build more torque now suitable for a 2500 converter, 3.25 gears, still have a redline of 6000rpm, a motor I won't have to open for years and be suitable for forced induction.

Pages: 1 ... 35 36 [37] 38