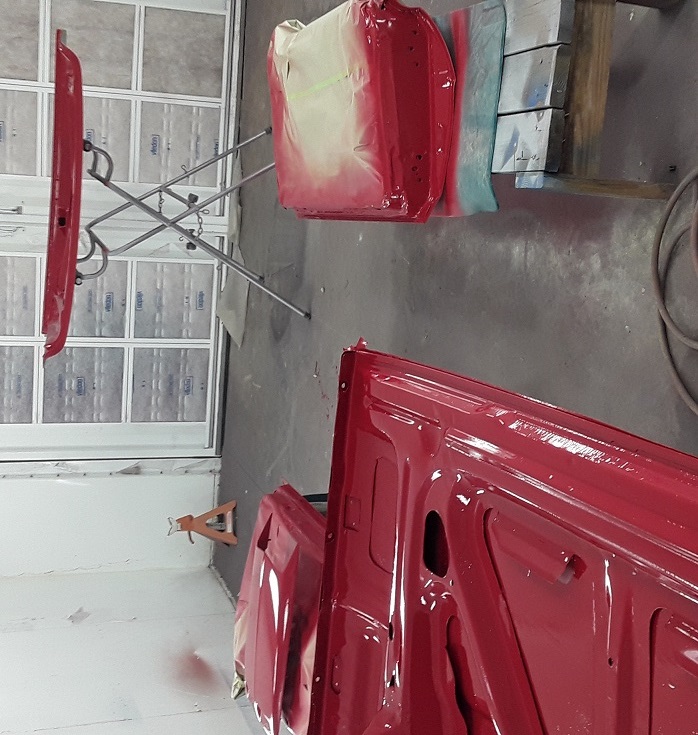
Finally hit the paint milestone with this project so I thought I'd post some pictures. After Steve got the body work done he brought it back over to my place and we took it all apart, removing the doors, hood, trunklid, and scoop, so that they could be painted in the jamb and underside areas, and also the top side of the scoop. I painted the parts on a Saturday in October; here's a picture of the parts in the booth after painting:
From there, I took the parts out of the booth and rolled the car into the booth. A few days later Steve came over and between the two of us we scuffed the underhood and under trunk areas, and the door jambs of the car, so that all those areas could be painted before we re-assembled the car for final paint. There was some surface rust in the door jambs that we treated with metal prep, and also some minor bodywork that had to be done, but a day in the booth took care of all that and we were ready to re-assemble the car. We did that a few days later, and then left the car because I was planning to tweak the panels for fit a little bit.
One of the things that always bothered me about the car was that the left front fender appeared to droop down a little at the front. It was obvious when looking at the car in the front, from a distance, but when doing the bodywork in a garage, and assembling the car in the booth, you really couldn't see it. Finally I figured out that if I opened the hood and laid a 6 foot straightedge across the front fenders, the issue was clear. The straightedge contacted the hood side of both fenders, and on the right side there was a half inch gap between the straightedge and the top of the outside edge of the fender, but on the left side the same gap was over one inch. From a distance it makes the car look funny. At some point in the past the car was probably dinged or damaged in the front, so the left front fender didn't align properly.
I used a jack under the left fender eyebrow to get it up in the correct position, put some new holes in the fender where it mounts to the chassis, and got the fenders looking symmetrical side to side. Unfortunately, when I did that the gap between the left fender and the left door opened way up at the bottom, and where it had looked pretty good before I started, now it was way off. I was so tired of screwing around with the car that I was ready to let that go; it's never going to be a show car, and I felt that I could live with that gap. But Steve came over and thankfully insisted that we fix it; he welded an 1/8" welding rod to the edge of the fender, and then filled the gap between the rod and the fender in with more weld, then ground it straight along the edge. One application of body filler was all that was required to get it nice and straight, and now the gap is back where it belongs.
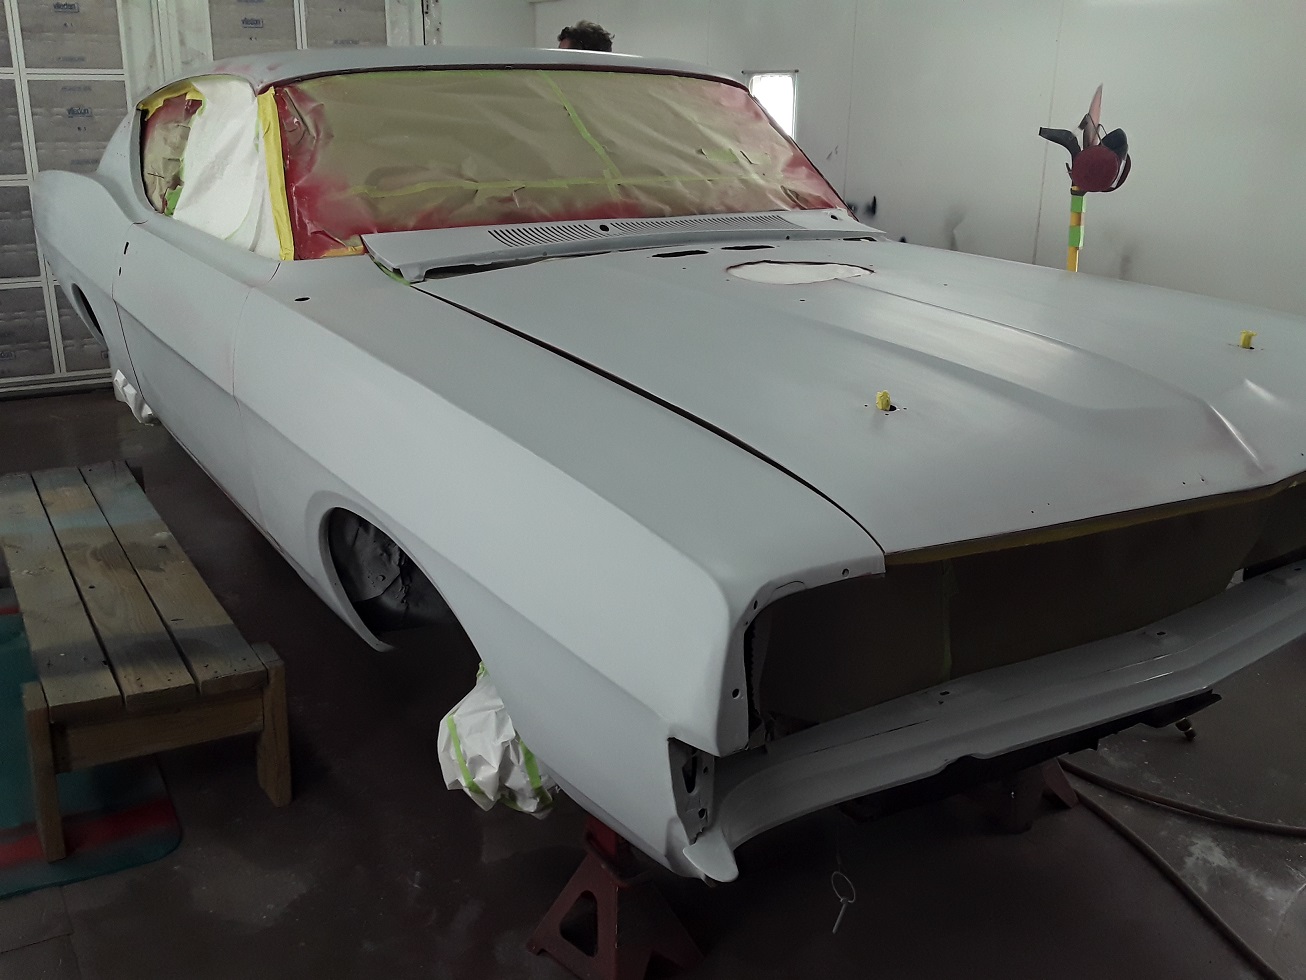
At this point we threw some primer surfacer on the area and got that nice and flat, and also fixed a minor issue on the left rear quarter, that showed up under the lights in the booth. Finally, ready for paint! Here's a picture of the car at this point:
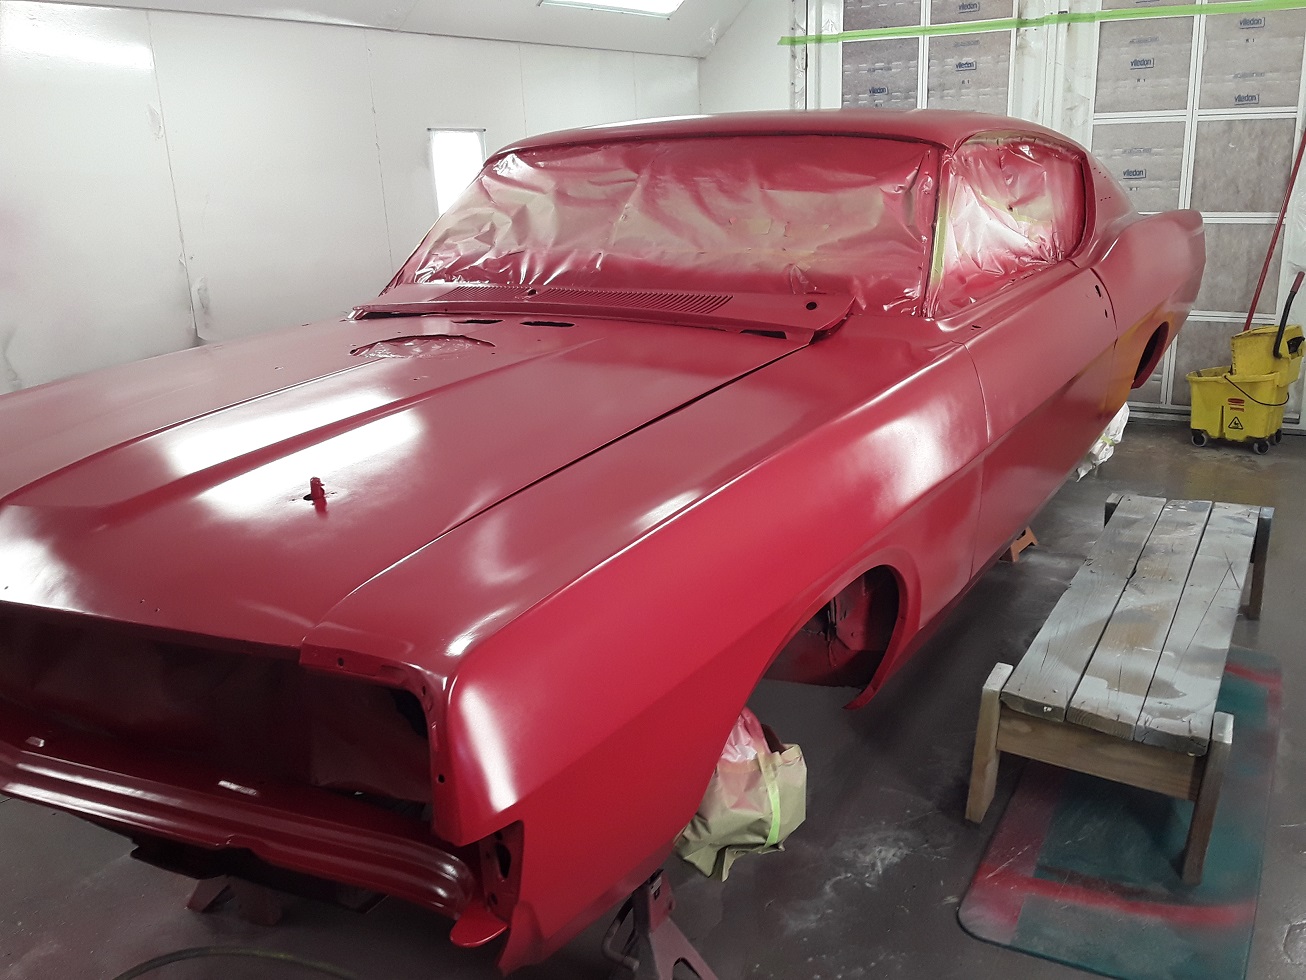
Saturday November 6 was paint day. We got going with a coat of PPG DAS 3021 sealer, then painted the base coat of PPG Deltron, Ford Candy Apple Red, paint code T. Base coat went on beautifully:
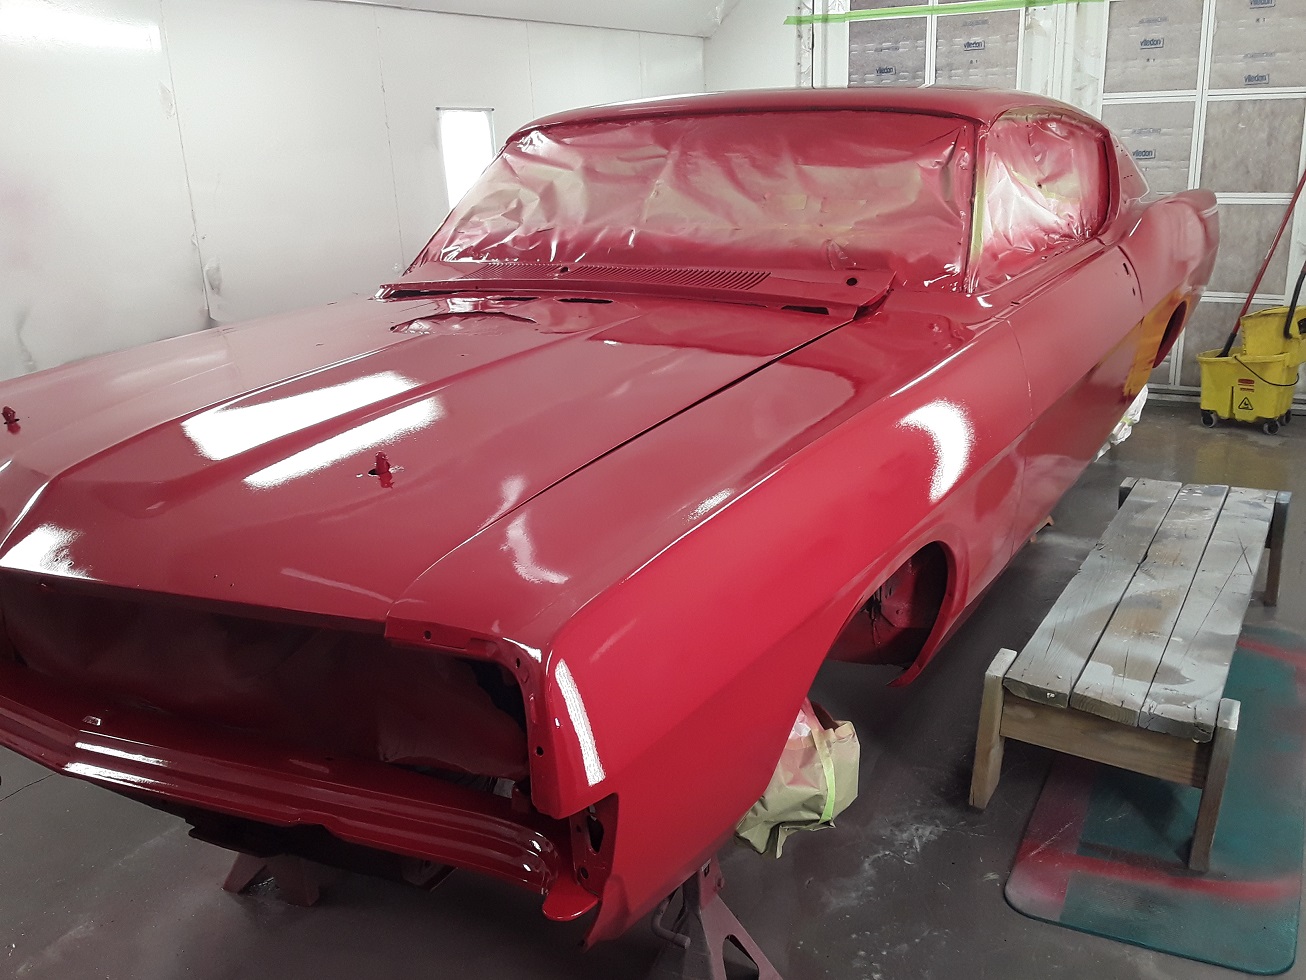
Finally we got to the clear. I used a PPG high performance clear called VC5700, same stuff that I used on my Shelby. We put nearly two full gallons of clear mix on the car, in four separate coats. When I painted my Shelby I had laid it on a little too thick on the last coat, trying to smooth it out, and had gotten a couple runs that needed to be sanded out later, so I made a point of not doing that on this paint job. The paint came out looking great, but because I put it on a little dryer there was orange peel evident:
Of course, the big advantage of a base coat and clear coat system is that you can color sand and buff the car after the painting is completed. I got going on that yesterday, with my friend Jeff (JericoGTX on this forum) giving me a hand. We are going to do this in steps, since with this clear there really doesn't seem to be any big hurry to get the buffing done. We started with 600 grit to get the paint flat, then went to 1000, 1500, and finally 2000. Jeff buffed with 3M 36060 buffing compound, then finished with 3M 06064 polishing compound. We got most of one side of the car done yesterday, and it is beautiful:

Over the next month or so I plan to get the buffing finished up, and then I'll start on the exterior trim and the interior. The car currently has a running 390 in it, but I've got a 492" FE waiting in the wings, for installation next summer. With luck I'll be driving the car next summer with that engine in it. I'll post some updates when the trim is on the car, and the interior as it is getting done. I'm kind of a Mustang guy, but I really do like this car...


