31
This section allows you to view all posts made by this member. Note that you can only see posts made in areas you currently have access to.
33
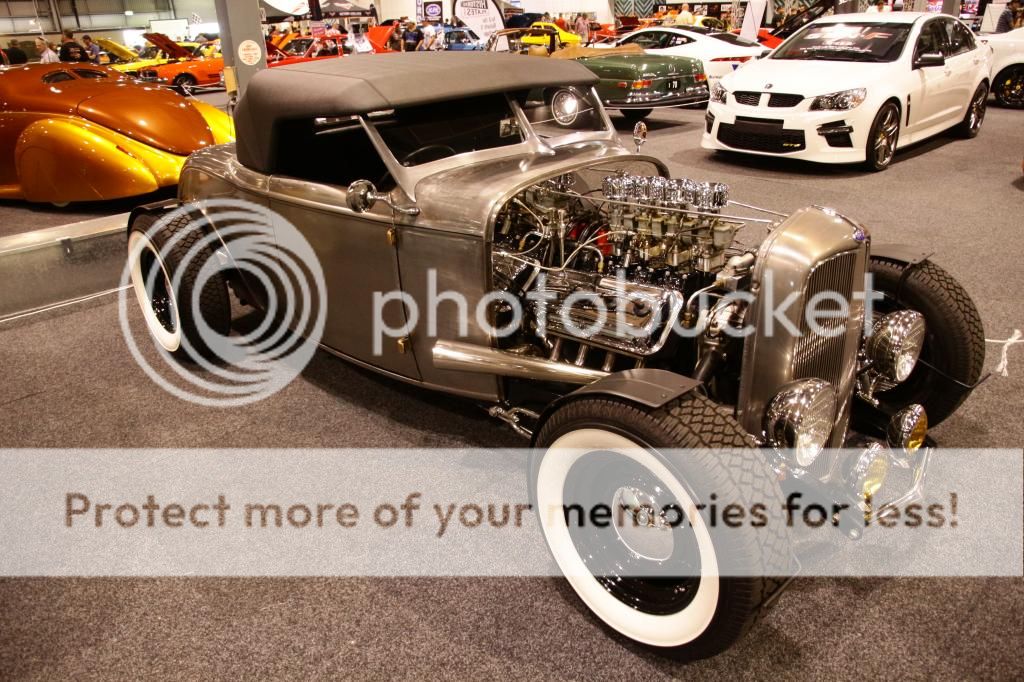
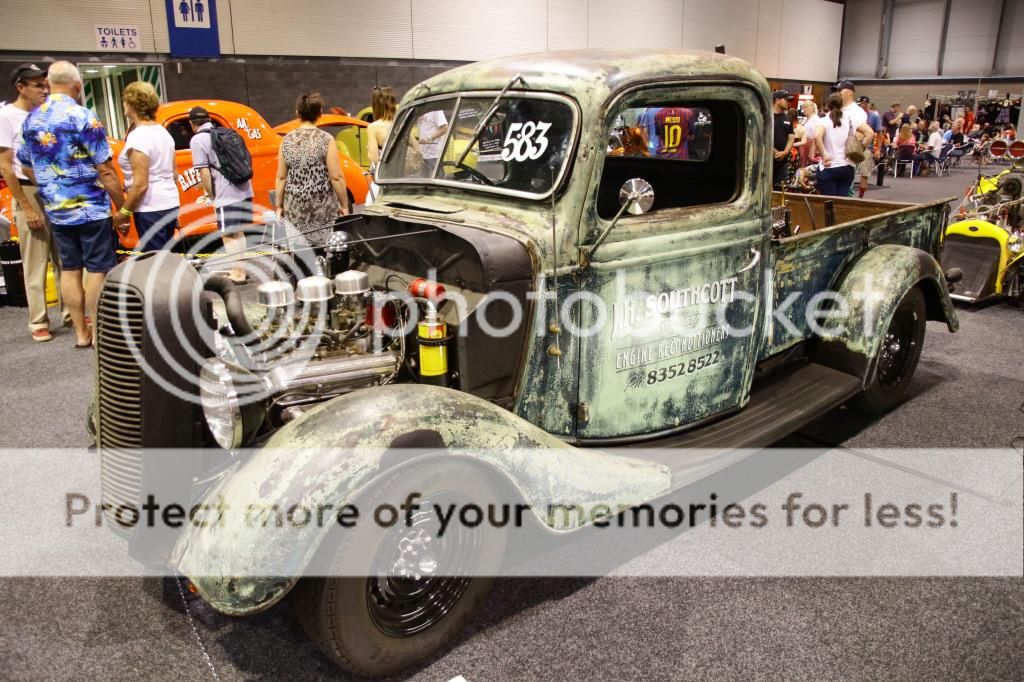
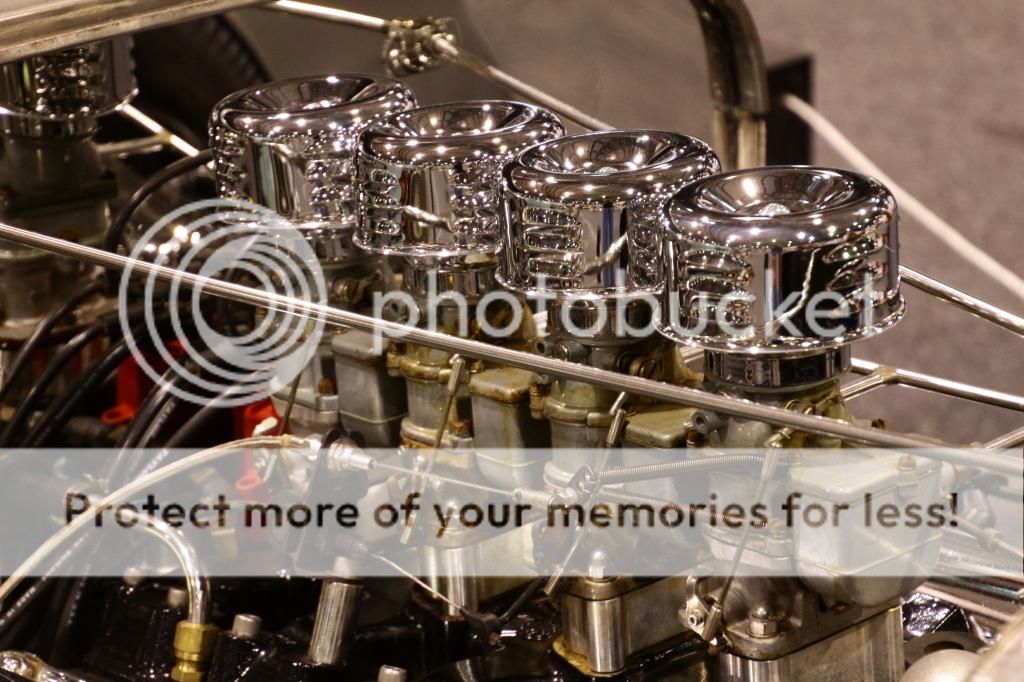
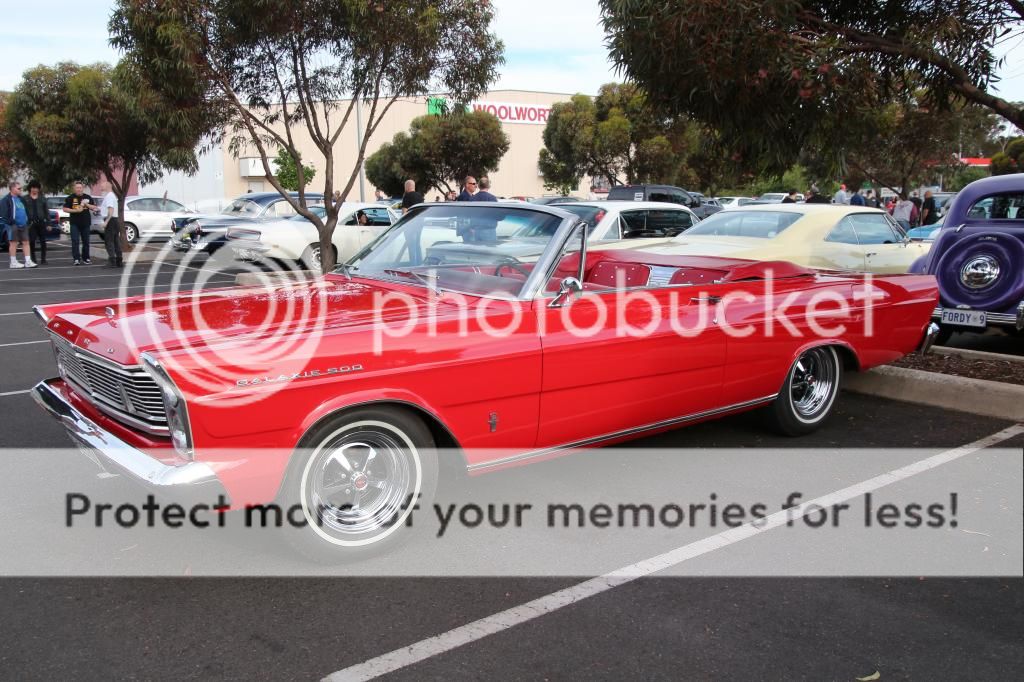
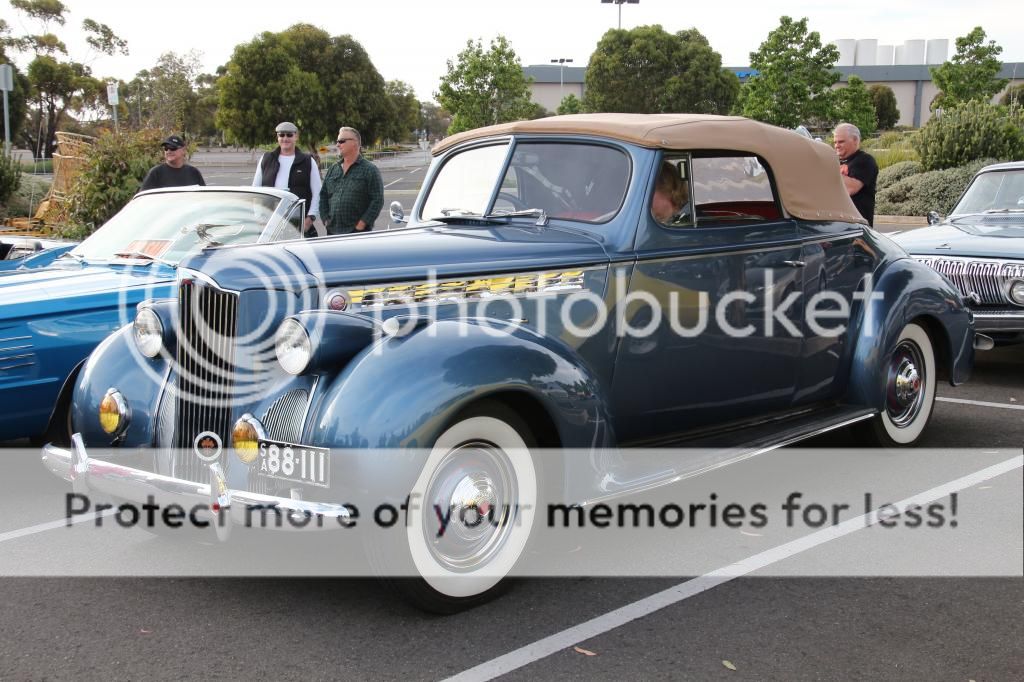
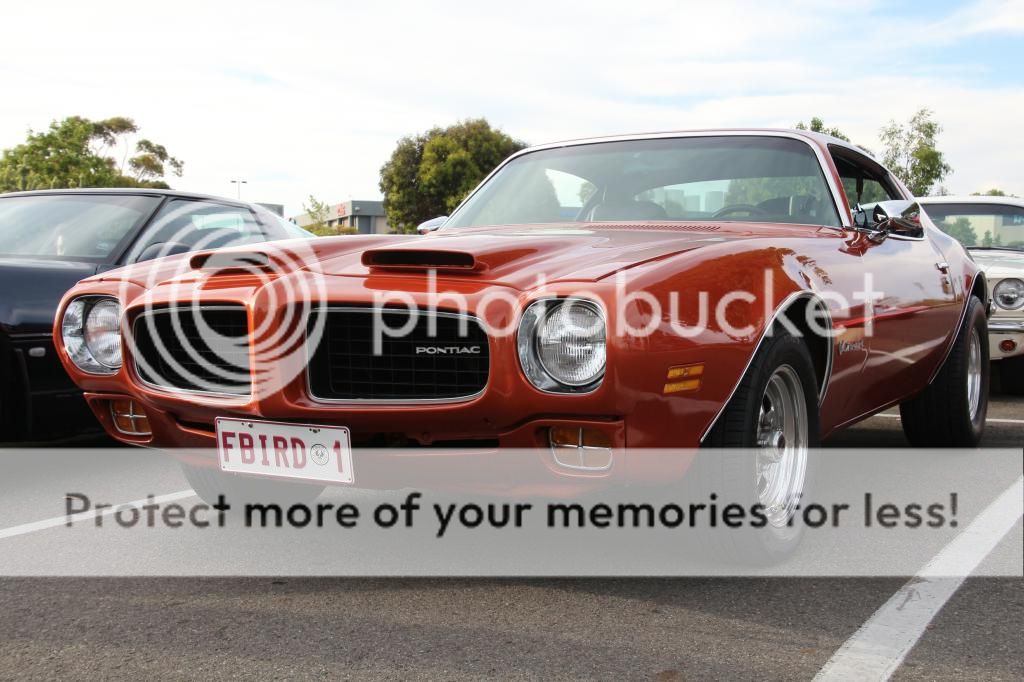
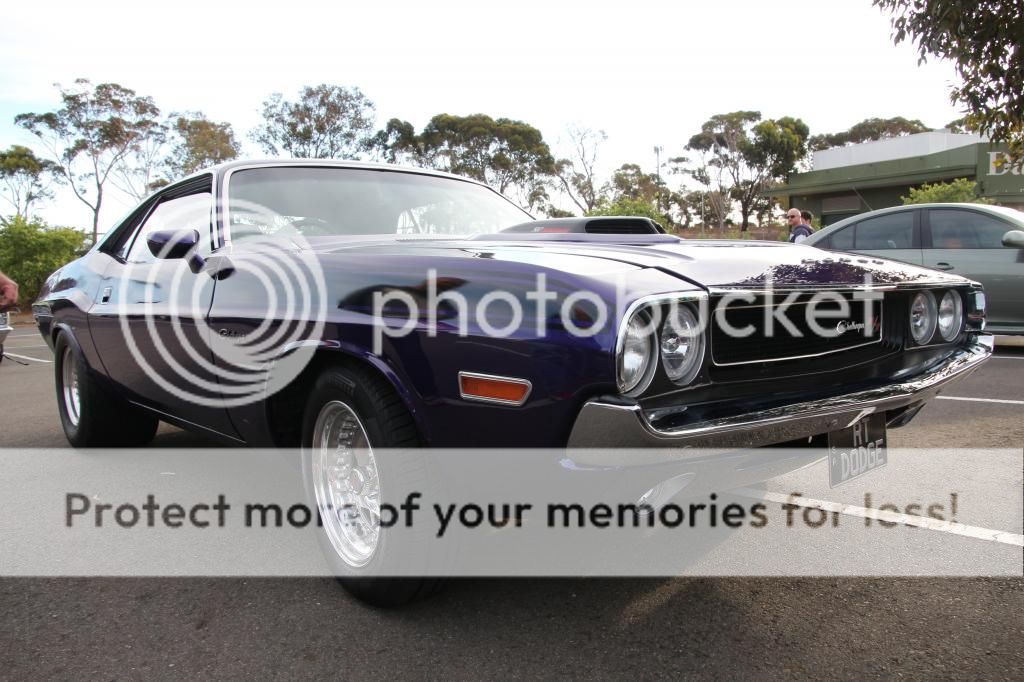
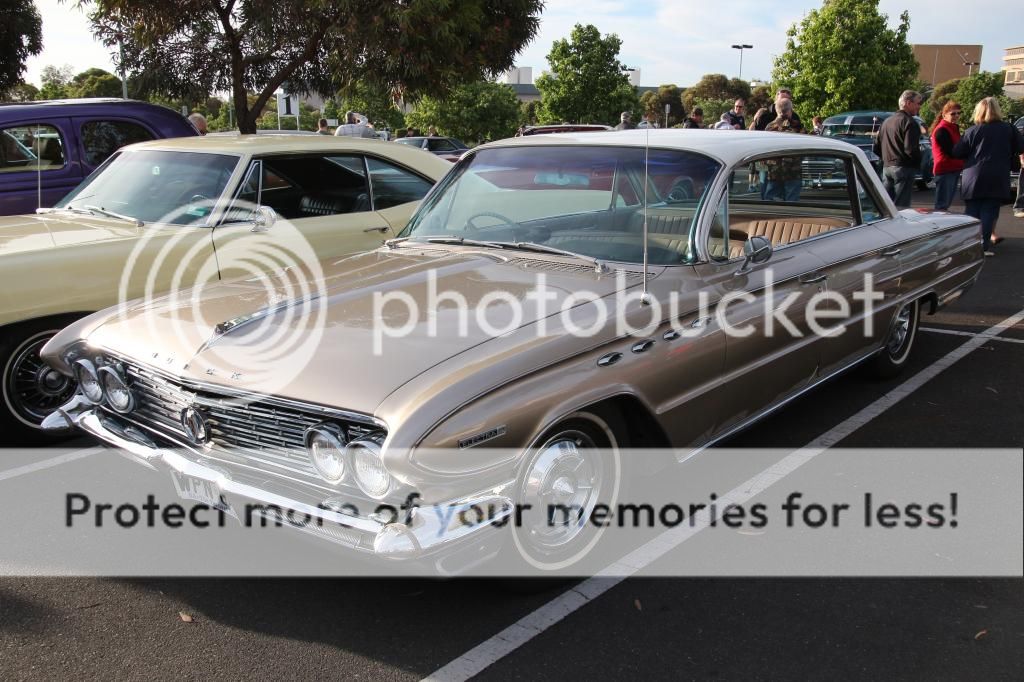
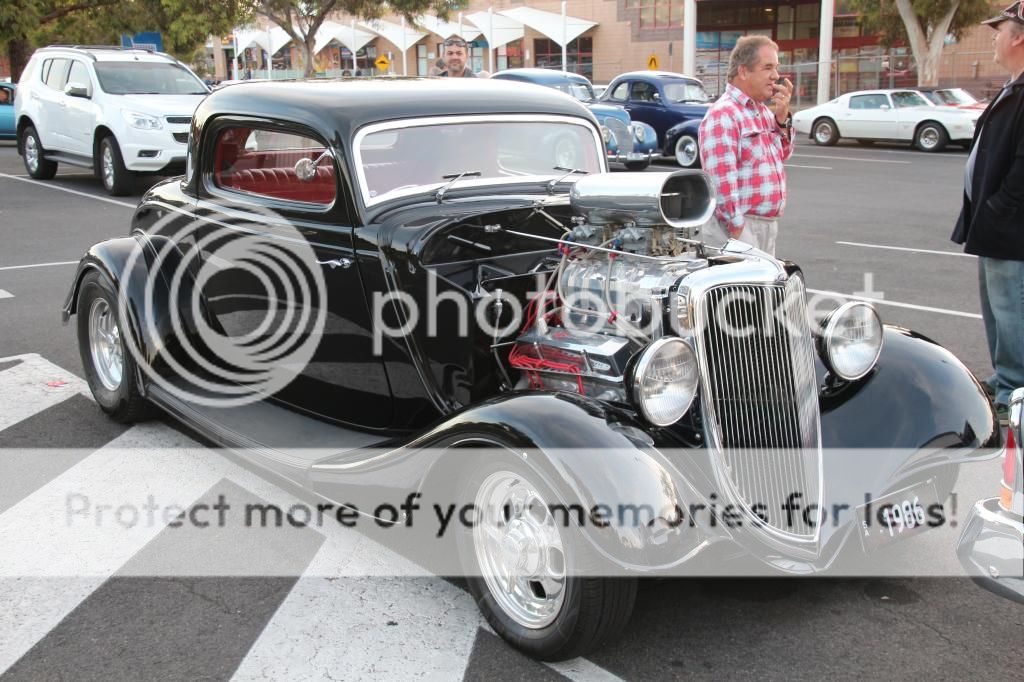
Non-FE Discussion Forum / A few pics from an all American cruise on Saturday. Thought members might enjoy
« on: November 10, 2014, 05:30:38 PM »34
Non-FE Discussion Forum / Are 66-67 Fairlane fuel tanks unique or is there a Mustang one the same? nm
« on: October 16, 2014, 07:19:57 PM »
nm
36
Member Projects / Rebuilding a Ford Thompson Power Steering Pump
« on: April 29, 2013, 07:21:46 AM »
I recently rebuilt the pump on my 67 Fairlane and took some photos along the way to help anyone who may also want to do this themselves. I will preface this by saying I am not an expert and this is the first ps pump I have ever rebuilt so I am not saying THIS IS HOW TO DO IT, just how I did it. So if your looking for an insight into whats involved please follow along.
When I bought my Fairlane it had a noisy and leaking (fancy that ) ps pump. The prevoius owner had bought a secondhand one off ebay and it was in the boot (sorry, trunk). I installed it and it too was noisy and leaking. I threw in a bottle of power steering stop leak/conditioner and it shut up but of course did not stop leaking. This was 3 1/2 years ago and it has been quiet ever since but still leaking. It really made a mess of the sway bar rubber and I want to replace it but of course a bit pointless with the pump still leaking so I decided to have a go at the one I took off 3 1/2 years ago and then rebuild the one I take off as a spare.
Internet research and a phone call to a very friendly and helpful gentlemen at http://www.stangerssite.com/FPparts.html uncovered the fact that once the campacks are noisy thats it, they are noisy forever. They are also no longer available, hard to come by now and there are two different sizes. I thought I would have a go anyway.
So I am after 2 kits and 2 bushes. I found the kits and bushes at Driveline Auto Parts (ok guys I am in Oz).
http://www.drivelineap.com.au/contact.html
Not sure how easy the bushes are to get now days. They had one in stock and the other had to come from interstate. I asked for a third as spare but this hasn't materialised yet.
Driveline part numbers.
Gasket and seal kit: PSK8034 SEAL KIT PUMP FORD C1 (TIN RESERVOIR) = au$15.95 + GST
Bush: 86280 BUSH PUMP FORD C1 (CAST IRON) = AU13.65 + GST
First thing to do is probably the hardest part. Get the pulley off. DO NOT pull on the pulley or lever it with screwdrivers etc. it must be pulled or pressed off holding the boss on the front designed for this. Clean out the hole (I had to run a tap through mine, 3/8 UNC), screw a bolt in as far as you can and press on that. Here is my rudimentary set up.
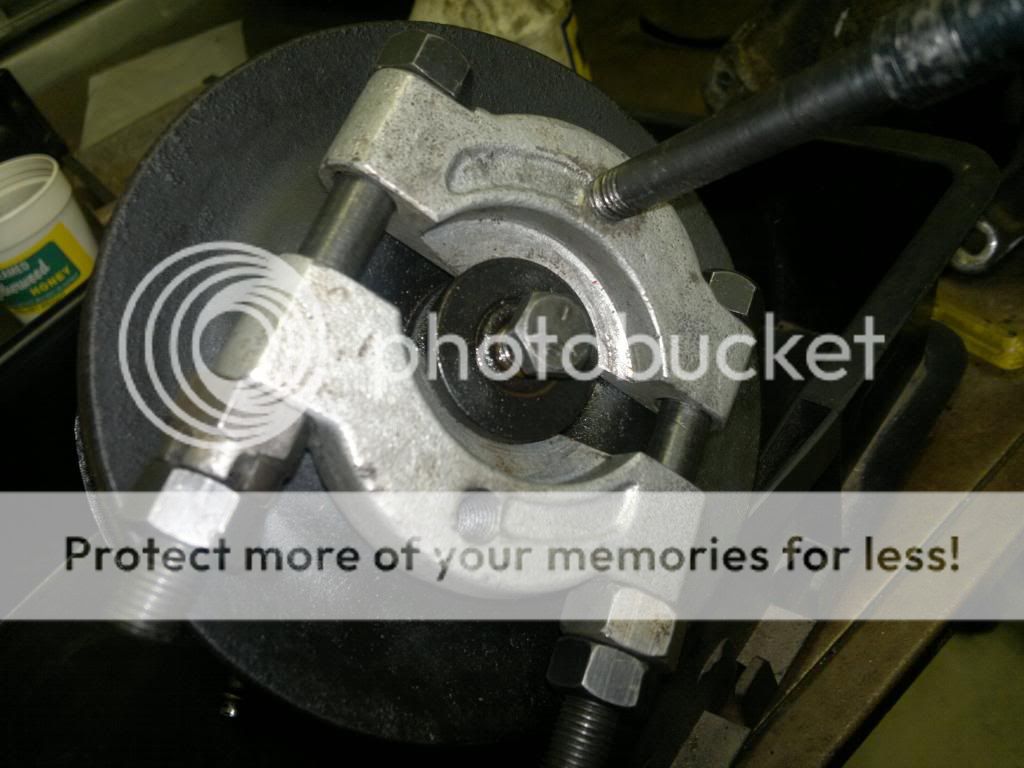
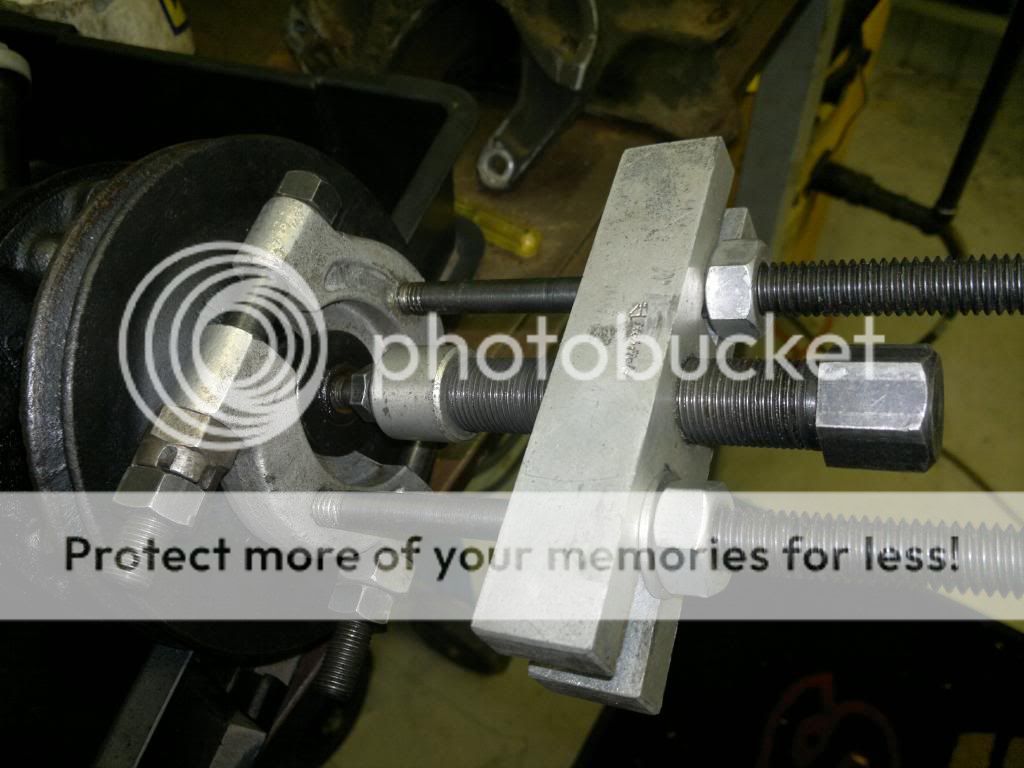
It really takes some effort to shift this and I wasn't sure this set up had the ooomph. It was a bit scary so I donned saftey glasses. It took a great deal of effort and I actually bent one grade 5 bolt as the puller was a bit off centre!


After much persistance it finally came. Before going any further note the position of the large square chung of casting coming off the spigot area. This is the return hole from the seal area. On mine viewed from the front with the fill tube verticle it sits about 45 degrees to the right, about the 1.30 position.
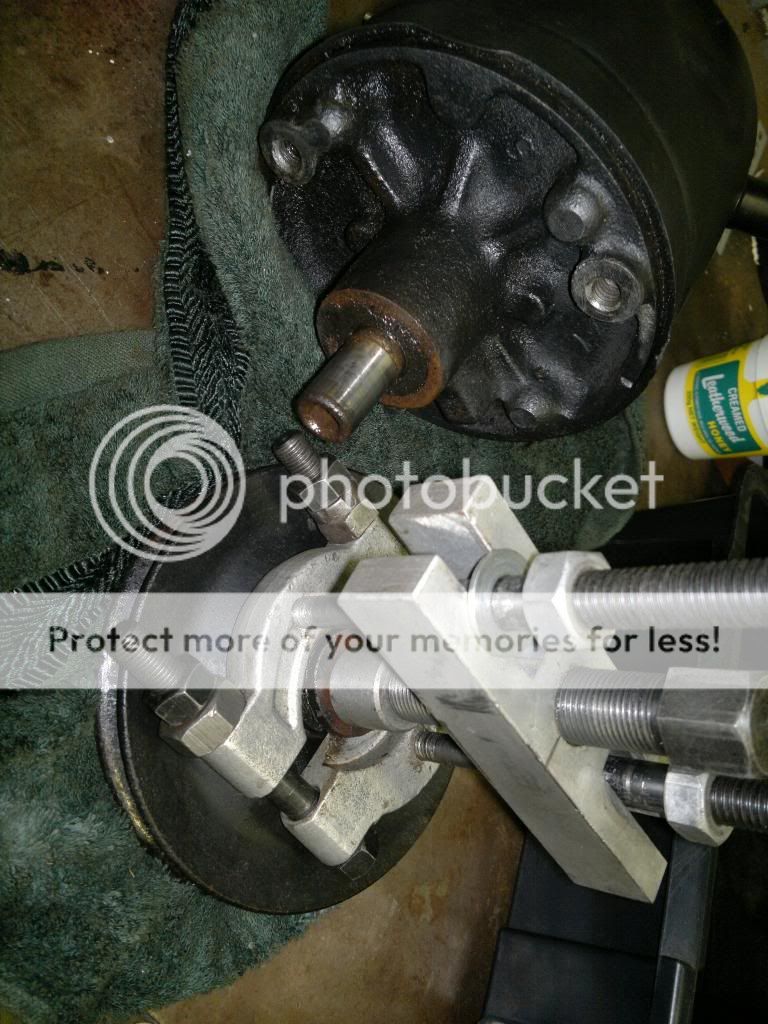
Someone had obviously used the can to lever pressure on the belt when tightening. Not cool.
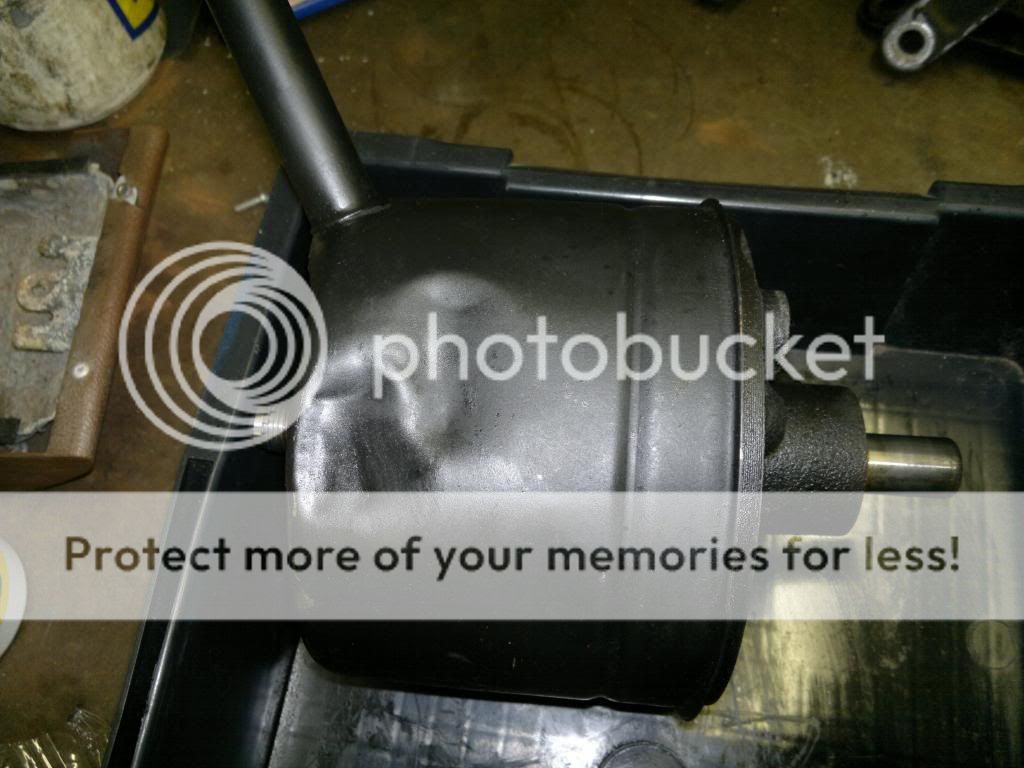
After undoing the large nut on the pump outlet fitting the reservoir slips off with some persuasion. Then unbolt the pump housing and you are left with this.
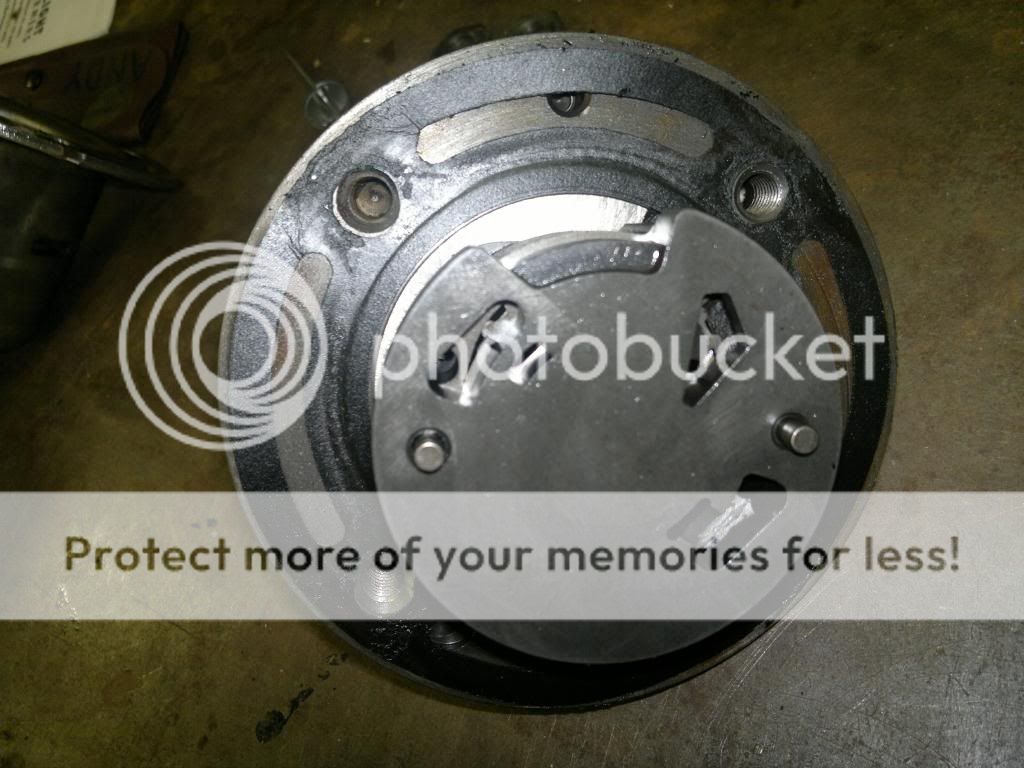
The pressure valve stayed in the pump housing. Just held in with friction from its O ring seal. A few taps of the hosing on a block of wood and it fell out along with the two large springs behind it.

The end plates and all pump bits merely slip off the dowels. You can see the noisy campack here. Note the orientation of the little slippers.


When I bought my Fairlane it had a noisy and leaking (fancy that
 ) ps pump. The prevoius owner had bought a secondhand one off ebay and it was in the boot (sorry, trunk). I installed it and it too was noisy and leaking. I threw in a bottle of power steering stop leak/conditioner and it shut up but of course did not stop leaking. This was 3 1/2 years ago and it has been quiet ever since but still leaking. It really made a mess of the sway bar rubber and I want to replace it but of course a bit pointless with the pump still leaking so I decided to have a go at the one I took off 3 1/2 years ago and then rebuild the one I take off as a spare.
 Internet research and a phone call to a very friendly and helpful gentlemen at http://www.stangerssite.com/FPparts.html uncovered the fact that once the campacks are noisy thats it, they are noisy forever. They are also no longer available, hard to come by now and there are two different sizes. I thought I would have a go anyway.
So I am after 2 kits and 2 bushes. I found the kits and bushes at Driveline Auto Parts (ok guys I am in Oz).
http://www.drivelineap.com.au/contact.html
Not sure how easy the bushes are to get now days. They had one in stock and the other had to come from interstate. I asked for a third as spare but this hasn't materialised yet.
Driveline part numbers.
Gasket and seal kit: PSK8034 SEAL KIT PUMP FORD C1 (TIN RESERVOIR) = au$15.95 + GST
Bush: 86280 BUSH PUMP FORD C1 (CAST IRON) = AU13.65 + GST
First thing to do is probably the hardest part. Get the pulley off. DO NOT pull on the pulley or lever it with screwdrivers etc. it must be pulled or pressed off holding the boss on the front designed for this. Clean out the hole (I had to run a tap through mine, 3/8 UNC), screw a bolt in as far as you can and press on that. Here is my rudimentary set up.


It really takes some effort to shift this and I wasn't sure this set up had the ooomph. It was a bit scary so I donned saftey glasses. It took a great deal of effort and I actually bent one grade 5 bolt as the puller was a bit off centre!


After much persistance it finally came. Before going any further note the position of the large square chung of casting coming off the spigot area. This is the return hole from the seal area. On mine viewed from the front with the fill tube verticle it sits about 45 degrees to the right, about the 1.30 position.

Someone had obviously used the can to lever pressure on the belt when tightening. Not cool.

After undoing the large nut on the pump outlet fitting the reservoir slips off with some persuasion. Then unbolt the pump housing and you are left with this.

The pressure valve stayed in the pump housing. Just held in with friction from its O ring seal. A few taps of the hosing on a block of wood and it fell out along with the two large springs behind it.

The end plates and all pump bits merely slip off the dowels. You can see the noisy campack here. Note the orientation of the little slippers.


37
Non-FE Discussion Forum / Any Auto Electricians on board? 67 Fairlane charging issue.
« on: April 25, 2013, 11:49:40 PM »
This is a weird one. Story so far. Still has factory alternator and regulator. My factory ammeter (Aussie dash) started behaving badly. It basically turned into a tacho. Zero at idle and more charge as you revved. Never going near zero while driving (revving) except at idle. So, I took the regulator apart and found it looked pretty good but with small burning of contacts. I cleaned up the contacts with fine wet and dry and reinstalled. Fine, all normal again.
In my experience however I have found that once you clean contacts in this manner it is but a short term solution so I ordered what I hoped was the right regulator from Autokrafters. It arrived last week. Looks exactly like the one on there. Black cover. I installed it yesterday and all looked fine. Ammeter doing what it should. Then I went for a drive. At higher speeds (above around 50mph) the ammeter started rapidly flicking between just above zero and half charge. Backed off throttle and it settled to normal. Into throttle again and it repeats the flicking. Hmmmm, rpm related I thinks. Get back home in the garage, put car in neutral and rev. Nothing. Fine. Put in drive and rev up against the converter and the flicking begins!
WTF? Any ideas?
38
Member Projects / Weatherstrip Replacement
« on: March 02, 2013, 08:08:11 AM »
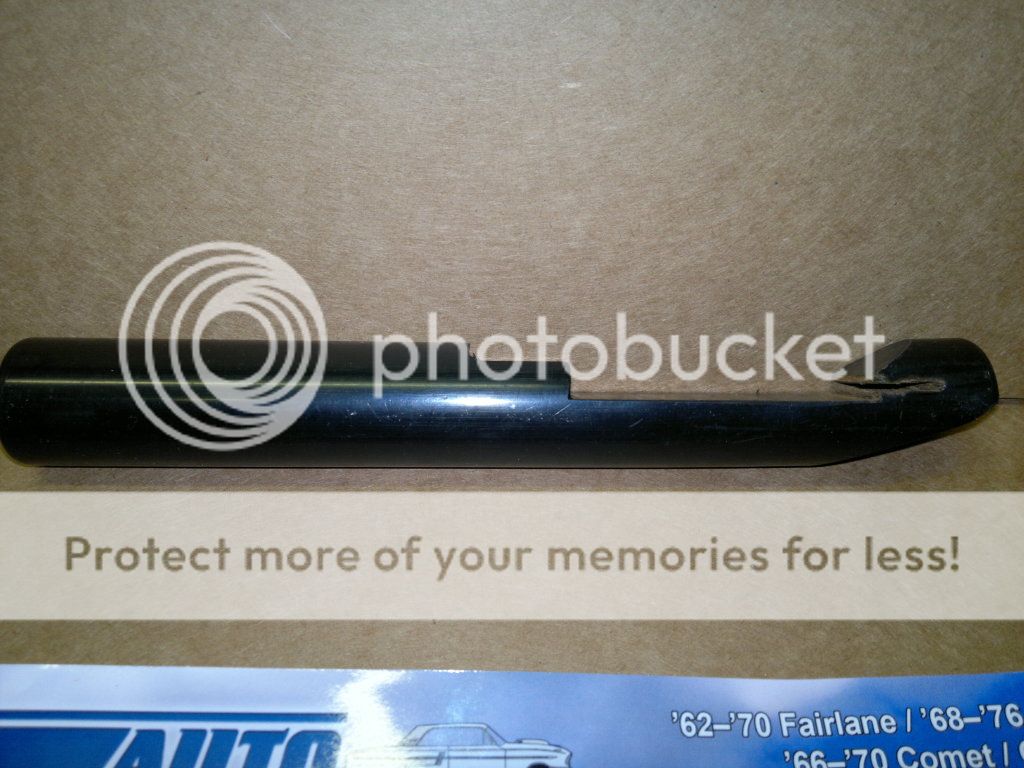
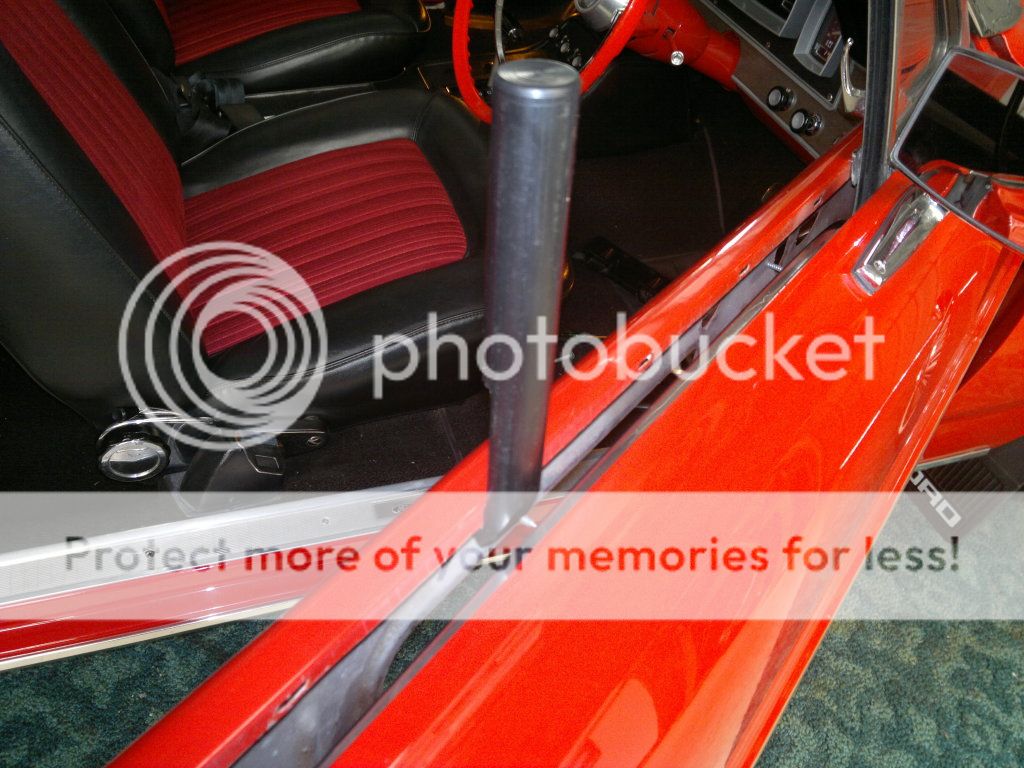
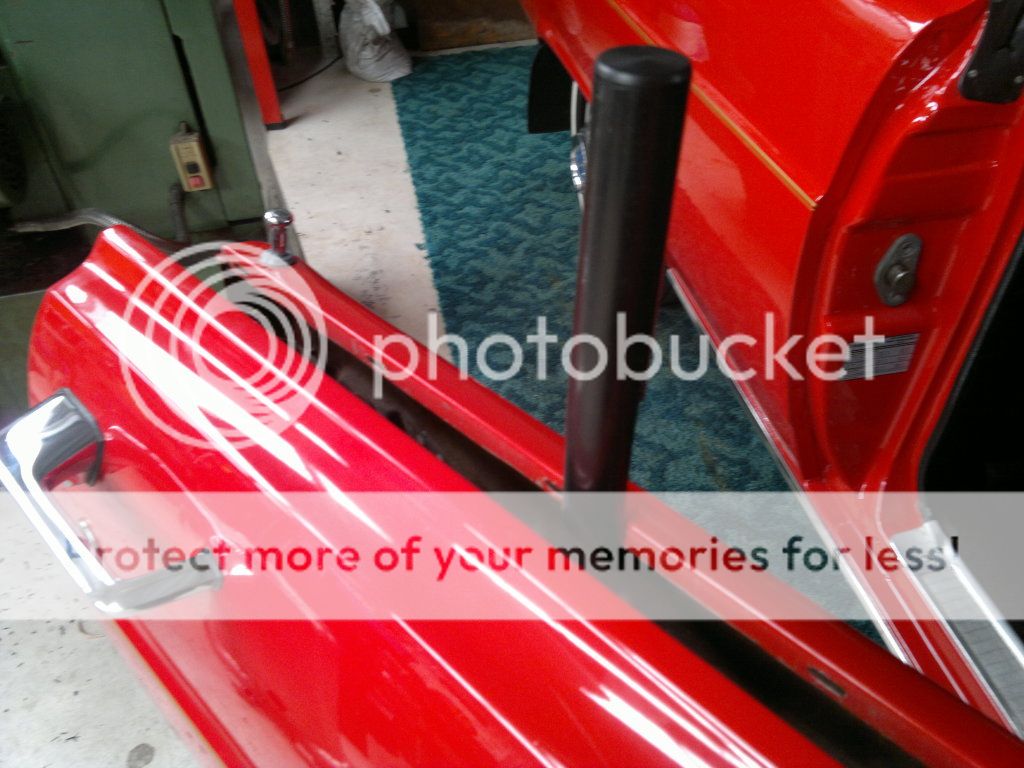
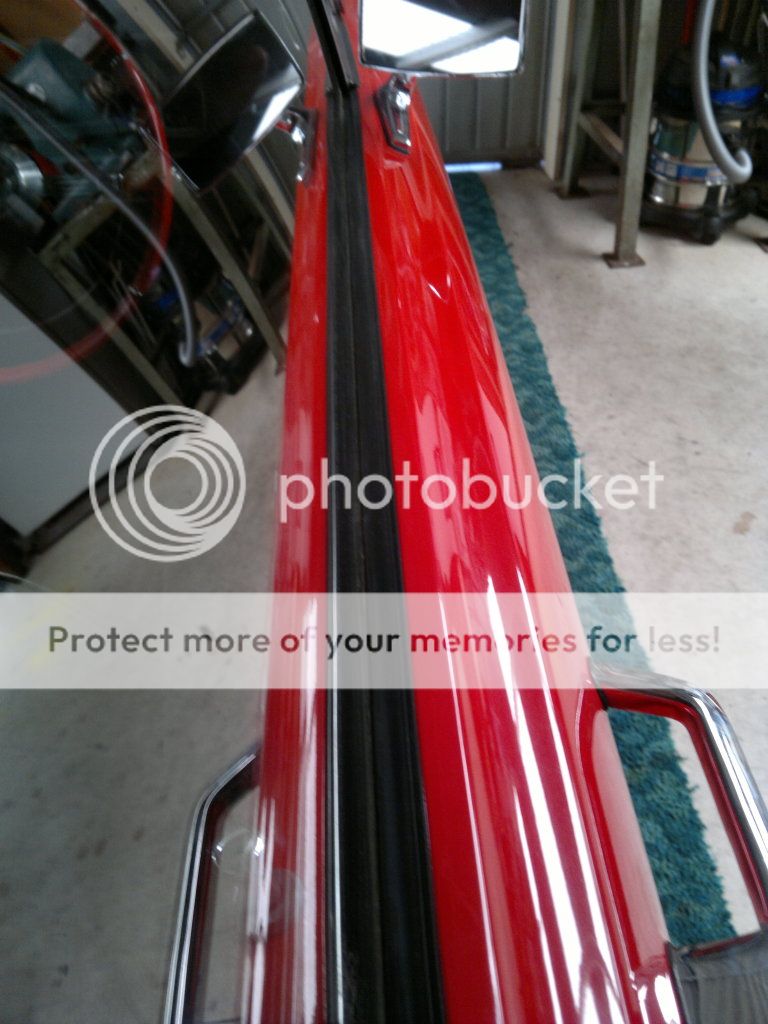
I installed some new weatherstrip on the convertible today and ended up making a tool to straighten the area that it clips into. I did the hardtop about 15 years ago and I think I had the glass out at the time and straightened the area with pliers from below. Took my time with the tool and got the door as straight as possible and am very happy with the result.


39
FE Technical Forum / Gathering thoughts and info for possible EFI project.
« on: February 01, 2013, 12:50:30 AM »
Just doing a bit of deep thinking about a project I have in mind. Will be freshening things up soon (well probably next year) and will most likely go 445 but thinking about going EFI. I have always wanted to make my own throttle body so here is the plan.
Tunnel wedge intake with injector bungs and homemade twin 4 barrel throttle bodies. I think this would look cool under a standard oval air cleaner in my Fairlane. I am thinking to buy Holley throttle plates as I am assuming at this stage they would be elliptical and hard to make and go from there. Probably 600 cfm as there would be no venturi or boosters in the flow so they would most likely flow around 650+ each.
Don't know a lot about EFI but am thinking I would need the following.
Injectors
Fuel rail (could be custom as TW intake runners look to be uneven)
TPS
MAP Sensor
Throttle Bodies
O2 Sensor(s)
Pump and Regulator
Brain Box
Idle Air Control Motor
Have I missed anything? If I decide to go ahead it won't be for a while and after I have gathered any info/help needed in the tech section here I will start a project thread.
Any thoughts?
40
Non-FE Discussion Forum / CNC Alloy Eagle Emblems
« on: July 11, 2012, 11:58:00 PM »
Wouldn't it be really cool if someone (still trying to think who?) could CNC some eagle emblems with any chosen displacement? ie 445 etc.
Just thinkin.
Just thinkin.
41
FE Technical Forum / Experts please have a look at my sonic results
« on: May 17, 2012, 06:24:59 PM »
This was done by me, at home, with an ebay sonic tester. I calibrated it on the block I was checking and when returning to this spot or other measurable spots it seems fairly accurate. I checked bottom, middle and about 1" down from the top on 4 sides of the cylinders. I poked around a bit about the size of a small coin in these areas and recorded the thinnest result.
This block is at +030 and is a candidate for my next build which will be a stroker or a 10psi 390.
I know the sonic aint the be all and end all as there could be a 010 spot somewhre I never put the tester on. What do you think at 040 overbore? Safe ish?

This block is at +030 and is a candidate for my next build which will be a stroker or a 10psi 390.
I know the sonic aint the be all and end all as there could be a 010 spot somewhre I never put the tester on. What do you think at 040 overbore? Safe ish?

42
Private Classifieds / WTB: '67 Fairlane Hub Cap Emblem as Pictured
« on: May 02, 2012, 10:52:15 PM »
Looking for 1 or more in excellent condition only. The blue emblem peice only.
I have a colleague coming out from the US in a couple of weeks so postage would only be to Denver.

Thanks.
I have a colleague coming out from the US in a couple of weeks so postage would only be to Denver.

Thanks.
43
FE Technical Forum / Help. I think my valve springs are gay
« on: April 30, 2012, 05:51:08 AM »
My 390 has a Cam Research solid 590/590 240/244 on 110 sep. For some time its been hitting a wall just after 6000rpm. If I persist it bends pushrods. It used to spin over 6500 with no problems. The other day I made a valve spring checker
http://fepower.net/simplemachinesforum/index.php?topic=424.0
I used it tonight and only checked one bank (the one that usually bends pushrods). It was quite easy to use to check seat pressures but open was a little more difficult so I only checked 2. I also realised I was doing something I probably shouldn't, opening valves to full lift without knowing where the piston was!
Anyway, cam card calls for 125 on the seat and 325 open. All the left bank checked between 90 and 100 on the seat and the 2 I checked at full lift were 280ish. Personally I would like to see 130 to 140 at the seat as I like rpm. The springs are doubles supplied by CR when I bought the cam. The springs are a few years old.
I am pretty sure this is my missing rpm issue but would value the opinions of those more experienced than myself.
44
Member Projects / FE Valve Spring Checker and Removal Tool
« on: April 20, 2012, 11:25:44 PM »
For a while now the old 390 has been hitting a wall at at 6200rpm. If I persist it bends pushrods. It used to spin to 7000rpm with no issues so I thought a valve spring check would be in order. I bought a pressure checker from Summit ages ago and have only just got around to making my insitu tool. Here are some pics.
Machined down some old rockers and stands, welded the rockers together, cut and old 1/2" square drive socket and welded it to the rockers and made a cup for the spring checker to sit in so as not to damage it.
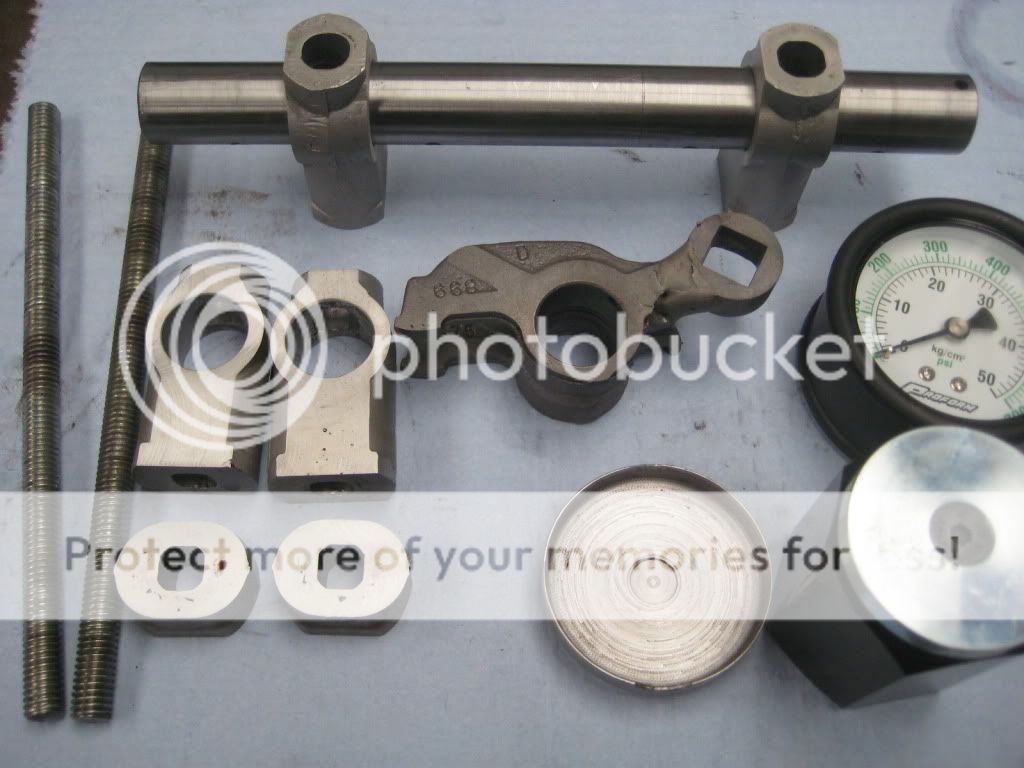
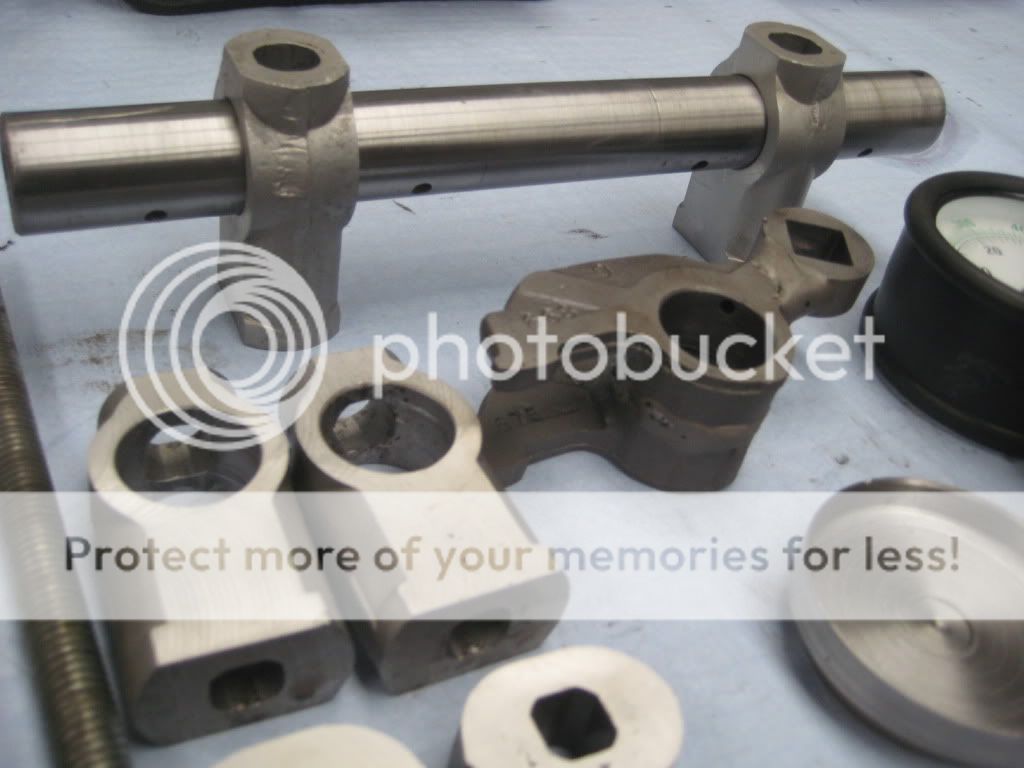
To check spring pressure you need to stack 2 stands and an extra 15mm spacer.
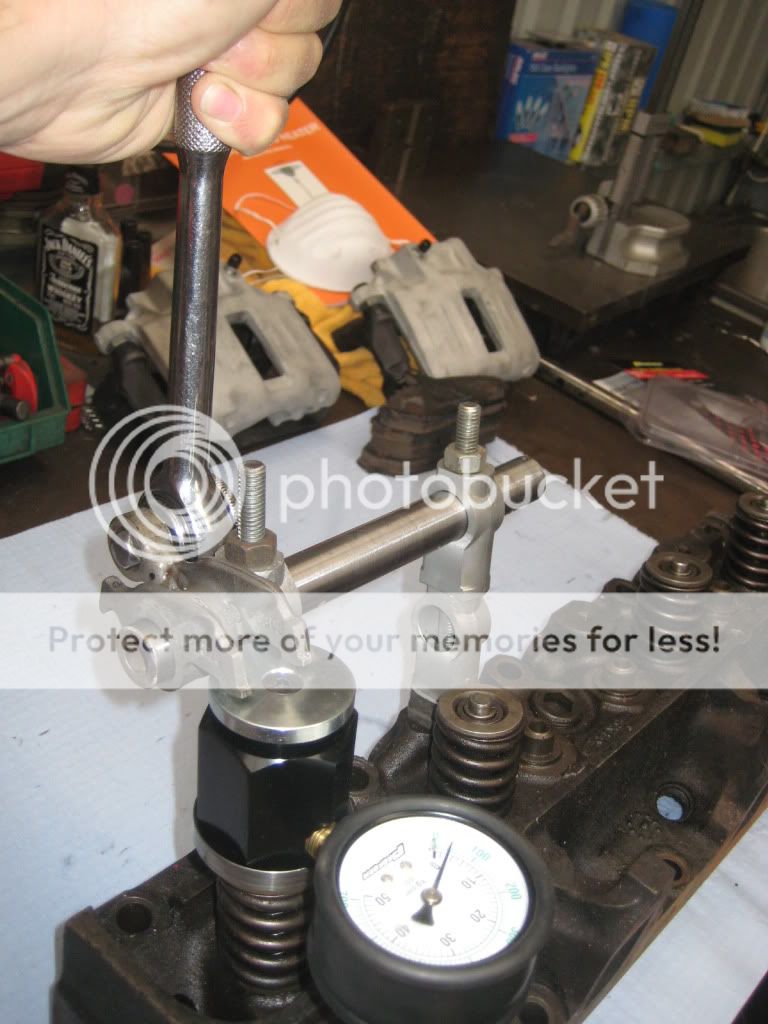
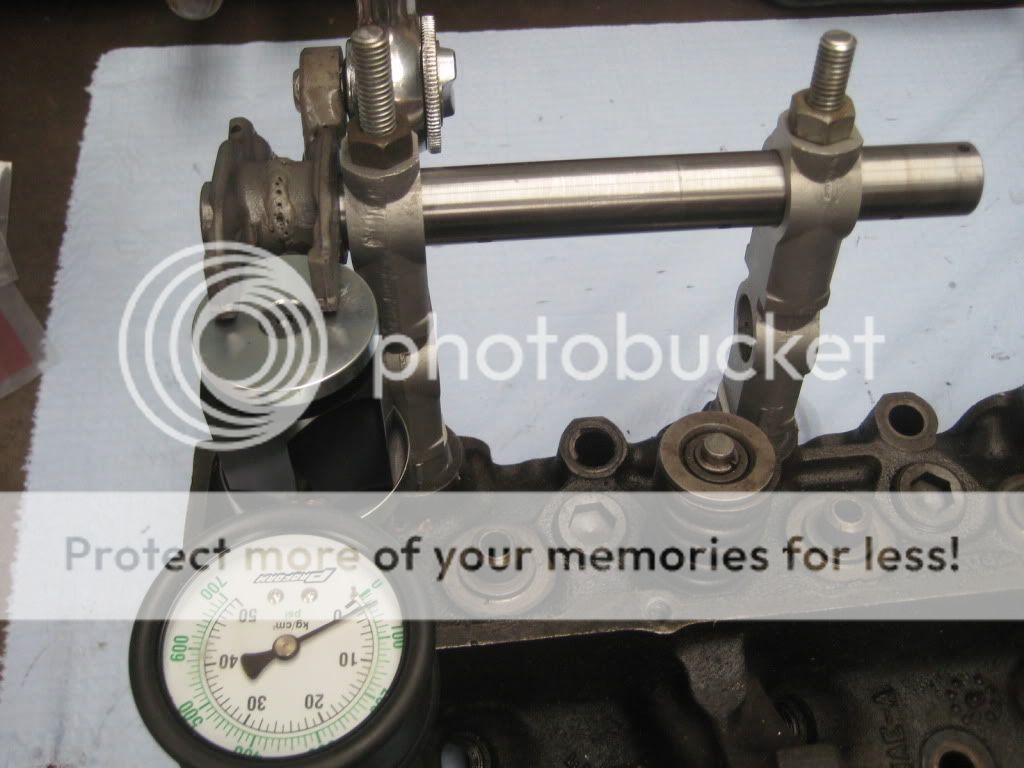
If the springs need replacing then remove the extra stands and checker and the tool can be used to pop the collets.
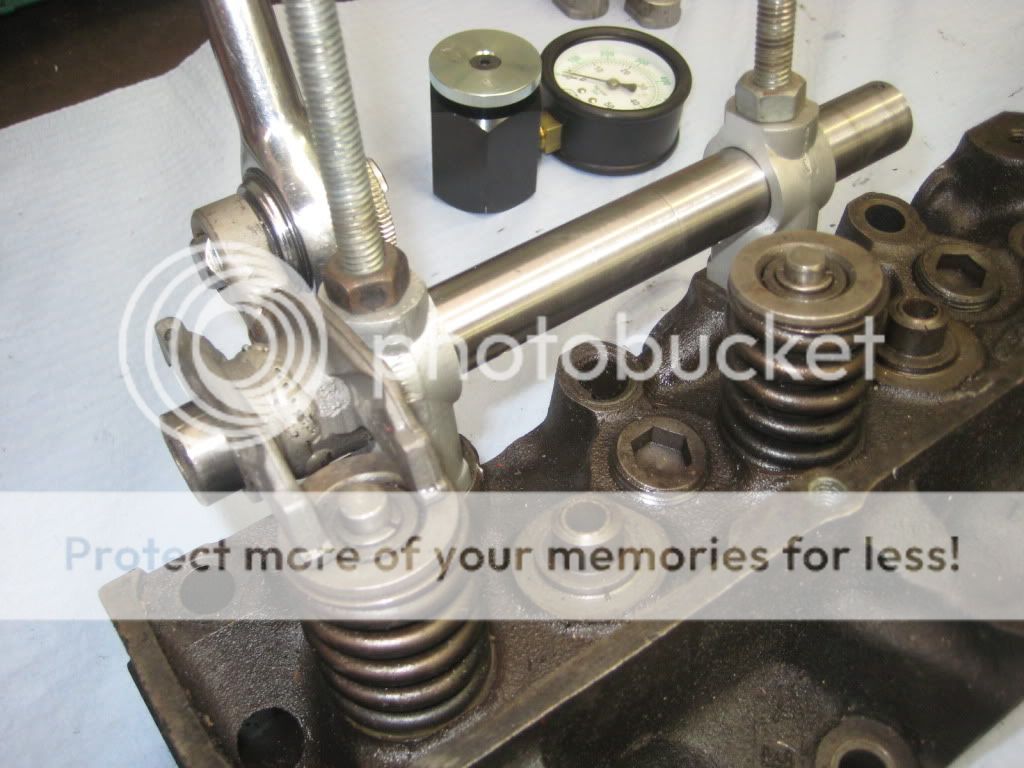
Machined down some old rockers and stands, welded the rockers together, cut and old 1/2" square drive socket and welded it to the rockers and made a cup for the spring checker to sit in so as not to damage it.


To check spring pressure you need to stack 2 stands and an extra 15mm spacer.


If the springs need replacing then remove the extra stands and checker and the tool can be used to pop the collets.

45
Non-FE Discussion Forum / 67 Fairlane Jack Holder
« on: April 17, 2012, 05:39:59 AM »
Sick of the jack just floatin' around I decided to make a jack and wheelbrace holder. With 2 jacks...in case one fails....can't be too careful. 


